Last weekend on I sprayed Poly-Lux sanding primer onto the horizontal stabilizer plug, and then sanded most of it off. On Saturday I got a coat onto the bottom surface, and on Sunday I came back and sanded out the bottom of the plug, flipped it, and then sprayed the top surface.
It took a while before I figured out how to get good results with the tools at hand. The first attempts came out pretty bad, with a lot of sputtering. Then I finally broke down and started thinning out the primer and then it went on great.
I wanted to avoid thinning if possible, since the thinning agent for Poly-Lux is acetone. I wanted to avoid as much as possible spraying volatile chemicals onto my styrofoam-cored plugs. However, it seems that the paint has had no bad effects on the foam cores. I even used the raw shucks to support the plug while painting, and the paint seemed to have little effect on it. The surface is a bit stippled where I sprayed directly onto the shuck, but it's not like any substantial amount of the material dissolved.
In times past, I have thought of primers as paints you apply to a surface in order to make later coats of finish paint adhere well. Poly-Lux sanding primer isn't necessarily that sort of paint. It's more like liquid Bondo that you can spray on. It gave me a nice smooth, even coat of filler that sands uniformly.
Here are some photos of the horizontal stabilizer plug. Through various accidents of fate, these are probably the first photos of this plug, even though I started working on it even before the wing plugs:
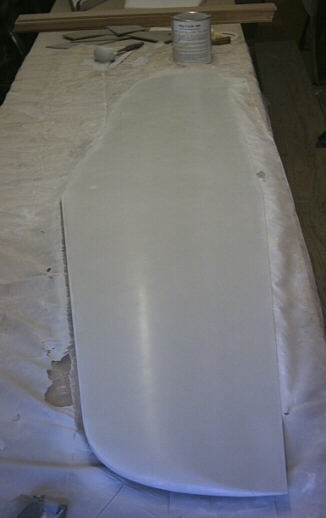
The bottom surface of the horizontal stabilizer plug as I found it on Sunday morning, with one uneven, grotty coat of primer from Saturday's test spraying.
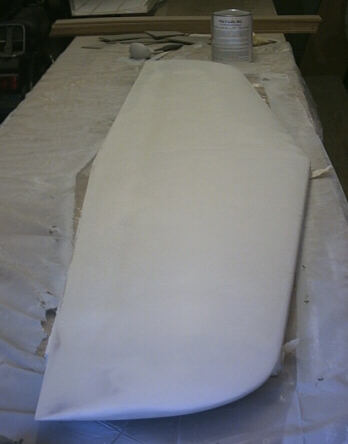
That same plug after about an hour and a half spent testing sanding techniques. I started with 220 grit, and figured out pretty quick that things weren't happening fast enough. So I backed off to 180, then 150, then finally 120. Then the orange peel went right away, and I quickly went back up through the grades and then through 400 and 600. And just to get a photo like this, I hit it with some 800 crocus cloth. I still have to finish sanding the tips and the leading edge, but it was sort of a surprise how fast things went once I got the techniques and got things under way. It's not the greatest molding surface there ever was, but it does have a nice shine to it. I figure to put together a dial indicator wave guage so I can check the waviness of the plugs before I go too much further. I'd like the plug surfaces to show no more than about .003" waviness.

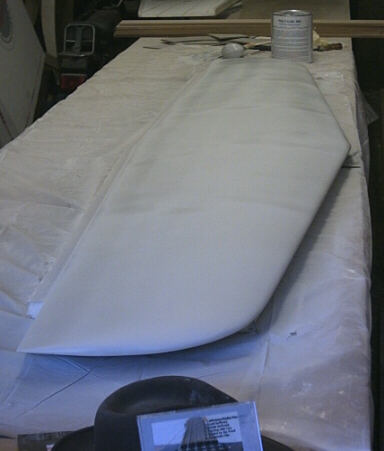
The stabilizer plug, fipped over to show the top surface. It looks gray, but this surface is an off-white coat of Stitts UV Smooth prime. I liked working with UVSP, but it costs a lot more than the Poly-Lux sanding primer, and was a lot touchier to spray. So from here on out I'll probably keep using the Poly-Lux.
The stabilizer plug top surface after applying about 700 grams of Poly-Lux. I don't know what the volume was, but it was about enough for three fills of my lttle 8-ounce trim gun. The reason I know it was 700 grams was that I was using my new electronic scale to catalyze and thin the paint. I knew that if I wanted consistent results I'd need consistent measures, so I bought a 1200 gram scale that's good down to 0.1 gram. I also look forward to using the scale to mix epoxies like EA9430. I have been using the Schreder Stick method to mix that stuff, but I think that this scale will make it easier to set up for.
Having sprayed that paint, there was pretty much nothing left to do at the shop, so I went home. Then the family and I drove down Camp 9 road to the Collierville hydropower station and hiked over to the river to play.
page updated 4 October 2004 all text and graphics copyright (c) 2004 HP Aircraft, LLC