Those of you who follow the Yahoo GliderTech forum know that I am not a particular fan of the airbrake. It offers inferior glidepath control to 90-degree flaps, increases stall speed instead of decreasing it, adds dozens of parts to the wing, and harbors a myriad of design and development subtleties. However, the grim reality of the soaring marketplace (such as it is) is that landing flaps are not in favor, and if you want people to buy gliders, they have to have airbrakes. Eh.
So, lately I've been working on the tooling to build the airbrake into the left wing. Most of the tools are symmetric, so they'll also serve to make and install the parts for the right wing.
The airbrakes require three pivots built into the airbrake box in the wing. Two for the arms that raise the primary and secondary paddles, and one for the overcenter bellcrank that drives the inboard arm and also locks the airbrakes down. The overcenter has to be pretty authoritative since it holds the upper paddle down against the combined forces of the springs that secure the airbrake cap.
So there's a welded tool that locates the pivots, simple forms for the airbrake paddles and the interstitials that form the airbrake box, and three or five jigs for the steel airbrake arm and overcenter bellcrank weldments.
We also squeezed in a trip to Disneyland with the kids on 14 through 18 May, on which Raen was finally tall enough to do almost all of the major thrill attractions, including the California Screamin' roller coaster. But the old Space Mountain coster in Tomorrowland was pretty much our favorite for this trip.
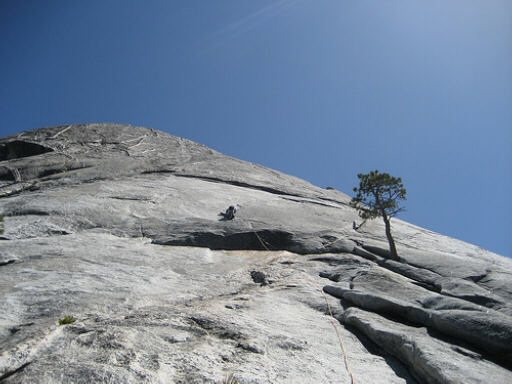
Also, the prior weekend on 9 May I did the Snake Dike climbing route, on the southwest shoulder of Half Dome in Yosemite, with Mungeclimber. This is an easy and beautiful route in a stunning setting, and we made it just a bit spicier and more scenic by starting the approach from Glacier Point instead of in Yosemite Valley. There is some 5.7 friction climbing to it, but most of it is like 5.4, the sort of climbing you'd find on one of those portable climbing walls they have at kids birthday parties. However, the 5.4 sections have pretty long runouts between anchors, so you are sometimes climbing 100 feet over your last piece of protection. The route is normally quite crowded, but we lucked out and there was nobody else on the route all day long. Our day consisted of 19 miles of hiking carrying all our gear and water, eight pitches of climbing, and a bunch of other incidental altitude change. We started at 6am and were back at our cars at 9pm.
The photos:
On 9 May 2009, I lead the first pitch of Snake Dike, which includes the 5.7 friction traverse that I think is what kept John Muir off the top of Half Dome. You scramble up the flakes at the lower left, undercling the roof and set a small cam with a double-length sling, and then paddle left around the roof and up. After that it was seven pitches of runout dike hiking, a quarter mile of calf-burning friction walking, a great view from the top of Half Dome, and then a ten mile walk (the last three miles uphill) to the car. Mungeclimber wrote a full Trip Report on this post at the SuperTopo climbers forum.
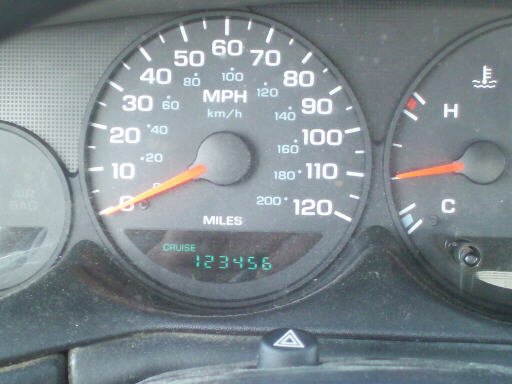
On 11 May as I was driving back to the Bay Area my car hit 123,456 miles.
On 14 May, with the family at Disneyland. We didn't tell the kids we were going until it was time to put them into the car for the drive down.

Raen and Alia in Toontown.

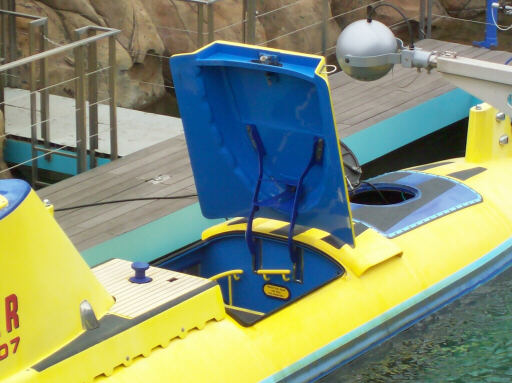
I thought these submarine hatches were pretty neat, the way they pivoted and sealed.
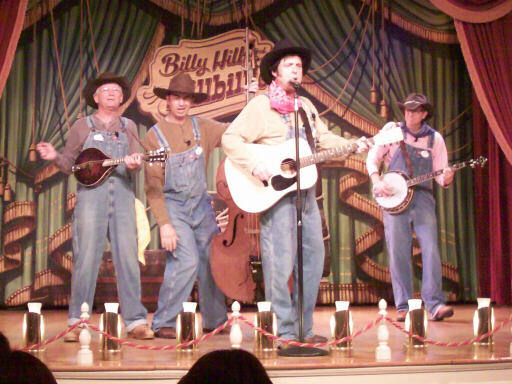
On 17 May we mostly saw shows, including this bluegrass band that called themselves Billy Hill and the Hillbillies. Would you trust your Zuni to these guys?
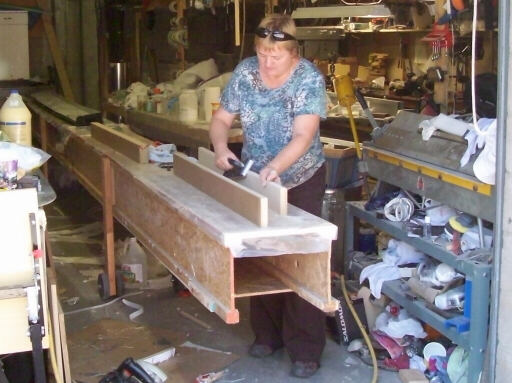
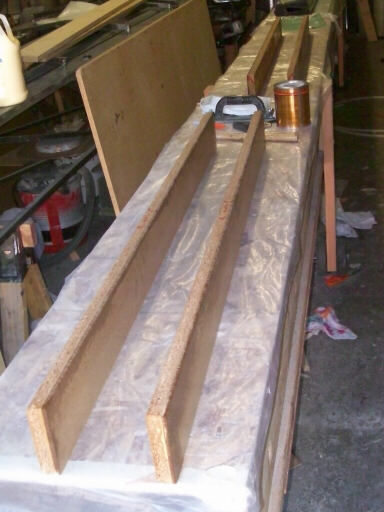
On 25 May, Brigitta sands and contours the forms for the airbrake paddles and airbrake box interstitials.
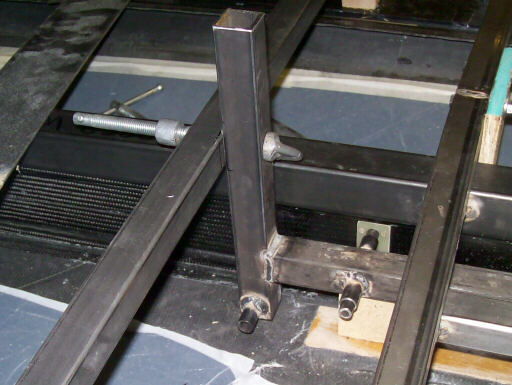
The meanwhile I start working the issues of fitting the airbrake parts into the actual wing. Shown is a welded prototype airbrake arm. All four arms (inboard/outboard right/left) will be unique, but will be welded in the same jigs from the same parts. The outboards will feature microstop length adjustment to make it easier (read: "possible") to set the cap spring compression.
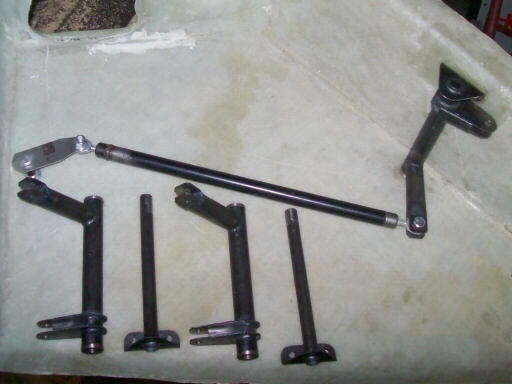
Oh, right, I've also been working on the undercarriage idler and uplock. I've instituted a change from the earlier design of a couple of years ago; instead of incorporating the overcenter stop in the pivot between the crank and the push-pull tube, I'll have a separate uplock stop bolted to the wheel well wall. The earlier design was tidier, but harder to install. Shown are the three early production flight articles of the idler and pivot that I jigged and had welded up.
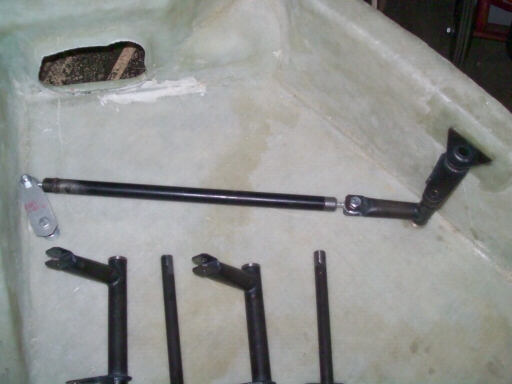
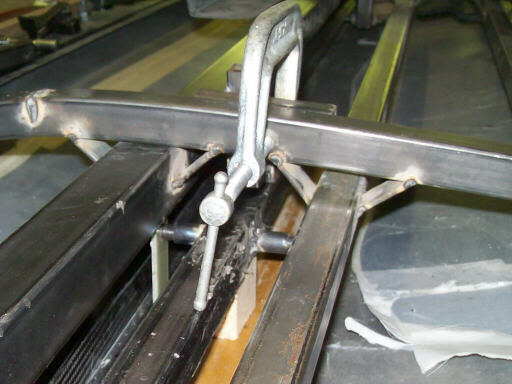
Same, in up-and-locked orientation.
Varnishing the airbrake paddle and interstitial forms.
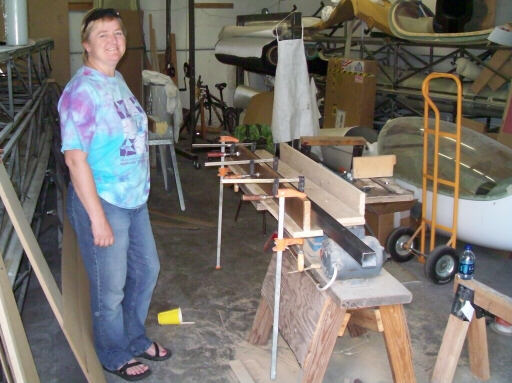
On 7 June, Brigitta returns to resume work on the airbrake forms. Here she's bonding the paddle forms to a base board that supports it on the bench while we lay up the parts. The meanwhile I've been fiddling with locating and orienting the airbrake arm and drive pivots.
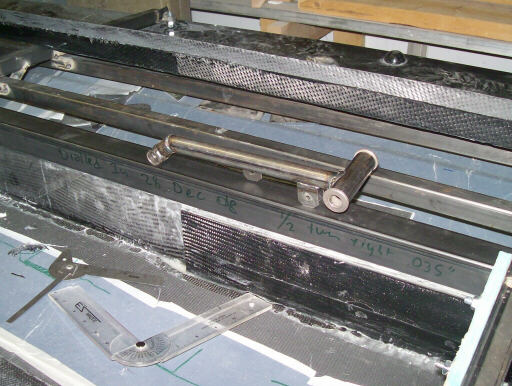
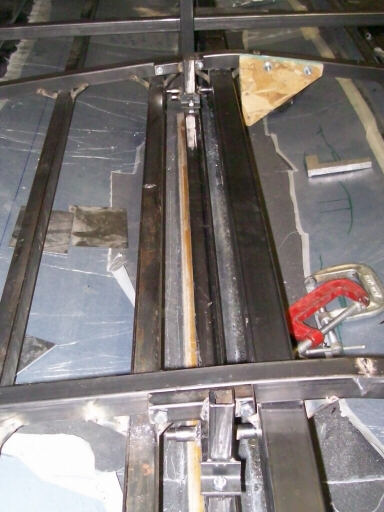
Here I have finished building and adjusting the tool that locates the three airbrake box pivots in relationship with each other, and am arranging it in relationship with the wing structure. At the end of one axis you can see a Garolite plate with that represents the plane of the forward pivot anchor that we will bond onto the wing spar.
Here's the outboard pivot axis. At this point I have the axes located, and am building the brackets that secure the location tool to the spider.
The finished airbrake axes tool bolted to the spider and ready to locate the parts that support the arm and bellcrank pivots.
Homebuilt aviation is not for folks who don't try things at home.
page updated 10 June 2009 all text and graphics copyright (c) 2009 HP Aircraft,
LLC