
Long time no Update, yes. My apolologies. Right now I've just been in the middle of a lot of summertime activities and just haven't had the time to put together all the photos and reports that I've been collecting (and that Brad Hill has been sending me).
So, let's see... Going back to about the time of the last Update, I've been cutting and fitting little bits of steel that will become the parts of the cockpit control stick mechanism. The sticks themselves are out at the welder, I just need to go and pick them up. I've been fiddling with the torque tubes and need to cut the last few parts (mostly for the output crank) and get the whole mess off to the welder.
With the Experimental Soaring Association gathering coming up, I've been scrambling to put together something big and shiny to take down there and show off. What I eventually decided to do is throw together a carbon fiber horizontal stabilizer to take down there with me. So the last couple weekends were spent gathering materials and cutting them to shape. And the last weekend (9/10 Aug 08) was half-spent doing the layups on the stabilizer skins and shear webs. The half part is because we pretty much had our stuff together, so when we went to do the layups it went pretty fast, and we were out of the shop and doing family stuff by noon both days. Next weekend I'll unbag the shear webs and install them and the hinge points, and maybe if things are going well I can bond the upper and lower skins together.
Meanwhile, Brad has been building his first-article rudder, and working on the canopy pivot and ventilation provisions for his all-carbon HP-24 fuselage. He's customizing his ship, and doing things a little differently than will be featured in the kit versions. One interesting thing he's doing is to install his radio antenna in his rudder. Since his vertical fin is all carbon fiber, he can't have a radio antenna inside the fin as I do. So he's installed an RST Engineering style quarter-wave dipole inside the rudder, and made the rudder out of radio-transparent fiberglass.
In other activities, Brigitta and I finally got to do some multi-pitch climbing together; on 18 July (our 21st anniversary, I might add) we ticked off Sunnyside Bench Regular Route, a Yosemite classic that is traditionally led in bathing shorts and tennis shoes, and traditionally seconded by an inexperienced girlfriend, that route being the shortest path between the valley floor and skinny-dipping in the ponds above lower Yosemite falls. We accomplished the route in good though not necessarily traditional style, arriving back at the valley floor with more gear than we set out with thanks to some previous party that bailed off of a cordalette and two nice locking 'biners. Apparently that party didn't see the bolted anchor five yards to the left of the tree they rapelled from.
The following day we went swimming in the Merced, and the day after we drove out to Tuolumne meadows and did all the touristy stuff available on a blustery summer day in the high country. Of course we stopped at Olmstead Point and looked out over Half Dome. And also looked down Tenaya Canyon, which for some reason I can't figure out seems to bedevil so many of the tourists who head down into it. I have it on good authority that the hike down Tenaya into Yosemite Valley can be a marvelous adventure for the party that carries a map and compass, two days food and gear, and also rope and gear for the four or so rappels.
We also checked out Fairview Dome, where I'd like to come back and do the Regular Route before the summer is out.
Well, anyhow, here some of the photos we've been saving up.
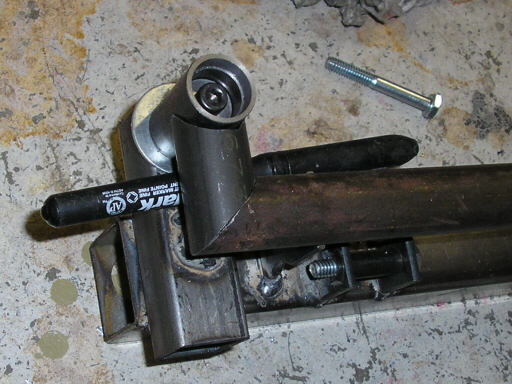
The first five roll pivot bearing cages for the control stick torque tube. The one on the left already has its KP4A bearings installed. When you move the stick right and left to deflect the ailerons, these are the bearings that the control stick pivots on.
Fitting the steel tubing of the control stick torque tube. The small tube that the marker pen is supporting is quite a bear to fit, since it has a miter at one end and a fishmouth at the other.
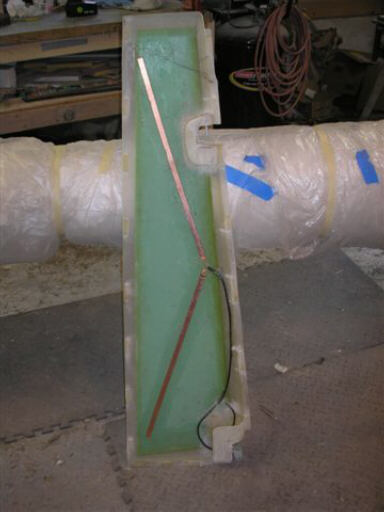
On 24 July 08, the left rudder skin for Brad's new rudder, showing the quarter-wave dipole antenna.
A day on the water up at Lake Alpine. Brigitta went camping up there with her two sisters for four or five days, with me joining the party for a day and a half on the weekend of 26 July.

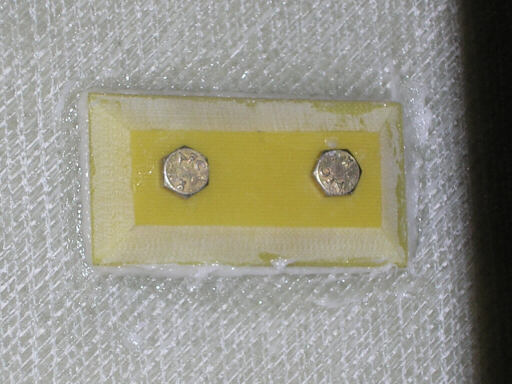
A minor repair to the mold for the horizontal stabilizer lower skin on 2 Aug 08. Earlier, I had drilled the two holes for the forward mounting bracket about 3/16" too far aft. So I used a chainsaw sharpening file to move the holes in the mold forward 3/16", and them glued on this block of Garolite to formalize the new location of the holes.
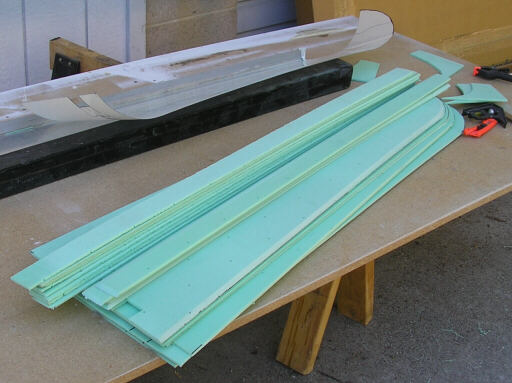
Same day, cutting the foam core slabs for the horizontal stabilizer skins out of 3/16" Divynicell H60. I considered using HT60, the high-temperature version, for these parts. However, reading the technical specs for the H60 line it seems that Diab has lately reformulated their PVC foams, resulting in better high-temperature dimensional stability in the basline H60 product, so I decided to just use that.

Here's all the foam core parts for two horizontal stabilizer skin shipsets. I generally cut this stuff with a utility knife held at a fairly steep rake (around 60 degrees), and then sand bevels onto the appropriate edges using an 11" sanding board with 80-grit paper.
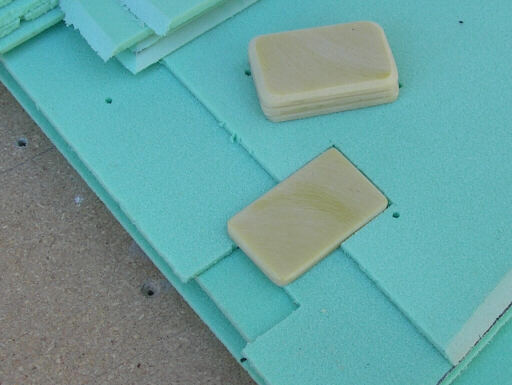
Here's the reinforcing plate where the forward forward stabilizer attach angle goes, and the notch in the foam core that it fits into.
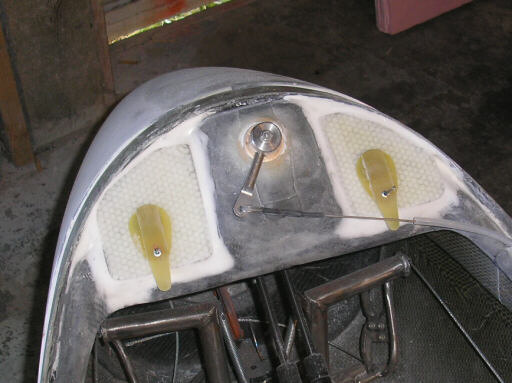
Meanwhile, up in Monroe Brad has started finishing painting and fitting his rudder.

And here he's working on his pivot and ventilation provisions.

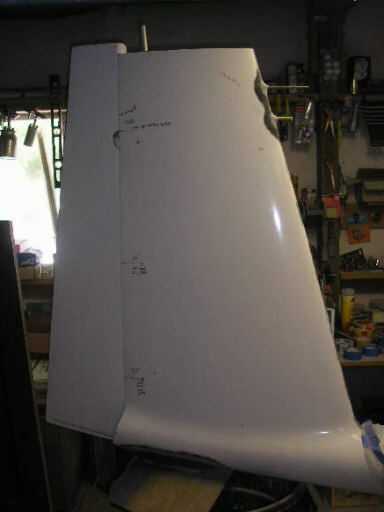
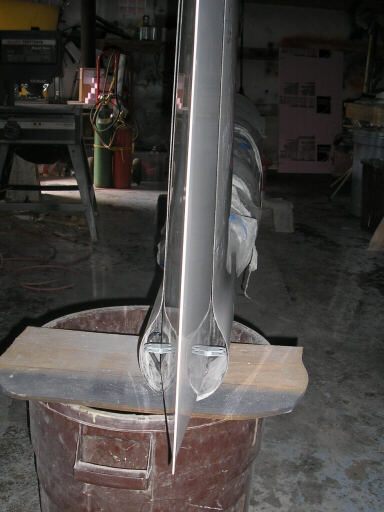
A photo of Brad's shiny new rudder, showing how the drive arms nest into the opening at the aft end of the fuselage boom.
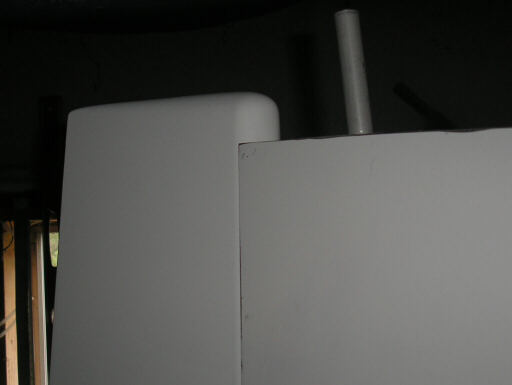
The nicely rounded top of Brad's rudder where it will stick out above the cutout in the elevator.
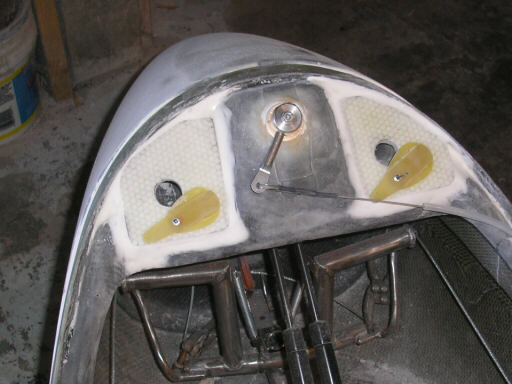
Moving forward to 7 August, Brad's two ventilation flaps in closed and open positions. The kitted ships will have a single large crescent opening in the middle, where Brad has located his jettison release.
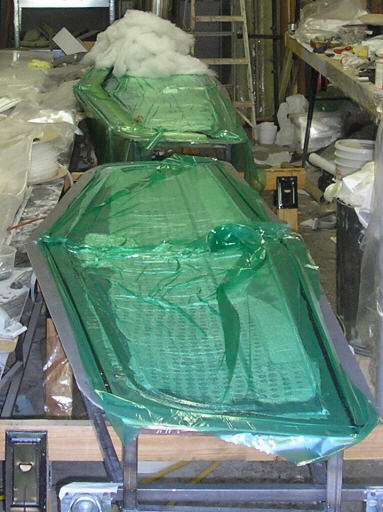
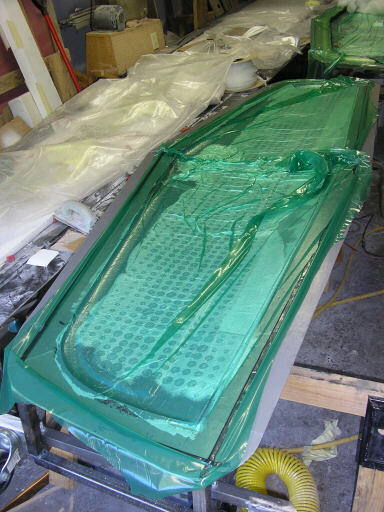
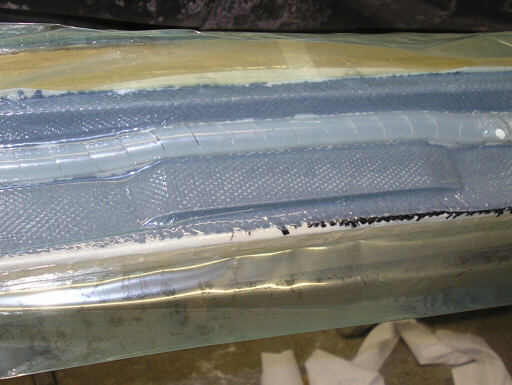
At the Arnold shop on 9 August, the two carbon fiber horizontal stabilizer skins laid up and bagged down. The green stuff is a vacuum bagging membrane called Stretchalon. The lumpy white stuff is polyester breather ply. The regular pattern of circles is surplus resin coming up into the breather through the peel ply and perf ply.
Back at the Arnold shop on 10 August, to lay up the forward and aft shear webs. The molds for these parts are just chunks of MDF that I cut on the table saw and joined to form a slightly obtuse angle.

Taking a cue from Brad's bag of resin infusion tricks, I ran a piece of spiral wrap down the inside radius of the angle to help collect the air more effectively. This way I only need one vacuum tap at the very end of an 8-foot long part. This particular piece of spiral wrap was salvaged from the horizontal stabilizer skin layup. A quick bullwhip snap cleared it of the cured epoxy it had picked up. The bulge in the part is the Garolite reinforcement at the center of the shear web where the taper pin sockets will be mounted.
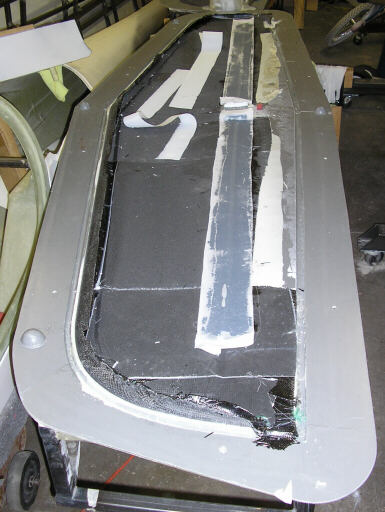
After laying up and bagging the shear webs, we returned to the freshly unbagged skins and added reinforcing tapes along the edges of the elevator cove to stiffen them up a bit. Going forward, we'll add these tapes to the layup and not do them as a secondary operation. The white strips are peel ply that we used to wick up extra resin and also leave an adhesion-friendly surface for where we will later bond in the shear webs.

Homebuilt aviation is not for folks who don't try things at home.
page updated 11 August 2008 all text and graphics copyright (c) 2008 HP Aircraft,
LLC