This weekend I unbagged the left top inboard layup, and was relieved to see that everything looked good. That bag had leaked a lot, but the pump was still able to keep up with it. When I left it on Sunday afternoon, the pump was running about 30 seconds every ten minutes, which I figured was adequate margin. However, I was still a bit worried that something might tear and increase the leakage a bunch. Ever since we messed up the right inboard trailing edge with that tear-out problem, I've become increasingly aware of the vast number of ways there are to derail this project with mistakes and screw-ups.
I also filled in the areas on the trailing edge of the right inboard plug where the core foam stuck to the shuck and got torn out. I mxed up about 30 volume ounces of epoxy/microballoons and poured it into the torn areas. My plan is just to do a rough fill in that area, and finish it to contour once I get the bottom fiberglass skin on. The fiberglass makes for a much more stable and friendly surface to do the contouring on.
And I also sanded the leading edge of the right inboard plug for the scarf joint between the upper and lower layups. Since this is just tooling and not a flight article, I'm taking the liberty of making the scarf fairly steep. The scarfed area is about 3/8" wide, and the layup is about .044" thick, which works out to about 11:1. That's in the ballpark for a wood skin scarf, but is way too stubby for a composite scarf. But again, this is just tooling.
This weeks' photos:
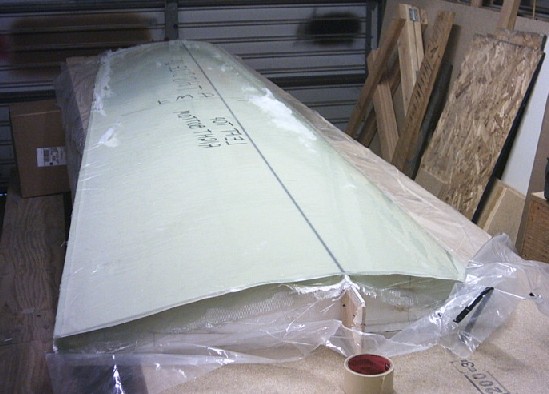
The left inboard wing plug core, with the first layup cured and unbagged. The mylar finish ply is still in place. The reversed writing is on the outside surface of the mylar, and is mostly a reminder to me to place the mylar the right way up on the table when I lay out the cloth plies on it. I've gotten pretty good at writing backwards.
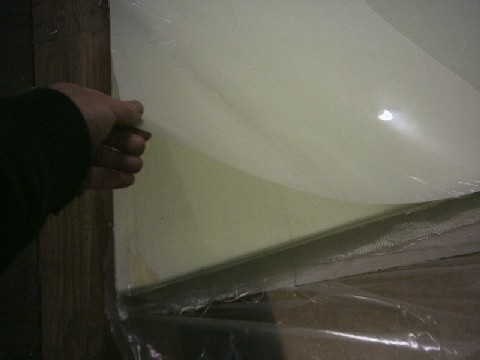
Here I'm peeling the mylar off of the surface. The epoxy hardly sticks to the mylar at all; although there does get to be a considerable static charge between them.
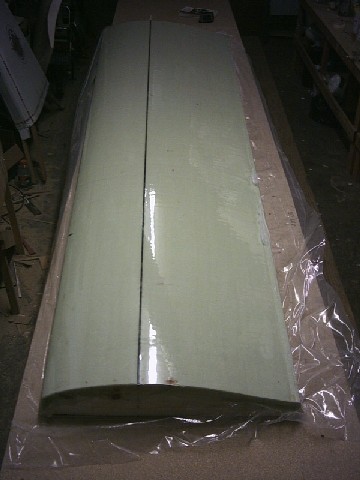
The left inboard section with the mylar peeled off. You can see by the reflections that the surface is shiny but still has a lot of ripple to it. My experience with the other parts is that the best approach to this is to sand down until the surface is about 50% sanded and 50% shiny. Then, fill in the shiny valleys with primer and sand until the surface is 50% sanded fiberglass and 50% sanded primer.
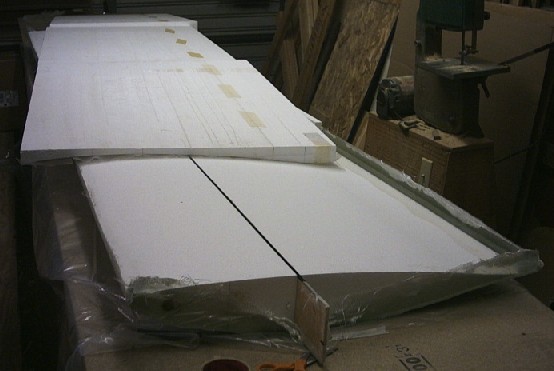
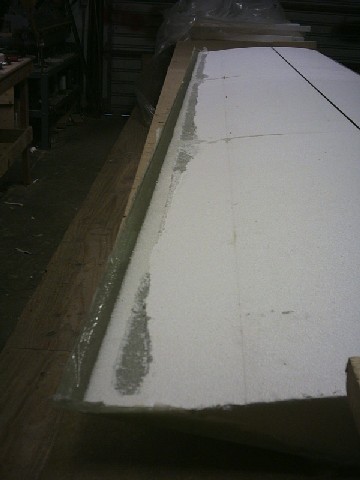
Here I'm separating the bottom shucks from the inboard left plug. Thanks to the poly sheet I put between the two, there was absolutely no tear-out like I got with the inboard right. The dark area of the foam near the trailing edge shows how far the epoxy wicked in from the trailing edge. That's what caused the tear-out on the right plug.
Back to the right inboard plug, here's those areas of tear-out.
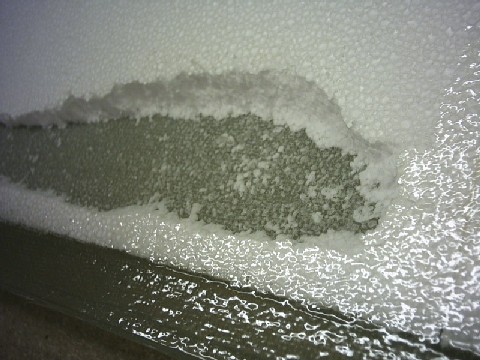
Here's a close-up of one of the torn-out areas. It makes my heart ache to think of how much trouble it's going to be to fix this. However, I suppose it could have been worse. Also, I find a little bit of relief in knowing that this area won't impact the flapped versions of these wings at all, since I'll be making separate plugs and molds for the flaps and ailerons. However, I'll need to repair this well or the Standard versions will have wanky cusps. And we can't have wanky cusps, now can we?
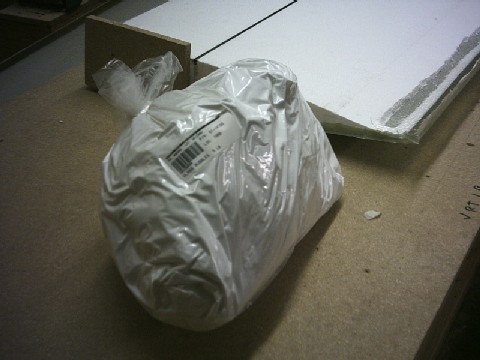
And here's my tear-out cure: mass quantities of glass microballoons. This is a five-pound bag of the stuff; of which I used a lot less than a pound in the repair. So far I've abandoned about five pounds of this stuff in various shops and hangars, since I hate transporting it in my car. I keep imagining a routine traffic stop where they search my car for contraband and find this huge bag of white powder. I know that they'd eventually figure out that it is just glass and not drugs or explosives. However, I worry that it would take a day or two for the authorities to straighten that out...
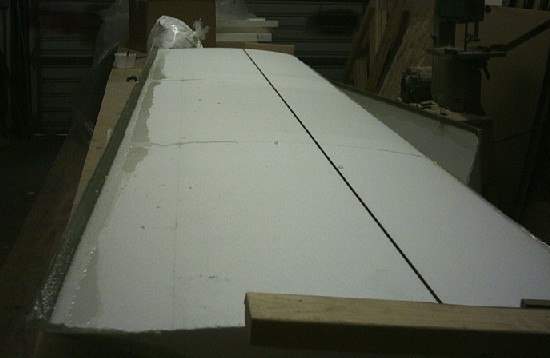
Here's the torn-out areas filled with a mixture of epoxy resin and microballoons. These fills are all a bit "below grade;" as I mentioned earlier, I'll do more filling and countouring once the bottom layup is in place.
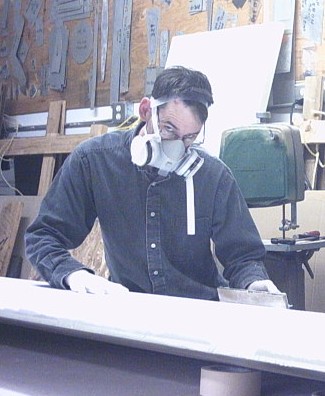
Here's a rare self-portrait of me doing the scarf sanding for the leading edge. After one more day in the shop, we should be ready to do the bottom layups on both inboard plugs the weekend of 27/28 December. All I want for Christmas is two good layups...
page updated 15 December 2003 all text and graphics copyright (c) 2003 HP Aircraft, LLC