The weekend of 8/9 December, I didn't get up to the shop except for the few minutes it took to deliver a couple of cabinets that used to be in my grandmother's garage. We mostly spent that weekend on a shopping trip into San Francisco with my aunt and uncle. That was fun because they have an old Craftsman (?) style house on Claremont in Berkeley. The house has a fascinating history; it used to be on the current site of People's Park, and was moved down Telegraph avenue during the protests over the park.
For the purposes of driving to the big city, we (as has lately been our wont) rented a car and took out the standard damage waiver, and proceeded to approach the trip with the sort of blithety that comes from knowing that pretty much whatever happens is covered. Carjecked? Take it! Sideswiped in the parking lot? It dies on the freeway? Flat tire? Car fire? Get the kids and stuff out, and call the roadside assistance number and they bring us another car.
Of course, none of that bad stuff hapened, nor was any of it very likely. But nonetheless, not having to worry about it makes a big difference.
Probably the worst part of that trip was the car itself, a brand new Chevy HHR. It had good power, nimble handling, and reasonble interior appointments. But it also had incredibly poor visibility, with massive imposing A pillars and a narrow slit-like windshield starkly reminiscient of a gun port. There are armored vehicles less claustrophobic inside, and freight locomotives with better visibility than the Chevy HHR. If I was a kid in a high school auto shop class, I'd be pretty proud of myself if I'd made something like the HHR by chopping and channeling a '32 panel truck. But it made a lousy rental car, and I rue the moment the Hertz clerk brought it around and started ushering us into it.
Other than that, we had a good time in the City, and it was fun riding BART and seeing the pretty bridges and riding on the ferry boats.
The weekend of 15/16 December I spent Saturday morning working on the family Volvo 740 wagon (replace exhaust header pipe and fore and aft gaskets, new spark plugs and wires), and taking my commuter Volvo 740 in for an oil change. Then I took the youngest daughter out to our local climbing crag, mostly for the hike but also in the hope that I'd get a ride on someone's toprope. I was in luck, there was a party of three climbers from Modesto down in the Grotto. One of them led the Rambo pillar AC Devil Dog and set a toprope on the 5.8 stem/crack to its right, and I took an amble up that familiar climb.
Sunday I spent at the shop, finishing up the leveling feet on the shear web alignment tool for the horizontal stabilizer, and also making temporary molds for the shear web channels. The leveling feet consist of gun-drilled bolts that thread into nuts welded to the alignment tool and are locked in place with jam juts. These levelers let me adjust the height of the shear web flanges so I can dial-in the parts after the first set, and also so that we can adapt the part to different core foam thicknesses.
The temporary molds for the shear webs are just assemblies of MDF screwed together with deck screws and glued with carpenter's glue. I'll just slather them with packing tape to create a mold-release surface and call it good until we need lots of parts.
With this stuff done, I should be ready to actually make a set of the shear web parts for the stabilizer next weeked - or more likely, in the week that follows. I'll probably also make a set of the airbrake boxes while I've got the shop heated up, no sense running the heat for two little channel parts.
Here's the photos, in chronological order:
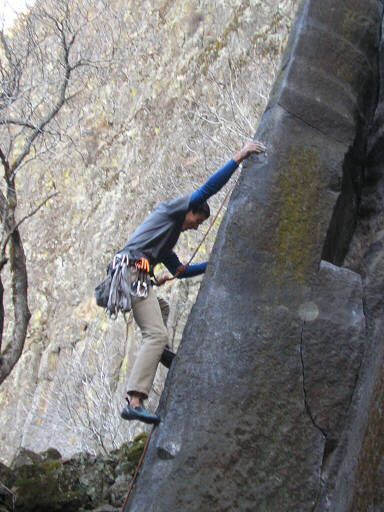
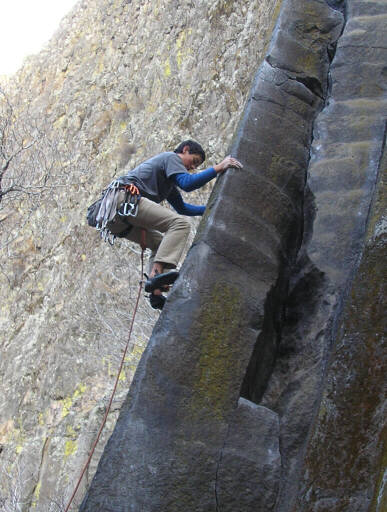
"Robby" from Modesto has just hit the first clip on AC Devil Dog and is breathing a sigh of relief.
Here he's doing the Rambo thing past the first clip, and is looking for footholds for the second. There aren't really any.
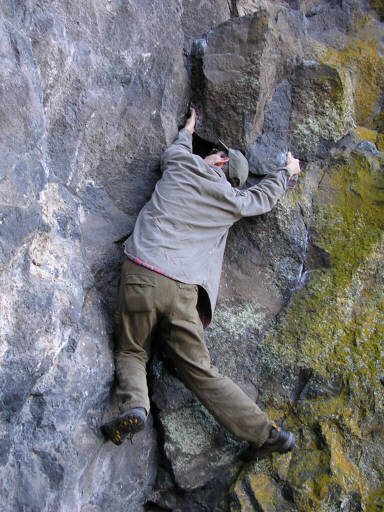
Raen boulders the start of Wing of Bat at the Welcome Wall above the Grotto. Its forboding overhang and gnarly talus pile deck aren't really all that welcoming.
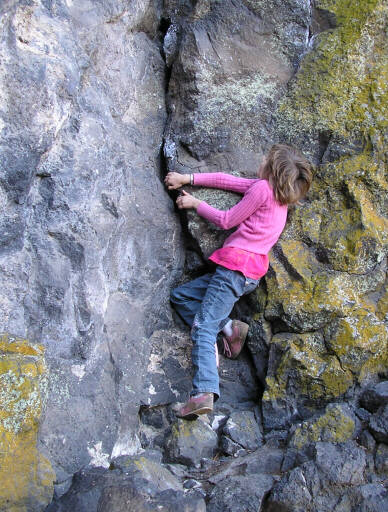
I get a bit higher on it in hiking boots before chickening out. When I first led this climb three years ago, it was quite a sporty adventure.
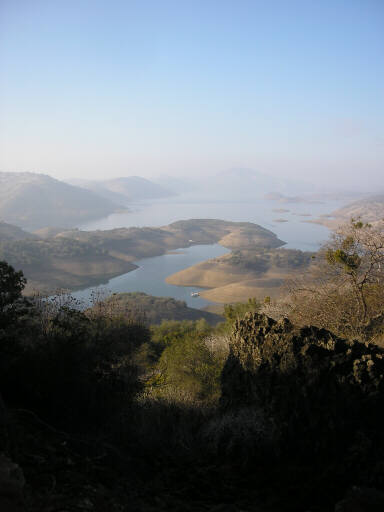
The view out over New Melones reservoir from the Welcome Wall.
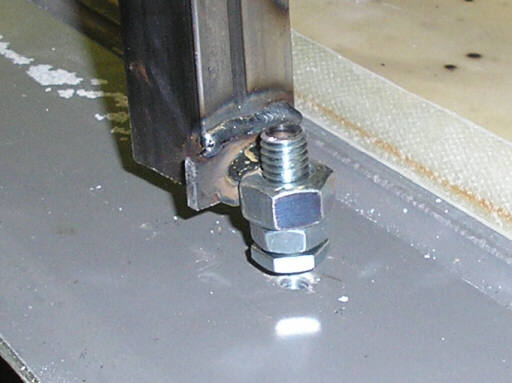
One of my little adjuster feet. At the top, you see the end of the 3/8-16x1" bolt, gun-drilled 1/4", the 3/8-16 heavy hex nut (11/16 flat-to-flat) welded to the fixture, the 3/8 jam nut that locks the bolt, and at the bottom the head of the bolt that I thinned out while I was gun-drilling it. This is so-so machining and pretty grotty welding, but I expect it to serve. It's sure better than using some random stack of shims to set the fixture height.
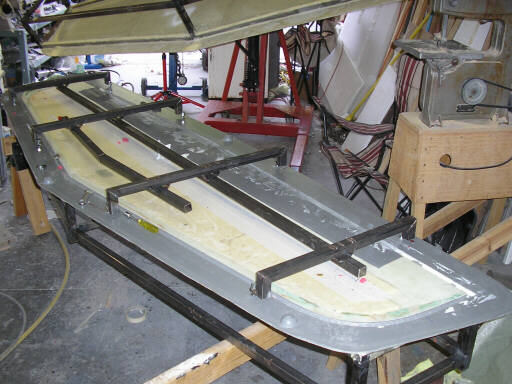
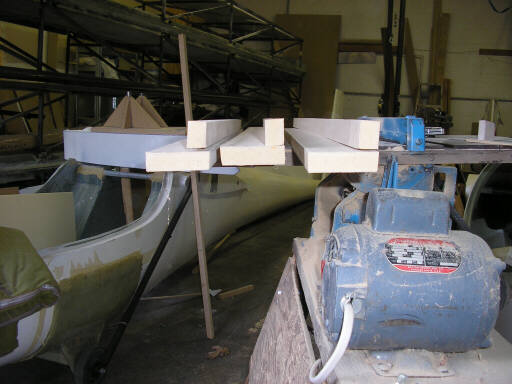
And here's the fixture secured in place with the new adjusters. I've set the height so that the tubes that support the shear web channels are about .030" lower than the height of the squish pylons that I made a couple weeks ago. That thickness allows a decent bondline thickness and also allows a bit of variance in the contour and thickness of the opposite skin.
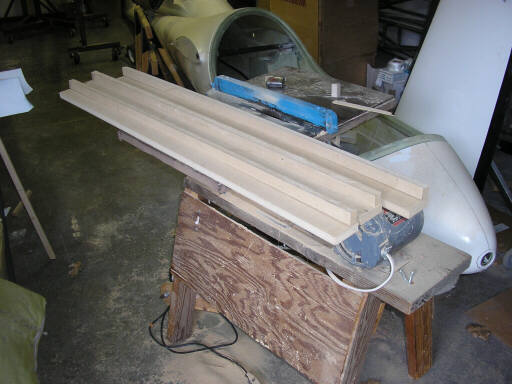
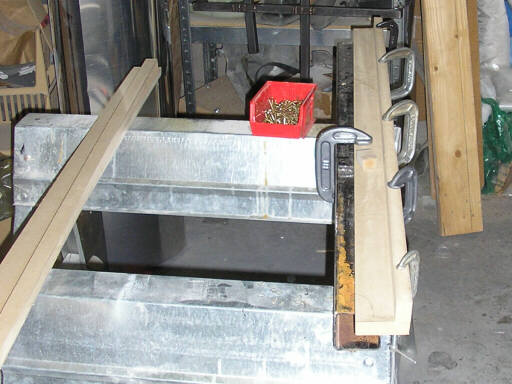
Here's the table saw I rescued from a junk heap, and the strips of MDF that I've sawn to make the temporary channel molds.
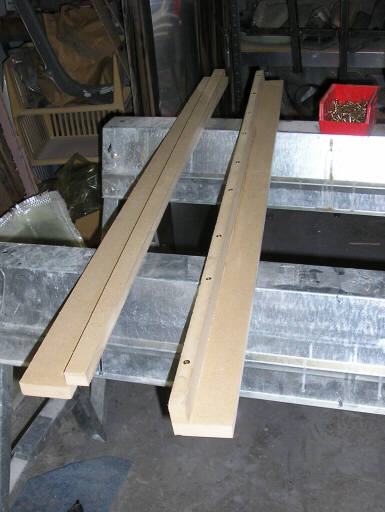
An end-view of the strips showing the included angle of slightly over 90 degrees, probably around 95 degrees. All three sets have the same angle, but the set on the right shows it best.
Here I'm drilling and shank-boring the parts for the deck screws (red bin) that secure them until the glue dries.
One set screwed together, the next set on deck.
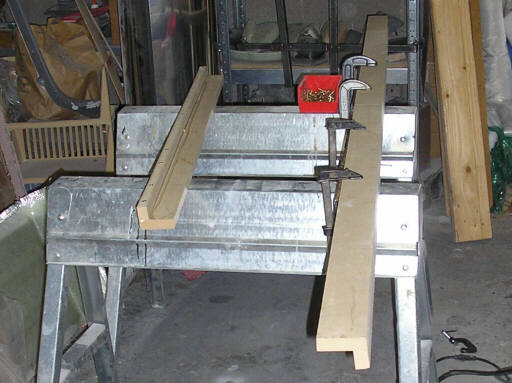
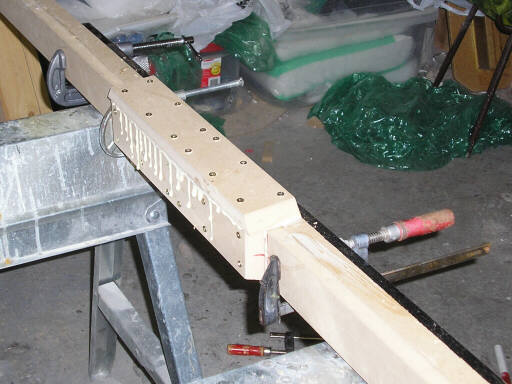
All three sets assembled, and two angles clamped to a large square steel tube to align them for splicing.
The splice joint in progress. Note the generous squeeze-out.
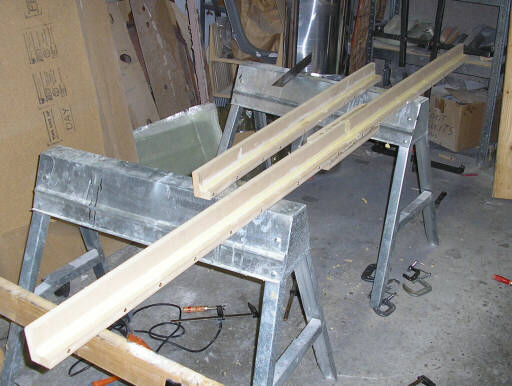
The two temporary molds, with the corner radius smeared with plastic wood.
Homebuilt aviation is not for folks who don't try things at home.
page updated 17 December 2007 all text and graphics copyright (c) 2007 HP Aircraft,
LLC