Last weekend at the shop Doug and I finished off the upper hinge radius of the left side flaperon plugs. We started by cleaning out the pivot bores and affixing the hinge pivots to the outboard section, and once that was done I chucked it up on Radius Maximus, set the pivot slope, set the plunge depth, and set to cutting the radius.
The procedure for running that machine is a bit fiddly, but stone monotonous once you get going. You start at one end or the other. I tend to start at the inboard ends of things, since it's bigger there. You put on your respirator (MDF has nasty, formaldehyde-laden dust), put on your safety glasses, put on a hat (if working outdoors), then put on ear protectors to damp the howling drone of the router.
You turn the traversal crank two turns to move the router 1/8", and cycle the plug full deflection between the down and up stops and back again. Then two more turns of the crank, and cycle again. Repeat about five more times and check the depth of the cut. If it's too deep and starting to score the gelcoat near the up stop, back the router out about 5 thousandths (1/3 of a 64th of an inch). If it's too shallow and there's a step between the MDF and the gelcoat of more than about 10 thou, lower the router in about 5 thou. Then five more cuts and check again. Once the cut is fairly stable, you can go ten, maybe fifteen cuts between checking.
Once you've reached the end of the carriage travel, you shut down the machine, back the router out, and then shift the plug down two hinge stations. You release the carriage from the traversal screw, move it down to where you left off, and reengage it. Then you reset the plunge depth, restart the router, and do cuts until you are back at the end of the travel.
For the flaperon plugs, I found that it takes three shifts of the plug to cut the entire 136" or 137" upper hinge radius. Each set of cuts takes about 15 minutes, and each shift of the plug takes another 15 minutes. The shift gives you a break from the drone of the router and swirl of dust. At each break you and the machine are covered with MDF dust, and you have to brush everything off so that the next cutting shift is seated properly on the machine.
While I was running the radius machine on the outboard plug, Doug was prepping the inboard plug for the same treatment. And then while I was cutting the inboard, I had Doug work on prepping the molds for the airbrake boxes, finishing up some radiusing with wood putty and also doing some more varnishing.
All told, I ran the radius machine from about 1:30pm when we got back from lunch to about 5:00pm. And at the end of that time we'd cut the whole 23 feet or so of upper hinge radius, ready for sanding out of tool marks.
What we did then was a bit of a sacrilege: we took a saw and a die grinder and cut each plug section neatly in half for shipping to Brad via UPS. Brad will glue the pieces back together and scarf-splice the skins. Then he'll finish-sand the MDF down to the bottom of the tool marks, varnish the MDF with thinned epoxy, fill in and smooth the bottom hinge radius (a constant 1/4" radius) and 56-degree bullnose, polish and wax, and splash molds off of them.
We managed to finish all of our part in one long Saturday. On sunday, we went for a walk in Big Trees State Park (again). This time we hiked the South Grove, walking the loop out to the Agassiz tree and then back.
Monday, I took the day off of work. I lazed around, got a haircut, put the flaperon plugs into UPS to Brad, and generally took the day off from work and from work.
Next weekend I'm scheduled to be back up at the shop, but not working on the HP-24. I'll be doing another round of climbing gear static tests on the Break-O-Tron machine - this time exploring the limits of girth-hitching slings directly to the cables of wired chocks. If time permits, I'll also be trying out some ideas I've been toying with for making low-tech pressure suit parts.
Here's the photos:
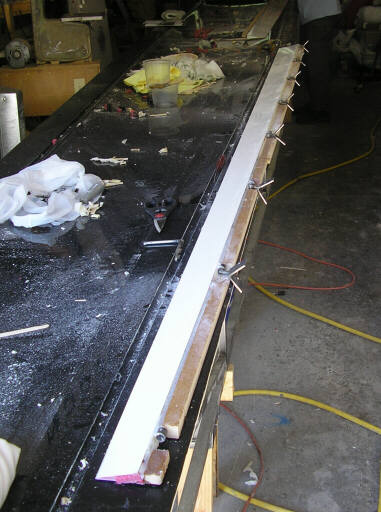
The outboard flaperon plug, with seven hinge pivots attached. The "<"-shaped parts attach to a square tube on the radius machine. That tube is only long enough for at most seven hinge points.
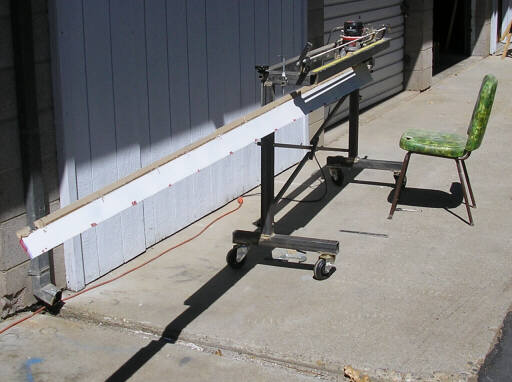
The inboard left flaperon plug chucked up on Radius Maximus and ready for cutting. Note that most of it hangs off the end of the machine, outside the cutting envelope.
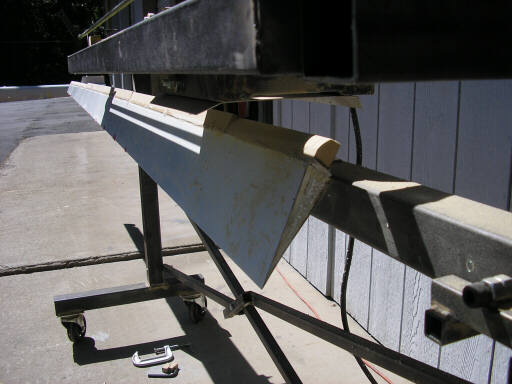
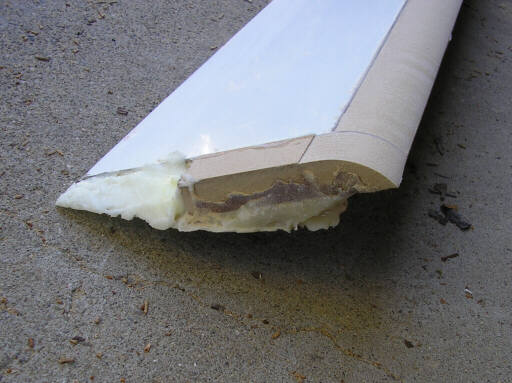
The inboard end of the outboard flaperon plug after about six inches of cutting. Note the unfortunate flat spot at the end, due to attaching the blank at the wrong angle. The flat spot is only about 3" long, and will easily fill with shmoo.
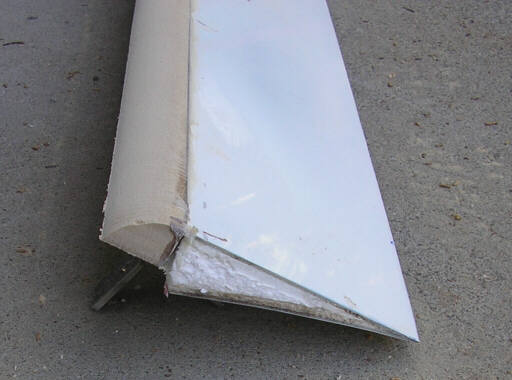
The inboard flaperon plug, all radiused.

A closeup of the outboard end of the inboard flaperon plug.
A closeup of the inboard end, showing where we scabbed on a piece of MDF to make up a bit of missing length. The flaperon plug needs to extend about 1/8" beyond the end of the MDF.
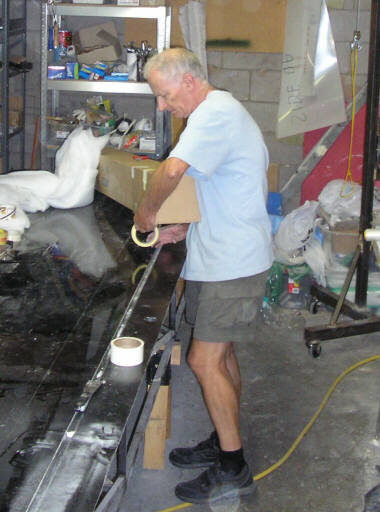
Doug closes up the cardboard carton containing the four flaperon plug halves.
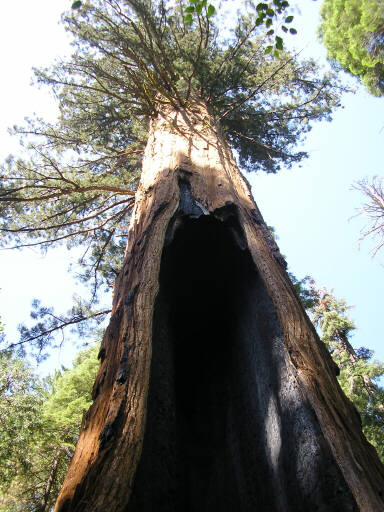
Sunday afternoon, looking up at the Agassiz tree in the South Grove at Big Trees state park. The cleft is old fire damage that hollowed out the tree somewhat.
For perspective, the daughters and I standing in the fire-hollowed cleft.

Homebuilt aviation is not for folks who don't try things at home.
page updated 18 September 2007 all text and graphics copyright (c) 2007 HP Aircraft,
LLC