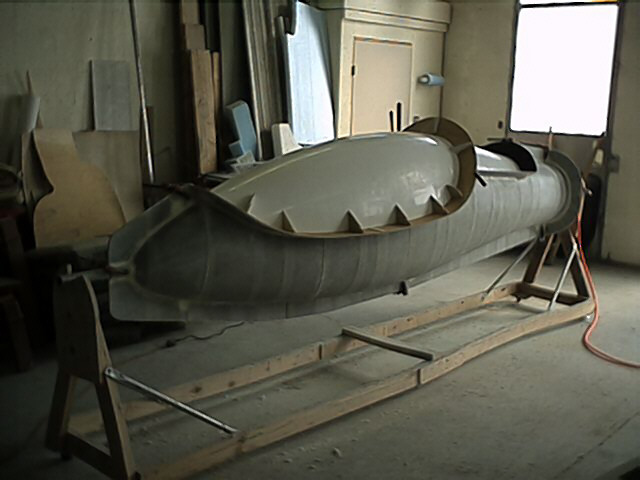
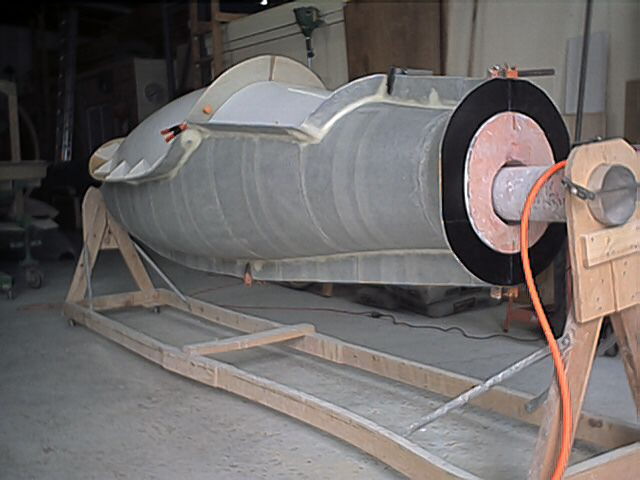
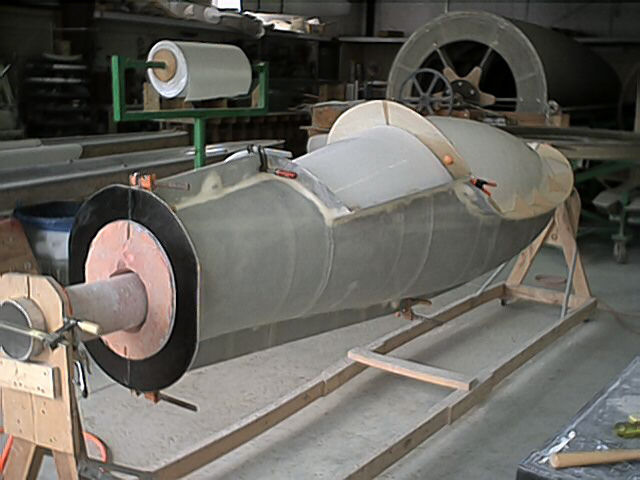
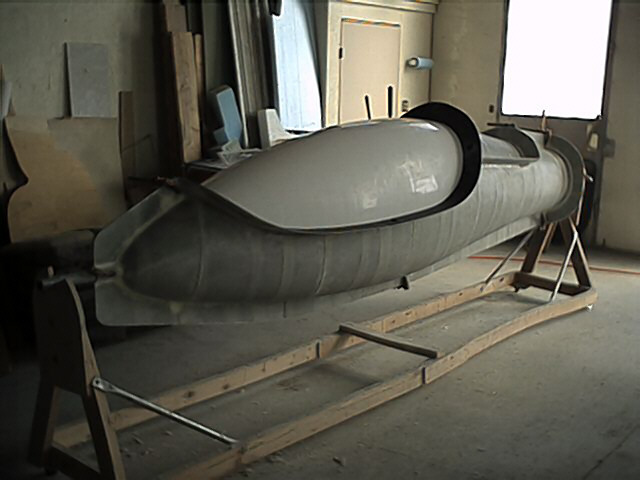
The following are more photos showiwng the forward fuselage plug during the forming of the mold sections.
A view of the left side of the plug with the left tub mold in place. This was probably taken during the forming of the mold flange where the separate cockpit rail mold will attach.
Another view of the left tub mold, this time from the rear. You can see the generous fillet of filler where the flanges join the body of the mold. The shiny white areas in the canopy and wing deck area are the surface of the plug.
The same sort of view, this time of the right side, and from a higher vantage point. What you don't see in this photo are the wing fillet features. I've purposely left them off of the fuselage plug, and of course out of the molds. Our plan is to develop the wing/fuselage junction fillet on-the-fly, once we're certain what the exact angle of incidence is. There's also the possibility that there will be a Standard-class variant of the ship that will require a different incidence from that of the 15/18-Meter version. The fillet will be molded into the wing deck, which the builder will semi-permanently attach once the fuselage control sustems and wing carrythroughs are installed.
The same view as the first photo on this page. The difference is that this view shows the wing deck mold in place, and shows where the wooden flange from has been removed. Of course, the wing deck shown here doesn't yet have the features for the wing junction fillet. Again, we'll develop those features on-the-fly when we work out the exact wing incidence.
Some people have mentioned that these photos make the fuselage look like the canopy area looks too large. However, what you see here doesn't reflect that the canopy frame will add an additional 1.5" or so of white-painted area around the perimeter of the transparency. That makes the canopy look smaller, and gives this ship a balance between solid area and transparent area more in line with European ships.
Depending on schedules and whatnot, the next update photos will probably show either the molding of the canopy transparency area, or the molding of the cockpit rail details.
For the canopy transparency area, what we're going to do is make a female mold of the canopy area of the plug, and then make another male plug from that female mold. That will give us a plug made of high-temperature materials that we can send off to the transparency shop.
For the cockpit rail, we'll have a separate mold platform that attaches to the flange around the canopy opening on the tub mold halves. That mold platform will embody the features of the sealing and indexing surface where the canopy frame meets the cockpit rail.
page updated 1 March 2002 all text and graphics copyright (c) 2002 HP Aircraft, LLC