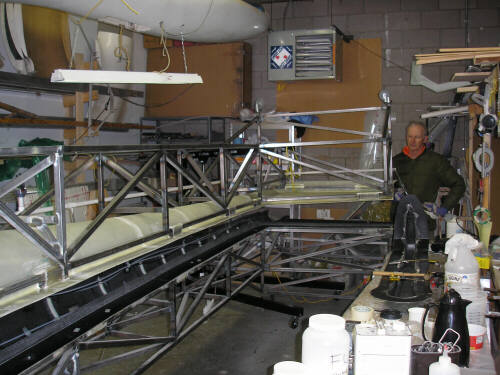
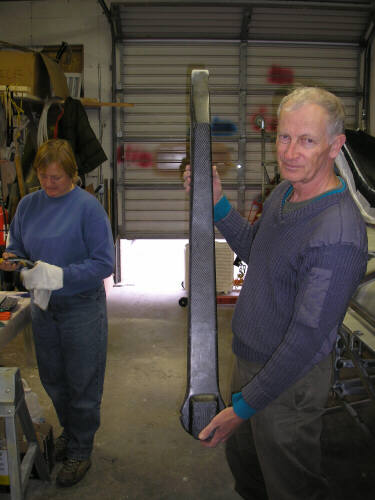
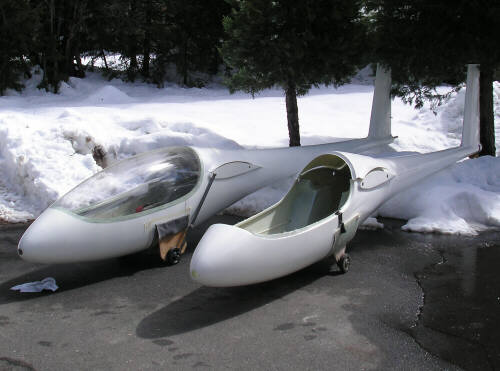
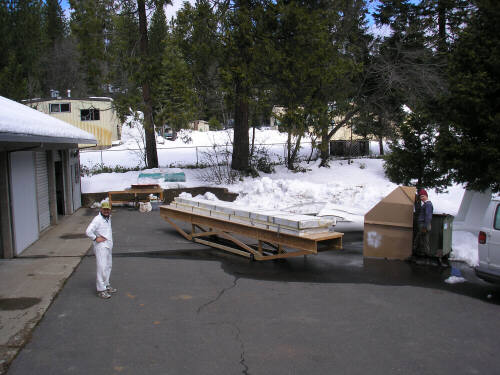
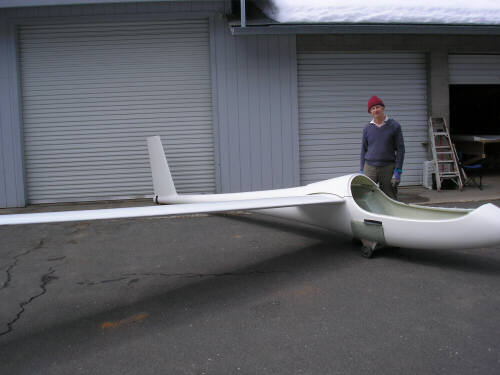
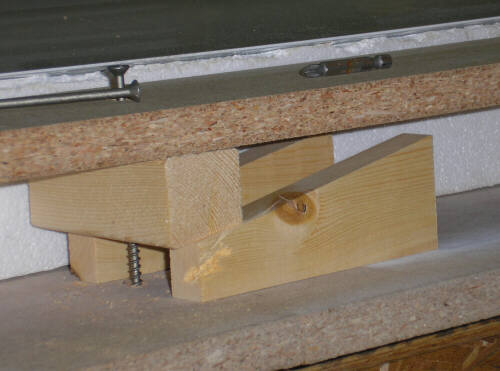
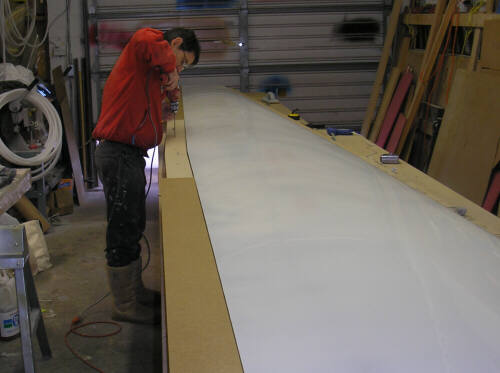
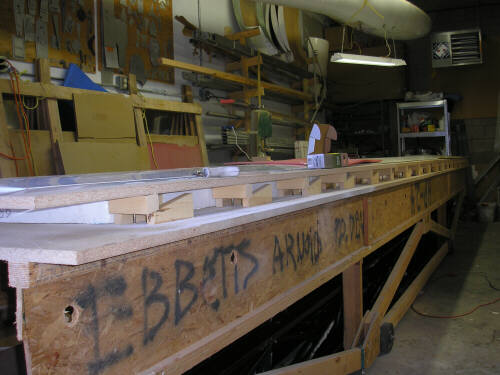
Here's another round of photos from ADF IV. We joined the carbon-intensive shells of Brad Hill's lightweight HP-24, and then rearranged all the big stuff in my two shop bays so we could concentrate on the wing molds. With the platform table in the main shop, we arranged the right wing plug bottom-side-up on the table and built the patterns for the flanging features along the leading edge and trailing edge. Note the system of wedges that I developed in order to be able to adjust the flange to match the leading and trailing edge within about 0.020" (.5mm) or so. This is one of the things that I was anxious to do as right as I could. On top of the wedges is a foundation strip of 3/4" fiberboard, and on top of that is a strip of 3/16" masonite to form the flange surface. Not shown are the patterns for the squeeze-out trenches along the leading and trailing edges (half-round molding from the hardware store) and ten indexing hemispheres. Most of that stuff is tacked together with hot melt glue; on Saturday and Sunday we had two glue guns running full time.
After this mold shell cures, our next step is to assemble the steel support truss and bond it onto the grotty side of the mold bed. After that, we separate the mold bed from the flanging patterns (but not the wing plug), roll it over, wax up the flange surfaces, and lay up the mold for the top surface. After that, the top side truss goes together and on, and then we can crack it open and retrieve the wing plug. And then we do it all over again for the left wing!

page updated 21 March 2006 all text and graphics copyright (c) 2006 HP Aircraft, LLC