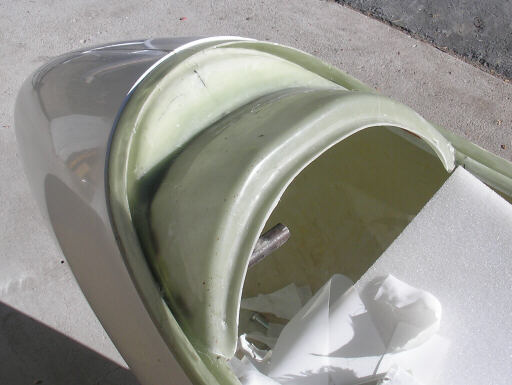
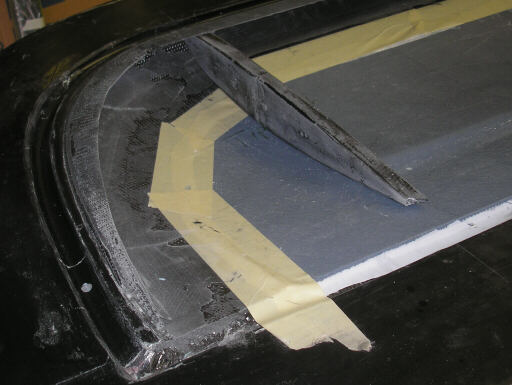
The morning of 12 December 2008, the outer shear tapes between my canopy frame and jettison hood are cured...
...So I can dig out the pvc foam chocks that I had temporarily assembled them with, and also the modeling clay I jammed into the joint to prevent the epoxy from running through and making a mess. I cleaned out the clay with a wire brush, sanded for tooth, wiped with acetone, laid in a shmoo fillet, and added two more tapes on the inside along the joint between the canopy frame and the jettison hood.
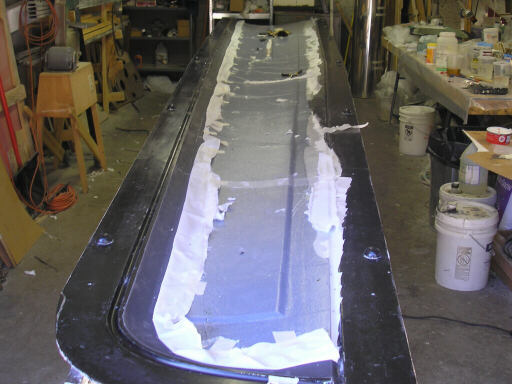
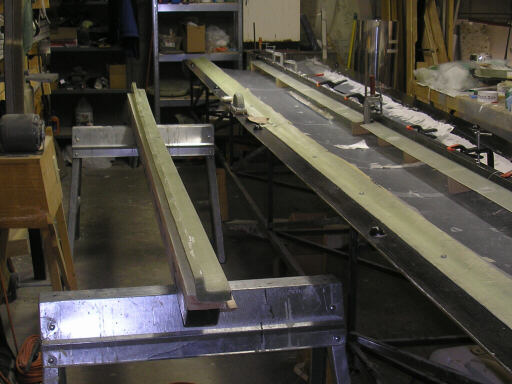
The next day, Brad peels the peel ply back along the leading edge so he can lay up the joggle along which we bond the upper and lower skins at the leading edge. This joggle also has extra bias and uni material in the inboard regions to form a compression member and collect thrust loads.
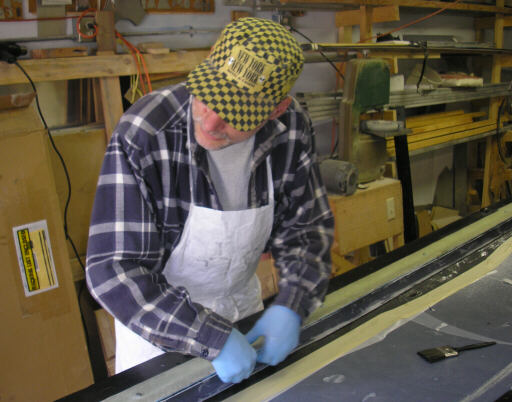
Two photos of pressing the joggle into place. We laid this strip up on a ribbon of used vac bag material, pressed it into place on the wing skin and onto the joggle board, and then peeled away the backing material.
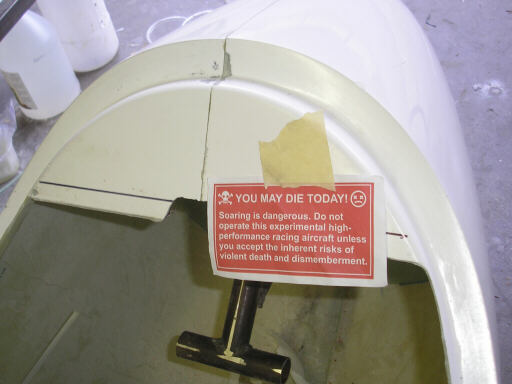
A test article of one of my proposed warning stickers. One of these will go with every glider, to be posted in plain view of the pilot on entry and exit.
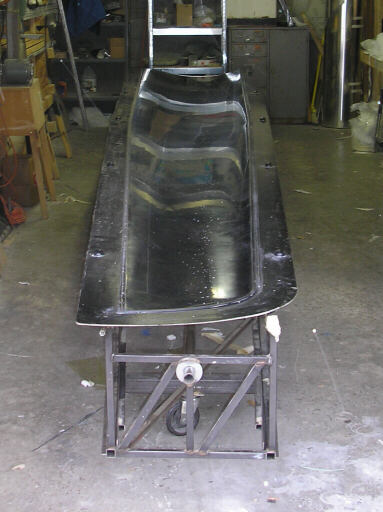
The mold for the drag spar angle material, getting some cleanup.
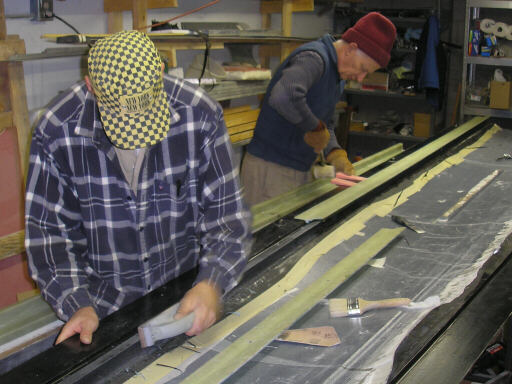
The morning of 13 December, Brad and Doug get straight to work demolding the joggle. Brad sands the spraggies off the edge of the outboard joggle while Doug uses wedges and persuasion to lift the inboard joggle board.
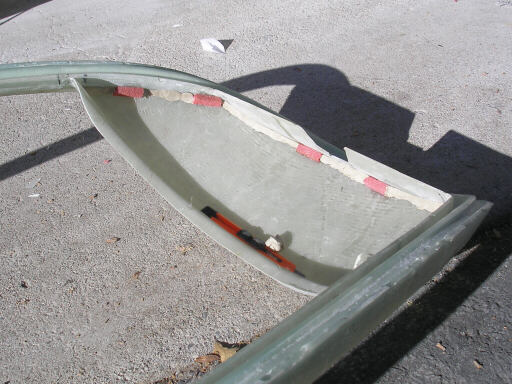
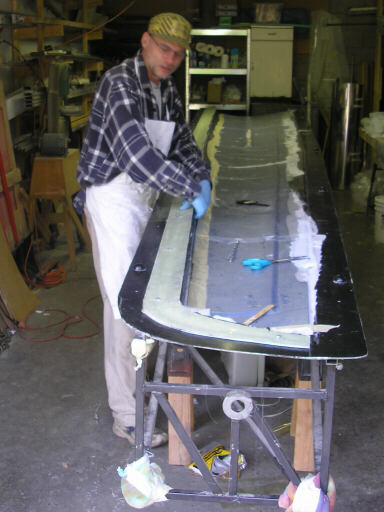
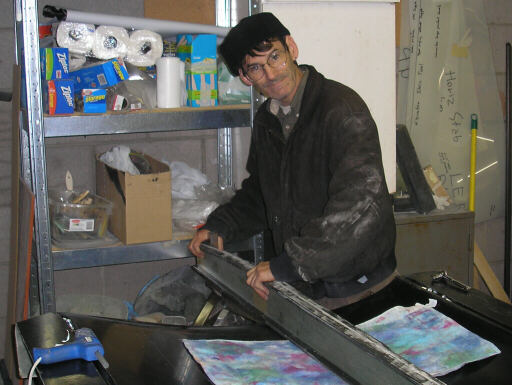
The inside tapes for my jettison hood are cured, and I'm fitting the T-bone cradle that mates the canopy frame to the pivot arm.

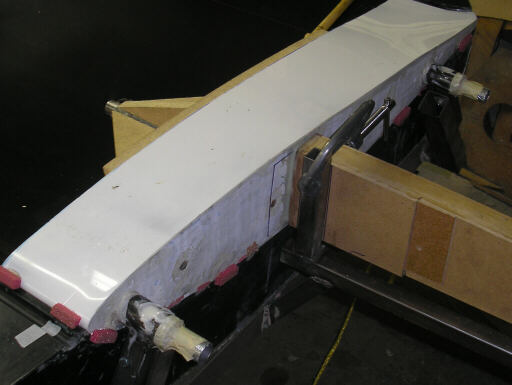
Brad test-fits the tip rib. Either the rib or the leading edge joggle needs to get clearanced so they clear each other.
Three photo sequence of putting the right upper wing mold away in the mold stack.
And here's the left upper wing mold, ready for waxing.
While waiting for the glue gun to heat up, I get a wing spar out of the rafters and test fit it into the mold and into the spar butt positioning fixtures.
After the hot glue gun is ready, I glue the left wing plug stub into the mold and proceed to pot the lift pin locating bushings into the rough-welded fixture arms. This time I use flox-filled 5-minute epoxy so we can wrap up that operation and proceed with waxing and kitting for the left upper wing skin.
Homebuilt aviation is not for folks who don't try things at home.
page updated 21 December 2008 all text and graphics copyright (c) 2008 HP Aircraft,
LLC