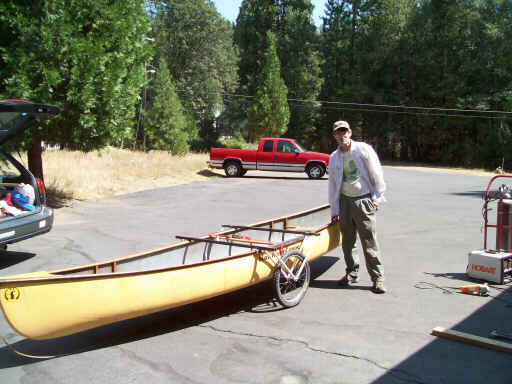
Here I am on 8 August with a borrowed canoe and the little carriage we built to roll the canoe down to the water. The place we were planning to put in is about a half mile from where we have to park the car at the far side of a locked gate.
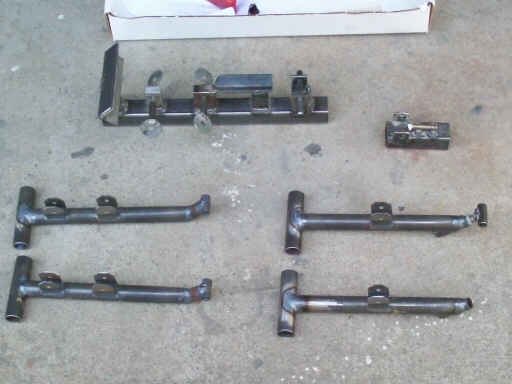
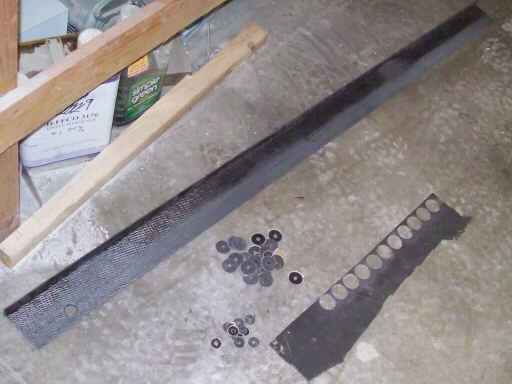
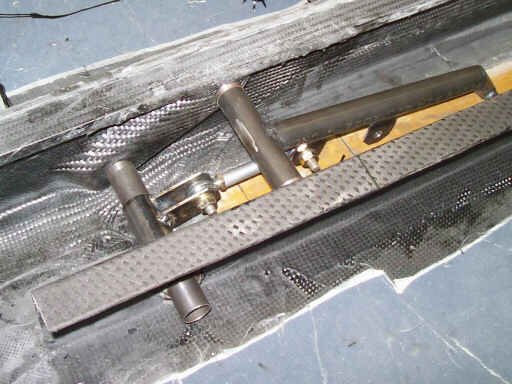
The first set of welded airbrake arms. These are two each of the inboard and outboard for the left wing. The right siders are similar, but not identical.
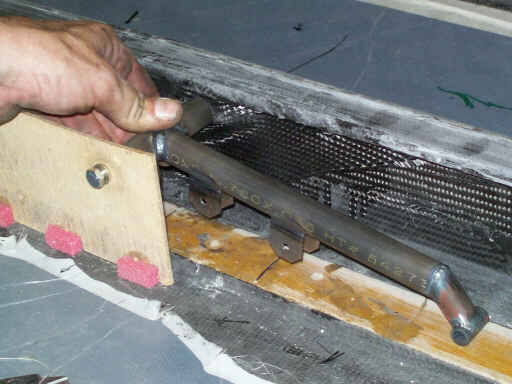
Test fitting the inboard arm in the upper left wing skin.
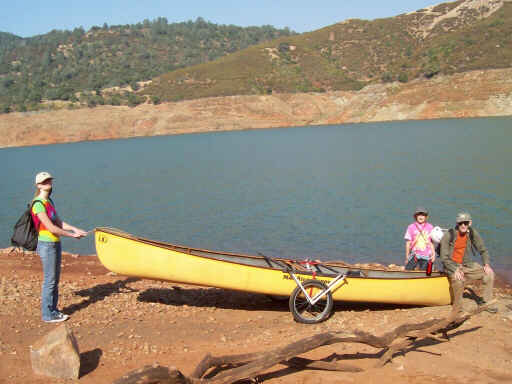
On 9 August, here we are after rolling the canoe down to the water. After this we paddled about three miles up the reservoir, and then back again. Unfortunately, I didn't find the climbing crag I'd noted on an earlier trip in a power boat. We'll try again later when we're prepared for a longer trip.
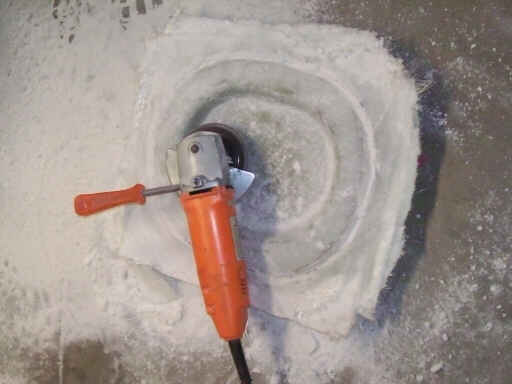
On 22 August, casting part of the squish plug for the left wing aft root rib.
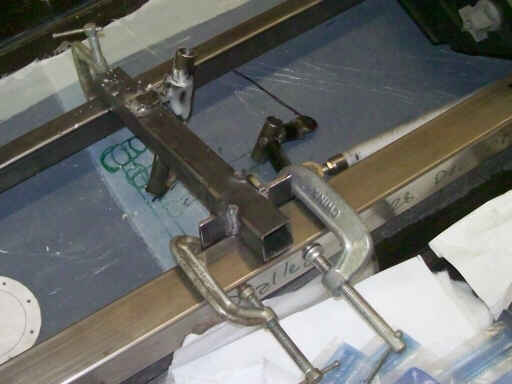
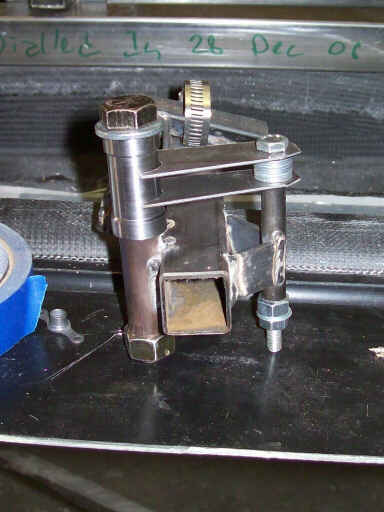
On 23 August, developing tooling to locate the mounting point for the left outboard flaperon bellcrank. I welded up a rough tool, and then precision potted the axis locator onto the tool by filling the space between the two with flox.
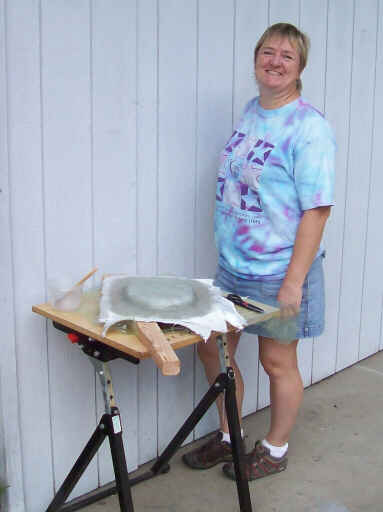
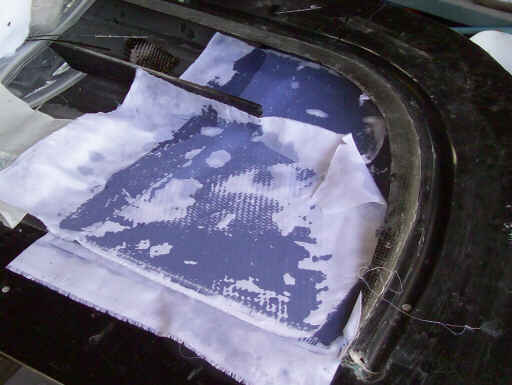
On 30 August, Brigitta and I lay up the aft wall of the airbrake box, quantity two. This is just a rough carbon angle that we lay up out of the cheapest carbon on hand, which happens to be a Hexcel 12-oz twill.
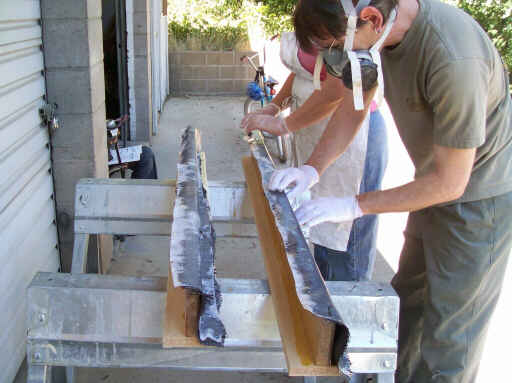
The heavy carbon doesn't like to conform to the angles well, so we vacuum bag it.
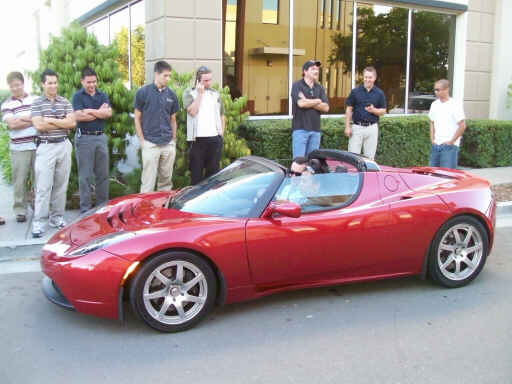
On 3 September, I happened to see this Tesla roadster demonstration at the rock climbing gym I go to. A curious thing: the blue shirts all say NUMMI on them, and the car is being driven by a Tesla employee. The carbon fiber body panels are fairly well done, though with more print through than I see in other high-end cars such as Ferarris.
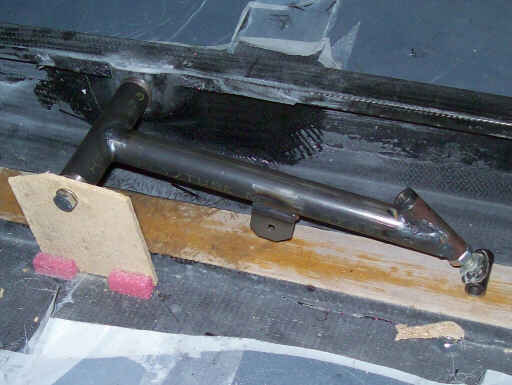
On 5 September, test fitting an outboard airbrake arm.
Brigitta helps out by laying up a temporary mold for the tailwheel fender. We'll later flip this mold and lay up more permanent male mold inside it.
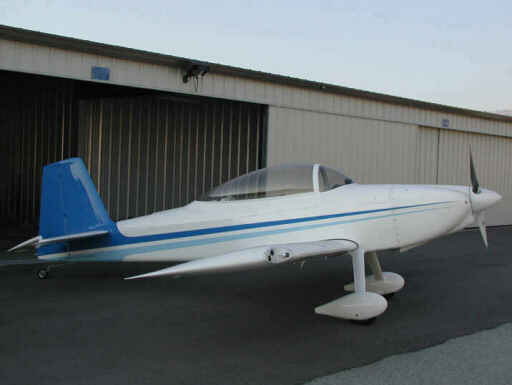
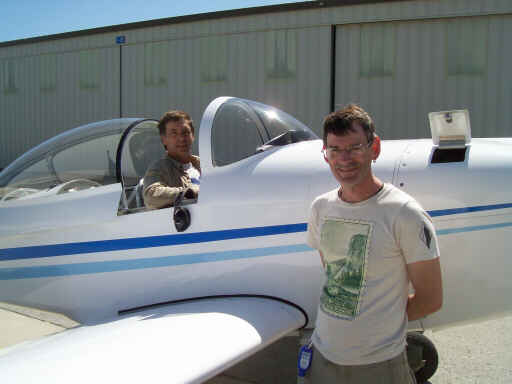
On 8 September, Steve Smith test flew the RV-8 that I've been helping him build. Here it is a week or two before the test flight, before he'd put the N-number on it.
Here's a YouTube video I shot of the first takeoff. Notice how fast the airplane accelerates and overtakes the trucks on the freeway adjacent to the runway.
And here we are just after the first test flight. The idea of actually finishing a homebuilt airplane was kind of novel, and I think I like it.
Well, back to the grind. Here I am on 10 September cleaning the edges of that tailwheel fender mold.
Here's the molds, separated. The male on the right is what we lay the actual parts up on, the female on the left is a standby.
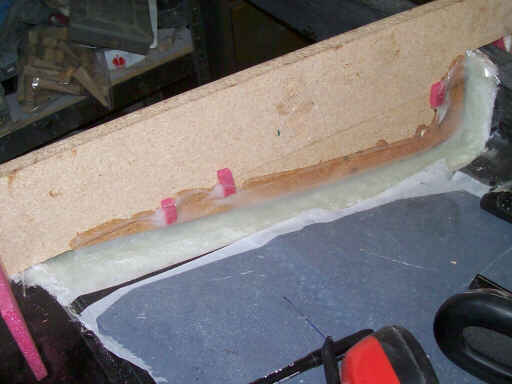
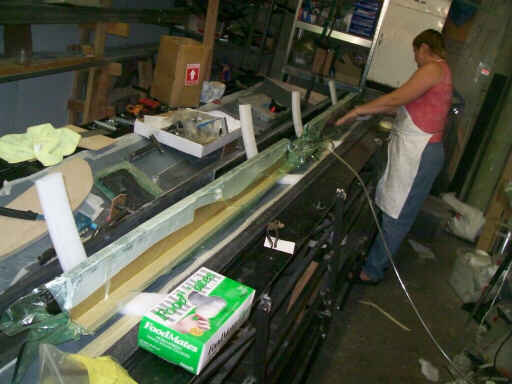
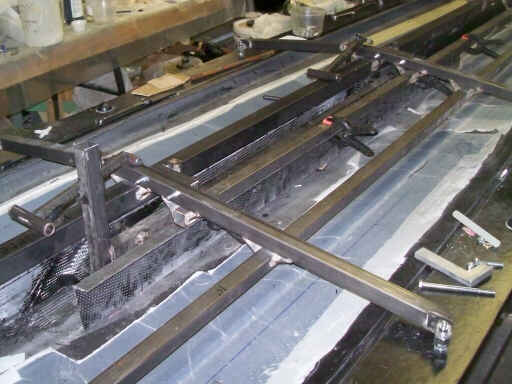
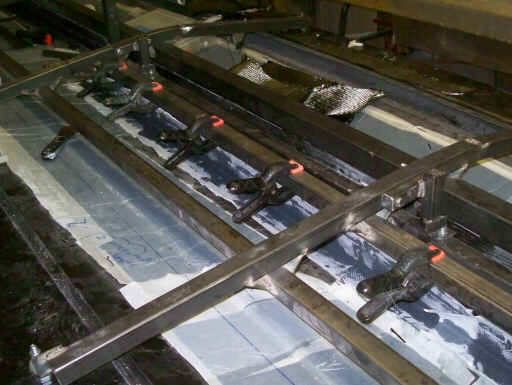
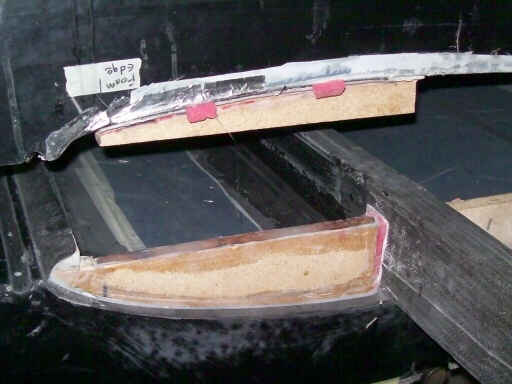
Cutting and fitting the aft wall of the left wing airbrake box. The flange you see bonds to the wing lower skin on closure; the part gets taped into the upper wing skin.
Making reinforcing disks for the airbrake arm pivots using two different sizes of holesaw.
On 12 September, Brigitta does a little touchup work on the tailwheel fender mold.
Brigitta also added a ply of 12oz to the "default tip" to stiffen it where it is not a sandwich.
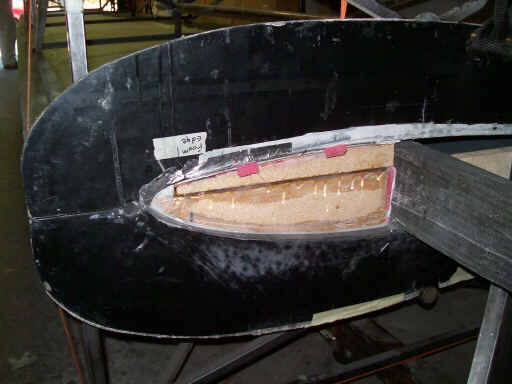
Taping the aft wall of the left wing airbrake box into the upper skin.
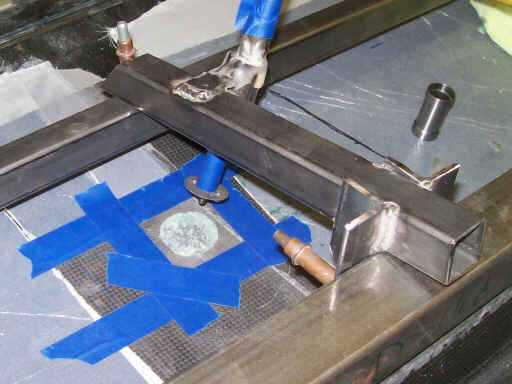
On 13 September, test fitting the airbrake arm in the box and developing the overcenter drive bellcrank and pushrod.
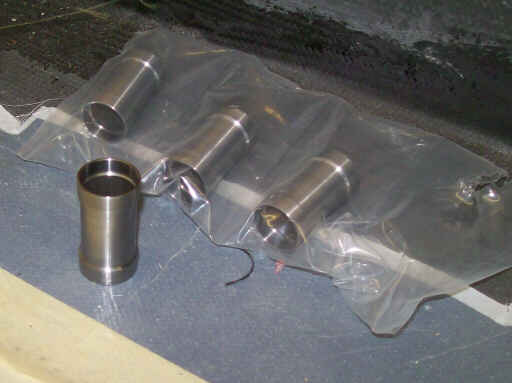
These are machined tubes with recesses for ball bearings; they'll become part of the outboard flaperon drive bellcrank weldment.
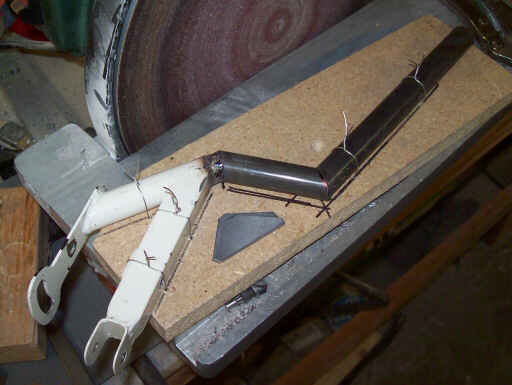
The control stick for Brad's cockpit. We're modifying it to suit, and here it is bound to a simple jig to be re-welded.
On 19 September, locating the mounting point for the flaperon bellcrank.
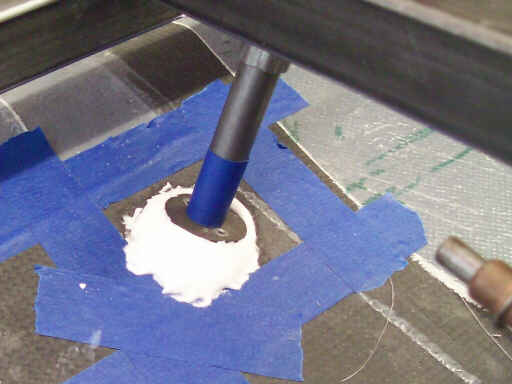
Potting the mounting point in place with a flox/micro/cab mix. This is done pretty casually since it also gets covered with two ply of carbon.
The outboard flaperon bellcrank under development.
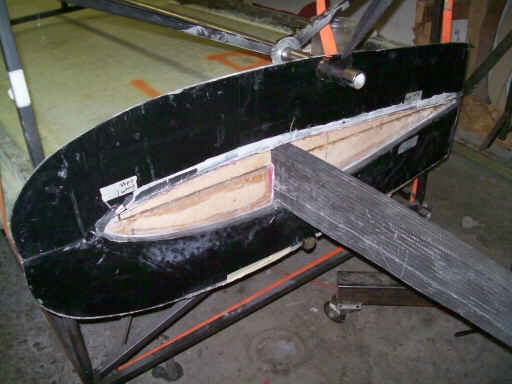
The left wing airbrake box aft wall in place. The wing skin is all cleaned off so that we can do a rollover and mold mating and so work on the root rib squishes.
As a family tradition, we attend the Yosemite Facelift every year where the Yosemite Climbing Association goes into the park and picks up garbage. And every year, a few of the pick-em-up sticks that YCA issues to volunteers get broken. And every year I collect the broken ones, fix them, and return them the following year. The most common problem is a tear between the stainless steel tendons that draw the arms together, which I repair with either a spot of MIG weld or a Monel pop rivet.
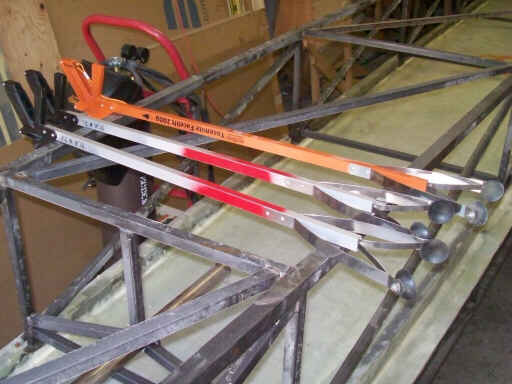
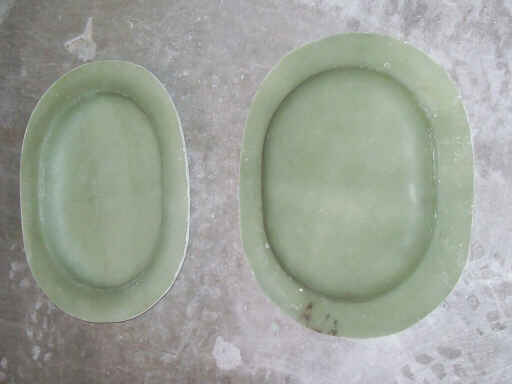
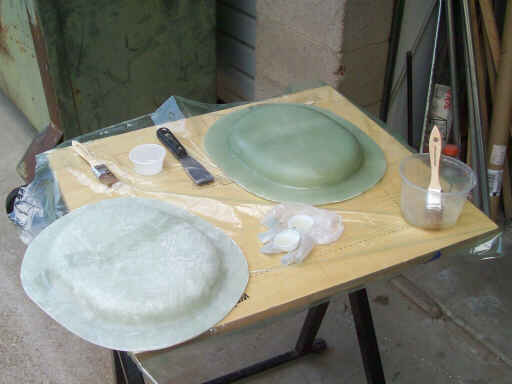
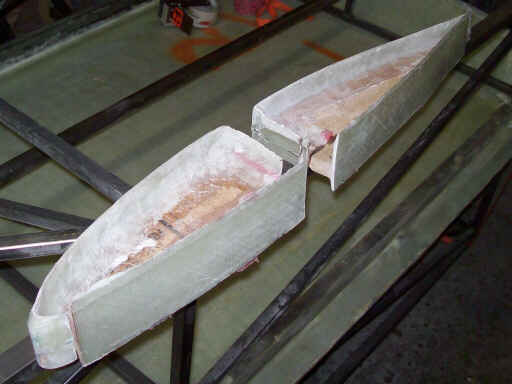
Preparing to mate the upper and lower portions of the root rib squish.
Joined.
Aft, too.
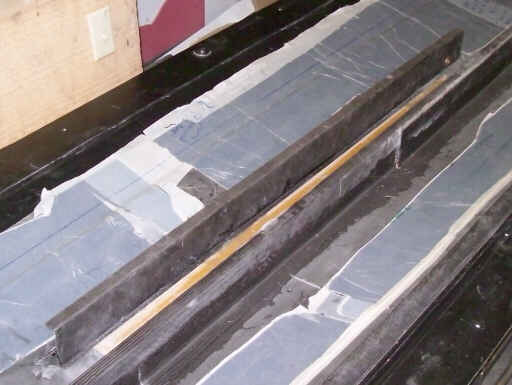
The finished squishes, ready for cleanup and then molding.
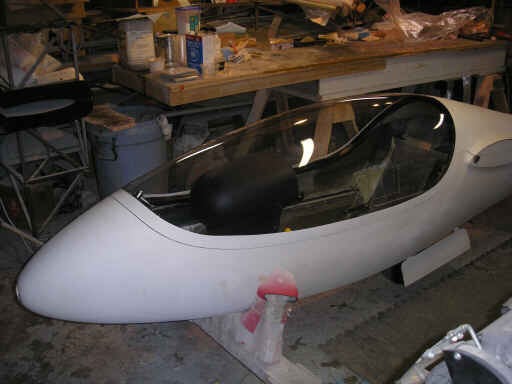
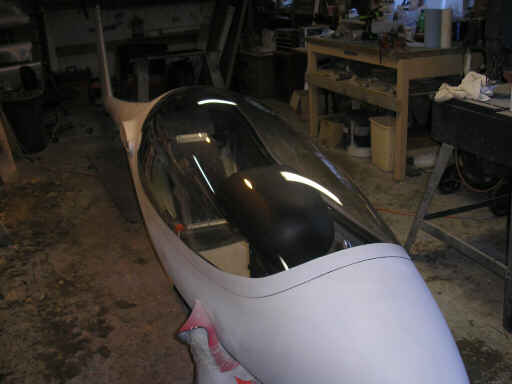
Two photos that Brad Hill just sent me of his canopy and forward fuselage. Brad had a tough time geting the factory coating off of the canopy transparency, but JJ Sinclair's suggestion of applying hot water seemed to help a bunch.
Homebuilt aviation is not for folks who don't try things at home.
page updated 21 September 2009 all text and graphics copyright (c) 2009 HP Aircraft,
LLC