Lately I've been poking along working on the autoconnect funnels for the fuselage, and on preparing the wing spar for installation into the upper wing skin. Meanwhile, Brad has been installing his landing gear.
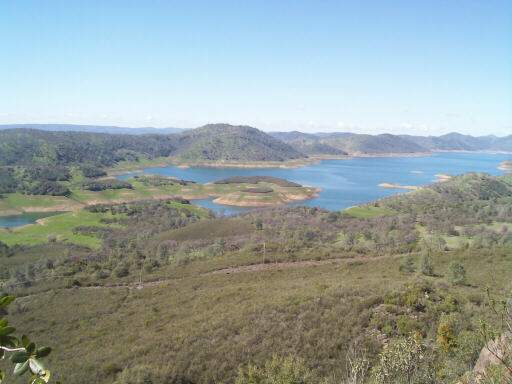
On 7 March the day was just too pretty to spend all weekend at the shop, so we drove out towards Jamestown and hiked up and across Table Mountain to where it overlooks Jamestown. There were lots of wildflowers and we saw many turkey vultures and other wildlife. And also lots of poison oak, for which the area is renowned. This is the view over New Melones reservoir, looking back the way we came.
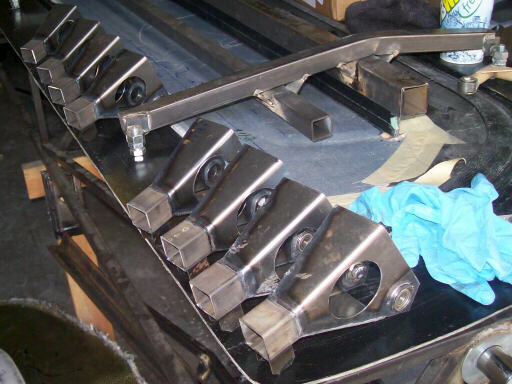
On 8 March I unpacked the autoconnect funnels that the welder returned, and installed the ball bearings in two of them so I could test the spacing. This is two shipsets; each ship gets four of these (two per wing). The airbrake and flaperon funnels are identical.
I spent most of the rest of 8 March making templates for the Garolite blocks that reinforce the spar where the main wing pins go through it, and making the first few reinforcing blocks.
I spent 14 March in the shop working on the wing spars, and on 15 March Alia and I went into Yosemite for an afternoon of climbing. We climbed Claude's Delight and then toproped Lena's Lieback, and I bummed a toprope ride on La Cosita Right. On the way out of the park we stopped at the Reed's Pinnacle turnout on Big Oak Flat road and hung out with the Sunol offwidth crew for a half an hour.
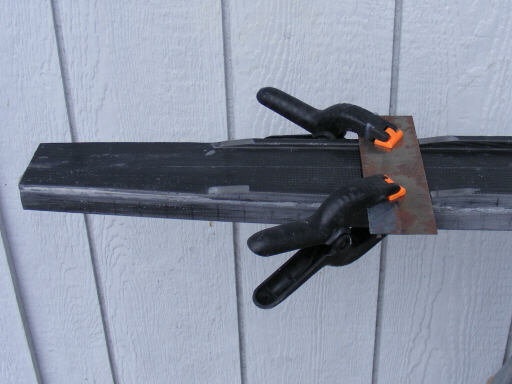
Fast forward to 23 March 09. That day started off sunny, then clouded over, then snowed a bit, then became a blizzard, and then cleared out to sunshine again. Here I am using a 90-degree die grinder to blend out the stair steps in the spar stub where the columns of pultruded strips end. This is a step recommended by Gerhard Waibel (the "W" in ASW) when he looked over my spars at Tehachapi in 2002. Basically I'm reducing the stress concentration at the end of each pultrusion column by scarfing it out at about 6:1. I'm in full gear because the carbon dust produced by this sort of operation is extremely irritating.
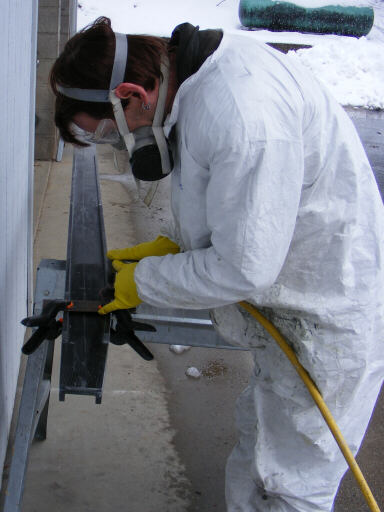
The steel plate clamped to the spar stub protects it in case the die grinder gets away. It didn't. Overall this step was a lot easier than I expected, dread it though I have these six years.
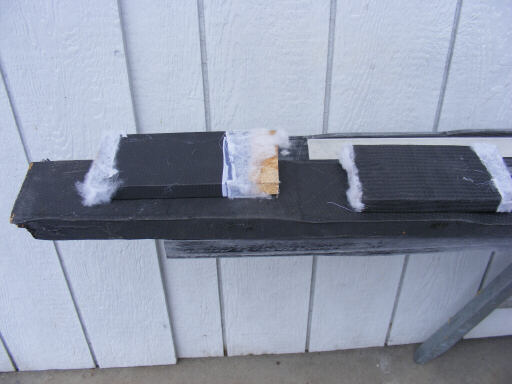
Another thing we've done in the last few weekends is do tests on wrapping techniques and materials for the spar stub. What's required is an exterior wrap that conforms and adheres well to the spar caps to connect the upper and lower caps in shear. Here are three of the test coupons testing 4x ply of 6 oz plain weave, 3x ply of 12 oz 5hs, and 2x ply of 15 oz braided sleeve. Of all of the candidate layups, the 15 oz braided sleeve looks the most promising, though it is unfortunately the most expensive. The spar butt is a quite awkward shape to laminate, since the upper plies tend to disrupt ("Ondulate" in DG-speak) the plies under them. Vacuum bagging is problematic, since the way it compresses the laminates tends to crimp the corners, though this was most managable with the 15 oz sleeving.
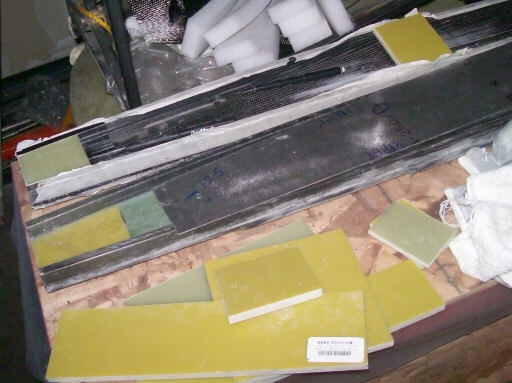
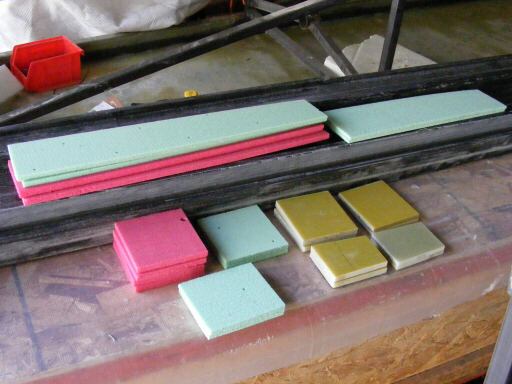
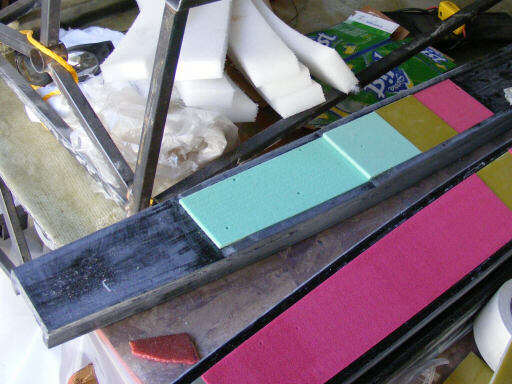
Here's a shipset batch of filler panels and blocks I made that weekend. Of course, I started by making templates for the panels, and them cutting the material to the template outlines. These panels fill in the I-beam in the spar butt region so that when we do the final wrapping it is rectangular in cross-section. The pink foam is 3/8" Divynicell, the light green is 1/4" and 3/16" Divynicell, and the olive and dark green are the Garolite reinforcements. I made another set of these besides for the next spar set.
Here's the foam and Garolite fill for the deeper trench of the long C-section.
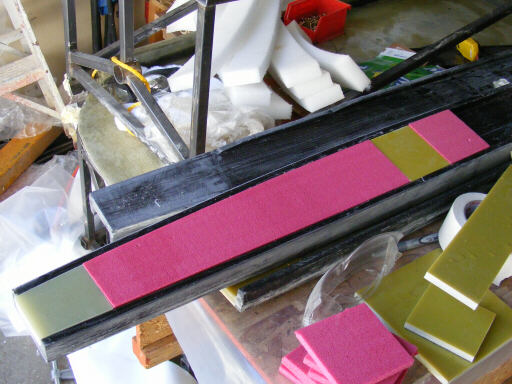
The foam and Garolite fill for the short C-section. After we bond in all this stuff we sand the foam so that it matches the scarfed-out stair steps of the pultrusions.
While I was messing around with the spars, Brigitta made me a set of parts for the instrument pod, instrument panel, tailwheel fairing, and #3 bulkhead. Here Brigitta is taping together the right and left instrument pod shells. The shells are trimmed and then returned to the mold, held in place with regular double-sided Scotch tape.
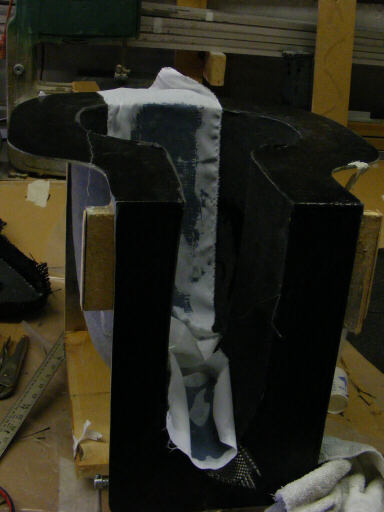
The tailwheel fairing and bulkhead laid up and bagged down.

The finished instrument panel.

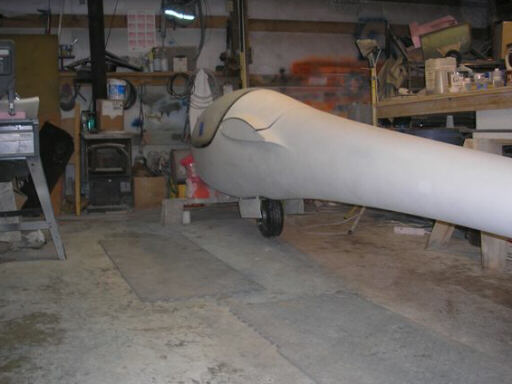
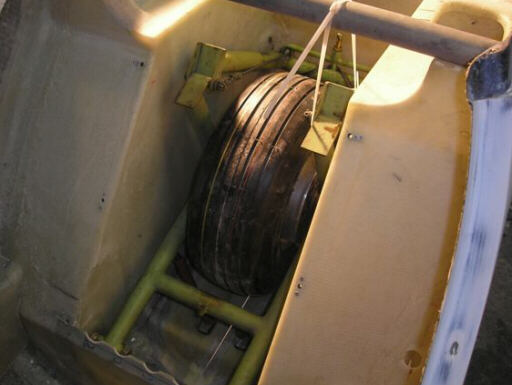
While I've been working on the wing spars, Brad has been installing the retractable undercarriage and gear doors in his fuselage.
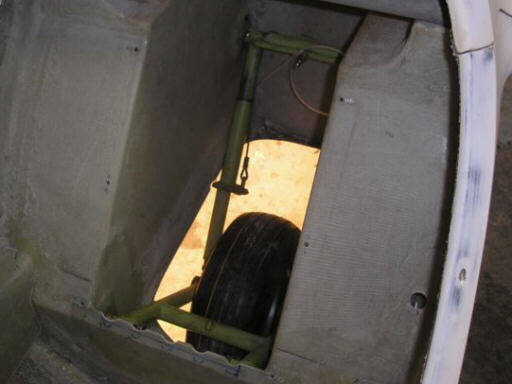
Gear extended viewed from the cockpit. After the gear is installed, this access gets coverd with a bonded-in shear panel that protects the fuselage from "parallelogramming" at this station in case of the massive side loads applied between the gear and wing attach in a ground loop.
Gear, retracted.
Homebuilt aviation is not for folks who don't try things at home.
page updated 28 February 2009 all text and graphics copyright (c) 2009 HP Aircraft,
LLC