This weekend we returned to the shop to continue work on things various in progress. On Saturday we started scribing the location for the flaperon separation line onto the upper right wing mold. We also pried the plug out of the jettison hood mold and cleaned up the edges and exterior surface of the mold. Then we laid on a few coat of wax on the hood, lower bellcrank platform, and T-bar cradle molds and then laid up one each of those parts.
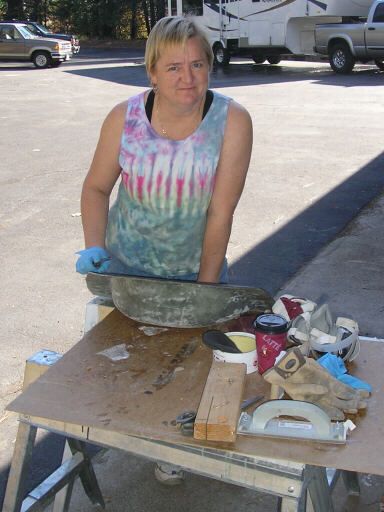
Sunday morning we spent working on framing a shed on the south wall of the house. On Sunday afternoon the girlds and I drove up to Box Canyon, a local rock climbing crag right across the highway from the Bear Valley ski resort. We did the usual bit of toproping on the tall wall, and then I and Alia did leads on Sweet Sophie, an easy six-clip slab route across the canyon from the tall wall. On Sunday evening Brigitta and I returned and demolded and trimmed the Saturday parts.
I also did some work on fitting the jettison hood, and I figure to bond it in place over Thanksgiving, and thereafter start doing the details of the jettison latch itself.
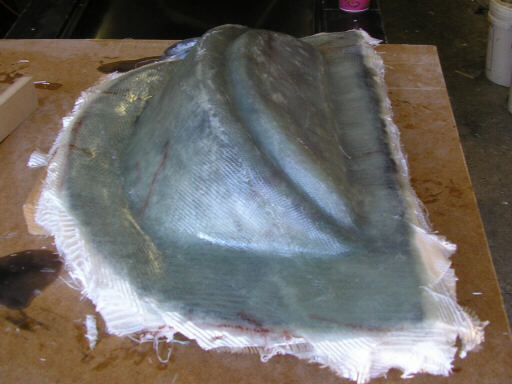
The jettison hood was an unbagged part, partly as an experiment, partly as a test of layup skills, and partly because I wanted a tough, resin-rich part. It worked out fine, and I think that going forward I will make more parts with more care and less vacuum consumables. The surface finish leaves something to be desired, since something in the tooling coat or the PVA attacked some areas of the brown primer and bubbled it. However, since the part gets perimeter-taped in and later textured and painted black, it is perfectly acceptable.
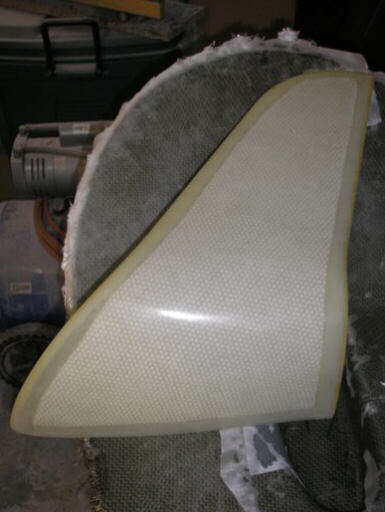
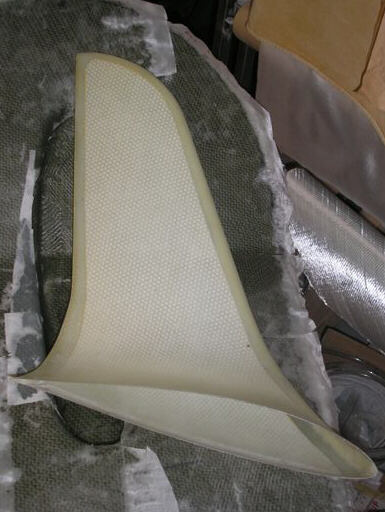
Two photos of Brad's latest set of winglet skins, made of fiberglass with a Soric core.
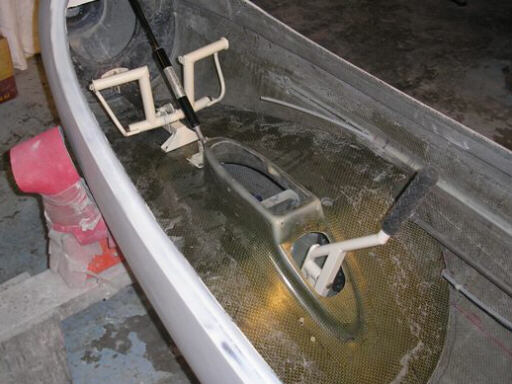
Brad sent his steel control system parts out to be powder coated. Here they are installed.
The jettison hood mold as we found it on Saturday morning 22 November 2008.
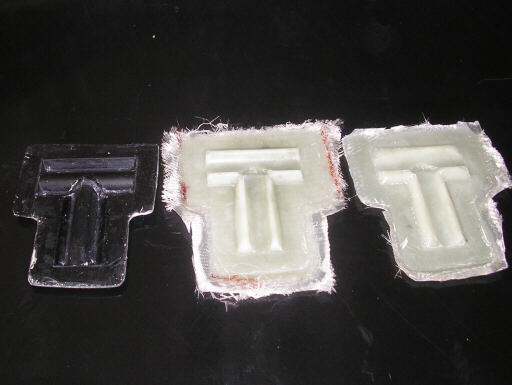
A couple of our little T-bone cradles and the T-bone mold. This is actually a pretty hard part to make, it takes quite a touch to get materials down into those trenches without bubbles and breakouts.
I clean up the outside of the jettison hood mold.

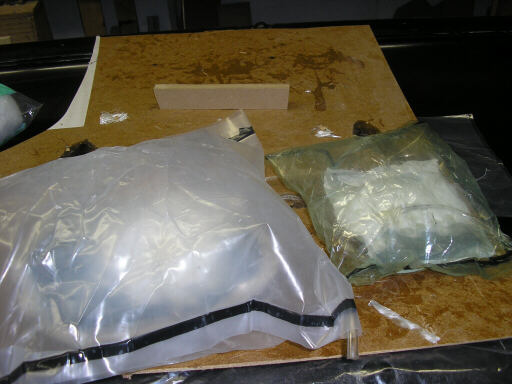
And then Brigitta waxes it.
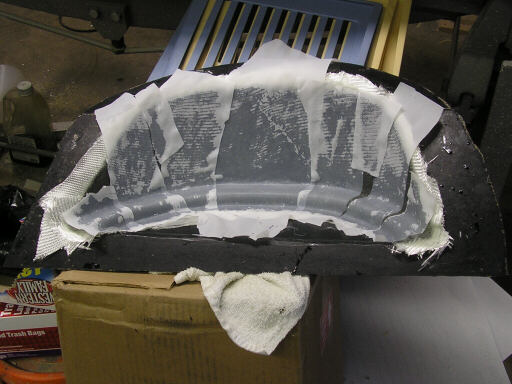
And then I do a wet layup on it. Brigitta finished it out with these strips of peel ply.
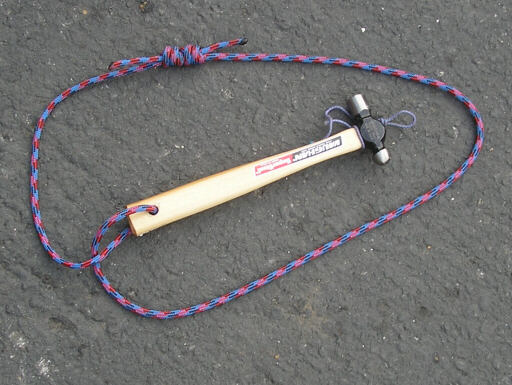
I also made this cleaning hammer for Alia. She'd had to abandon one of my BD chocks on CS Concerto a couple weeks back, I had set it too tight for her to remove. So I got this little ball peen hammer for her, shortened the handle an inch, and slung it on a loop of 5mm Spectra cord. It's handy for banging on the ends of a nut tool with.
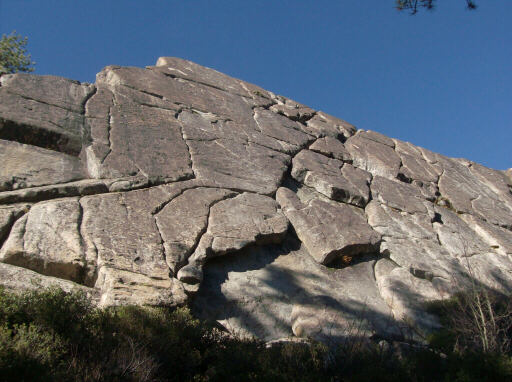
Sunday afternoon, at Box Canyon. Everyone I know just calls this Tall Wall, I don't know if it has any other name. There's several toprope anchors along the crest of the wall. Our usual slab practice route is straight up the fall line from the block that looks like a turkey leg. It's amost exactly 30 meters from the base to the anchor, perfect for toproping with a 60m rope.
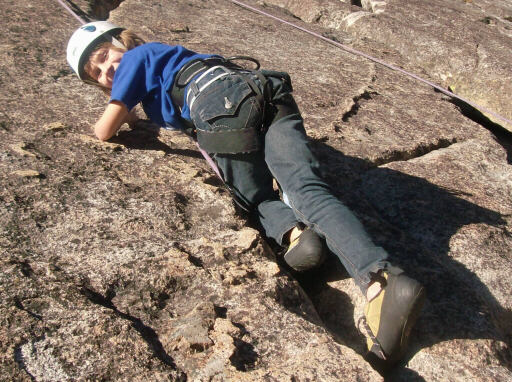
Raen hand- and foot-jamming up the upper edge of the Turkey Leg block.
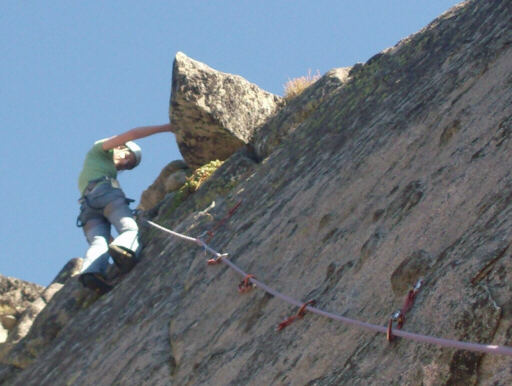
Alia at the top of Sweet Sophie.
Sunday evening, Brigitta unbagging the parts she'd made on Saturday.
We usually start by inflating the bags with pressurized air to peel the bag out of any captures.
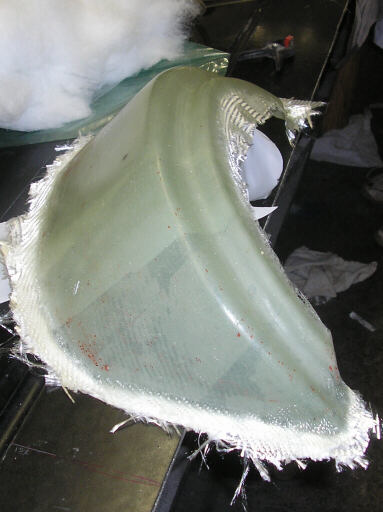
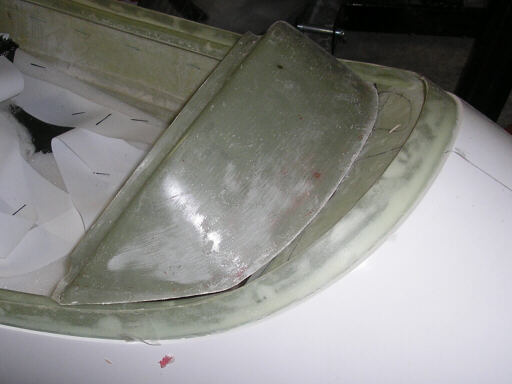
I loosen the jettison hood from its mold by tapping the mold firmly with a fiber mallet.

Before trimming.
Rough-trimmed and then returned to the mold.
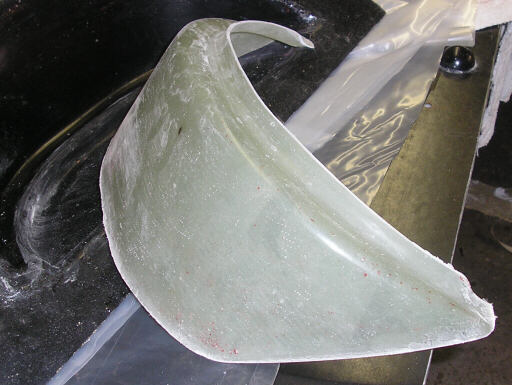
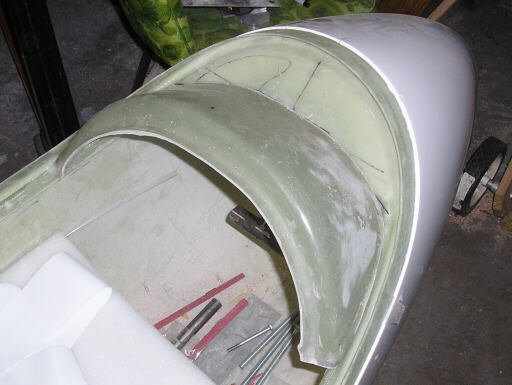
Set in place on the canopy frame. There's still some trimming work to be done to get a nice fit. When it's all trimmed I'll put it back in the mold and scribe the final trim line on the mold surface.
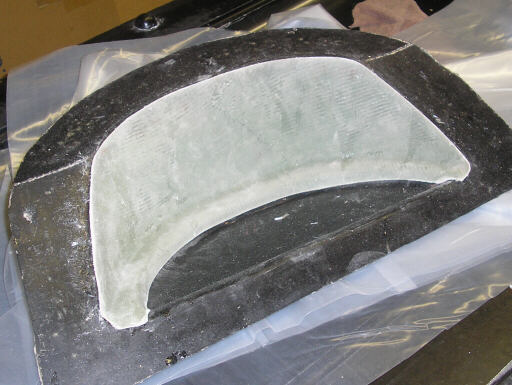
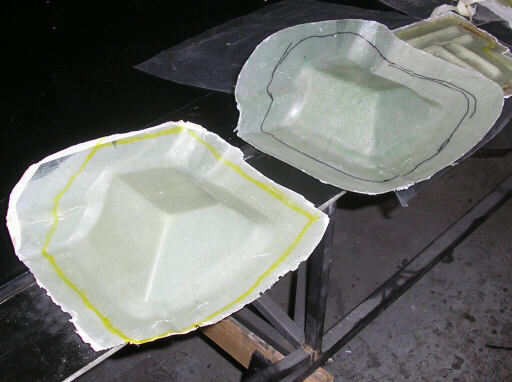
The roll bellcrank lower support platforms, one from this weekend (yellow trim line) and one from ADF 5 (black line).
Last week I met a young man who rides a tricked-out Puch Cobra moped like one I've had tucked away for a couple decades. I promised to get a couple photos of mine, but this is all I could do in the time available. I'll dig it all the way out this weekend and get some proper photos.

Homebuilt aviation is not for folks who don't try things at home.
page updated 23 November 2008 all text and graphics copyright (c) 2008 HP Aircraft,
LLC