Things have been plugging and molding right along at the shop. We've finished the parts for the elevator skin mold, and for that surface we only need to do simple male molds for the four ribs (two each tip and root ribs), and based on the Lost Arrow I did for the horizontal stab it will be perfectly adequate to just bandsaw the male mold out of 5/8" nylon sheet.
We've also managed to sneak in a half-day of family recreation here and there. On Unday 16 March 08 we rented an 18-foot runabout at the New Melones marina and spent the afternoon toodling about on the water. It was a pretty nice machine with a lot of get-up-and-go. My ulterior motive was to scout out some climbing route opportunities on the arm of New Melones upstream of Parrot's Ferry, the which we did fairly quickly. Certainly much faster than with the patio boat they tried to get us to rent.
Anyhow, here's the pictures:
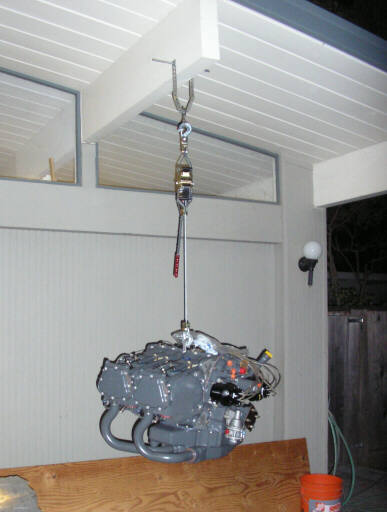
Unloading Steve's RV-8 engine on 7 March 08, after our whirlwind Northern Journey the prior weekend.
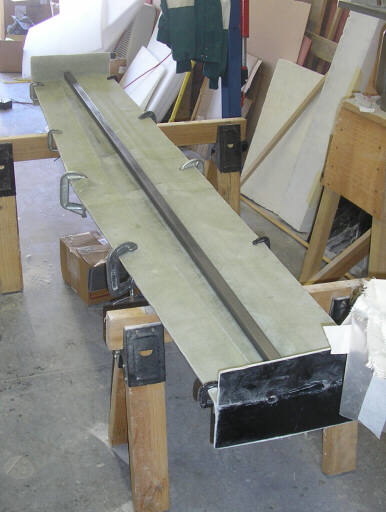
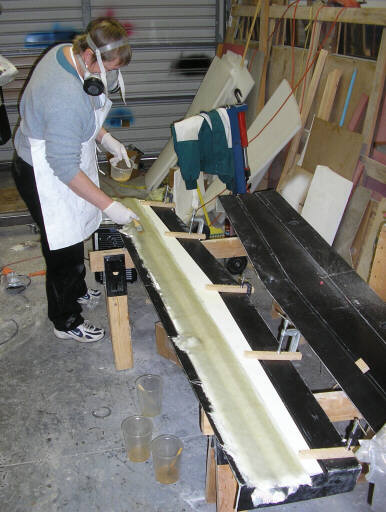
Back at the shop on 9 March, getting ready to bond a steel tube stiffening spine onto the back side of the upper elevator skin mold.
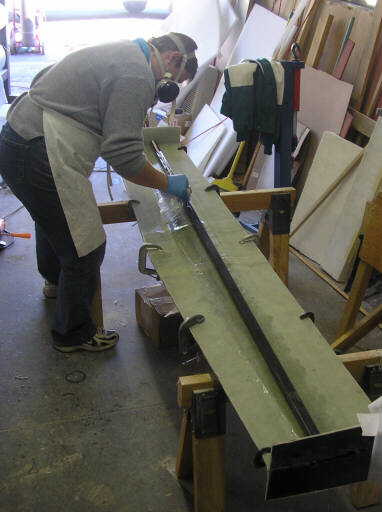
Brigitta wets out the tube and the mold surface prior to the laminating.
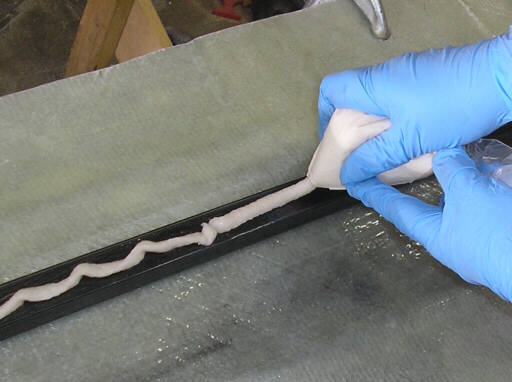
Laying a good bead of shmoo onto the tube with the icing baggie trick. The real trick here is keeping the perforated corner of the baggie from tearing open. It's best to reinforce the baggie corner with making tape or duct tape prior to snipping off the corner.
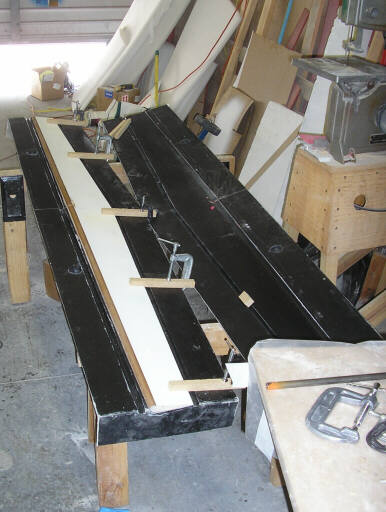
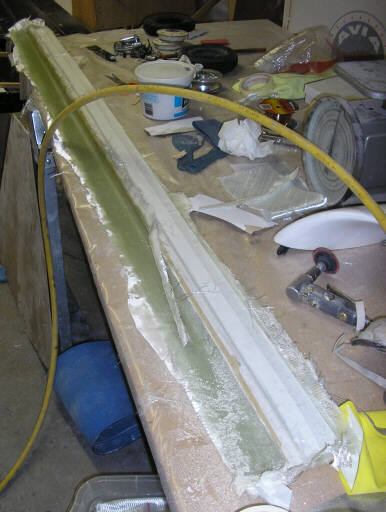
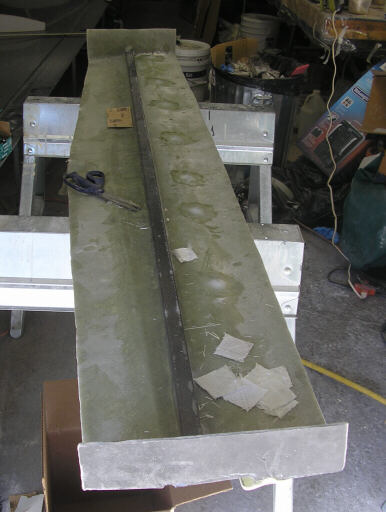
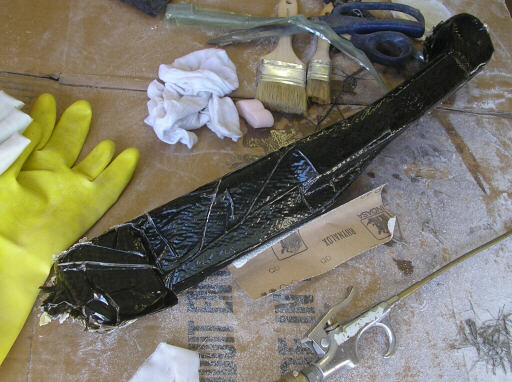
Back at the shop on 15 March 08, getting ready to lay up the elevator skin joggle mold.
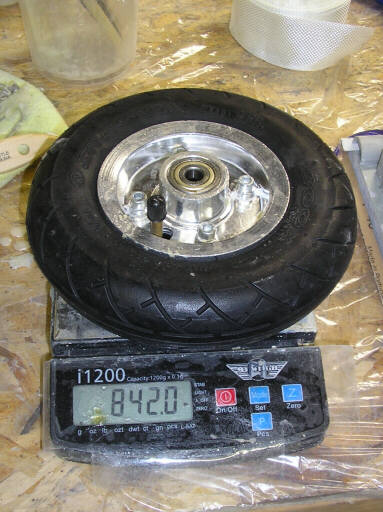
I bought this 200x50 wheel and tire from Monster Scooter Parts. It's an imported Chinese tire and a cheap cast aluminum wheel. The assembly clocked in at 842 grams (1.85 lbs)
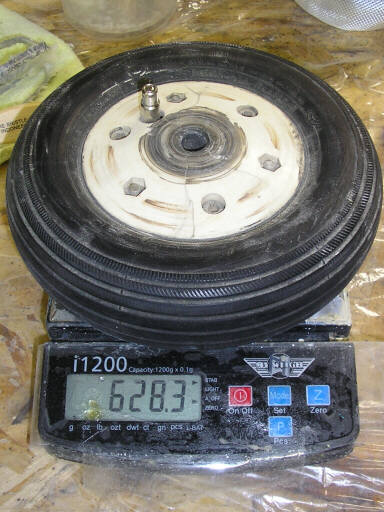
For comparison, the Tost 200x50 tire and German baggage dolly wheel that Steve Smith broke when he landed his PIK-20 on the football field at Mission San Jose High School in Fremont. It hits the scales at a more pleasant 628 grams (1.38 lbs). Where 1/2 lb matters, I guess the Tost unit is the way to go.
(Thanks to Bob Lepp for correcting my math on the gram-to-lbs conversion!)
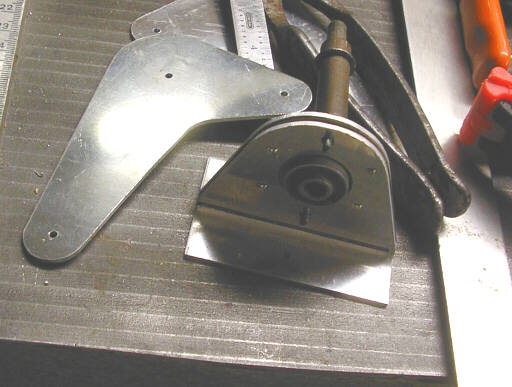
Making the prototype aft elevator bellcrank leaves. The dull one is a 6061 template, the shiny material is pricier 2024-T3 Alclad.
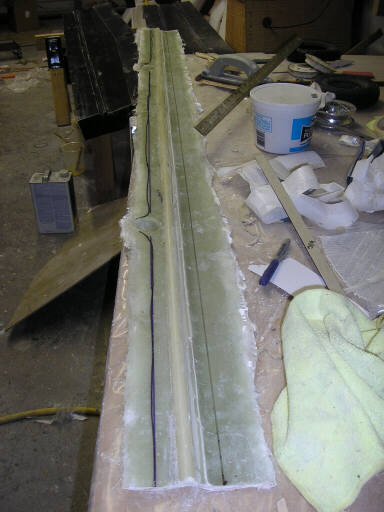
Laying up the elevator joggle mold.
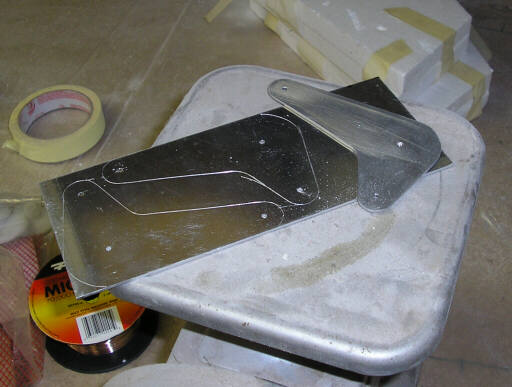
The prototype elevator bellcrank leaves and a proposed redesign of the bracket that supports it. In the middle of making these parts I had the brainstorm that if I anchored the bellcrank bearing and pivoted the bellcrank leaves on the inner race I wouldn't need the spacers I've used on other double-shear bellcranks. That makes for lighter parts and fewer of them.
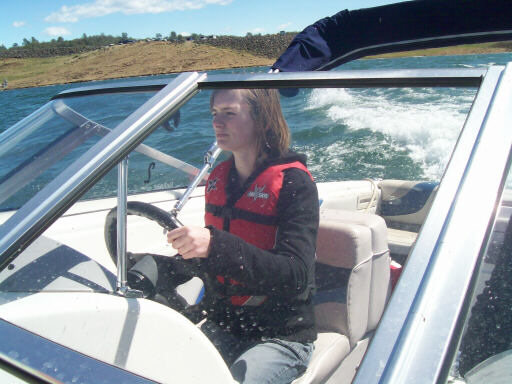
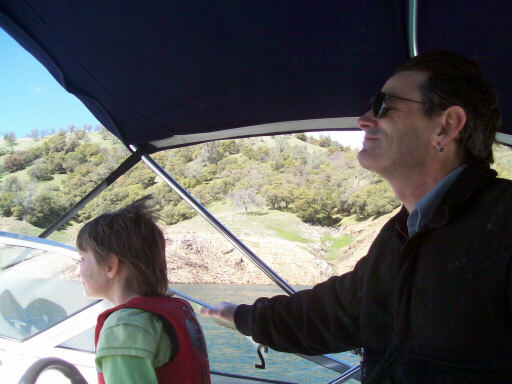
The afternoon of 16 March 08, out on the lake. Alia at the helm while we tear along at some 25 knots or so.
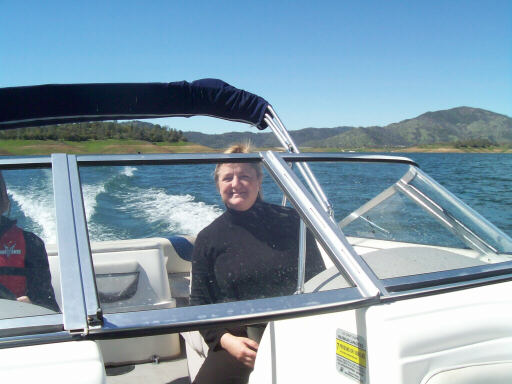
Brigitta, second in command.
I supervise Raen as she steers us back to port on the last watch.
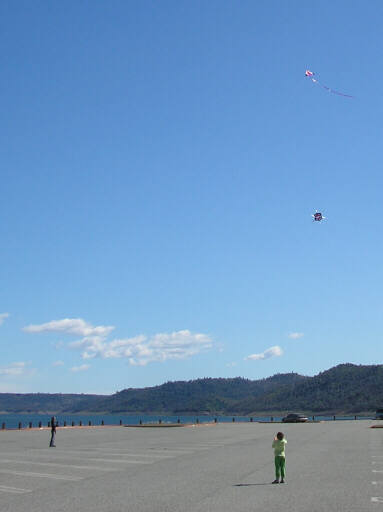
After the sailing, there was a perfect breeze for kites, and we couldn't resist.
That evening we went back up to the shop to get in a bit more work. Here we start trimming off the edges of the bulking plies that add the joggling to the joggle mold.
And we mark the cutoff edges of the joggle mold.
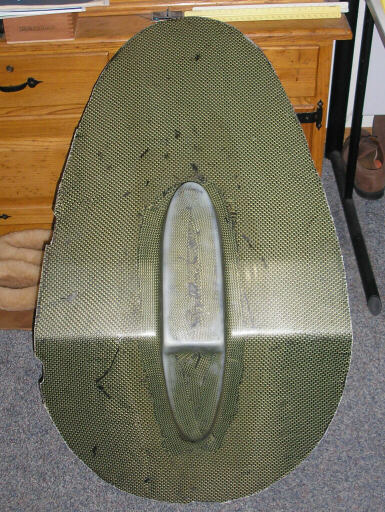
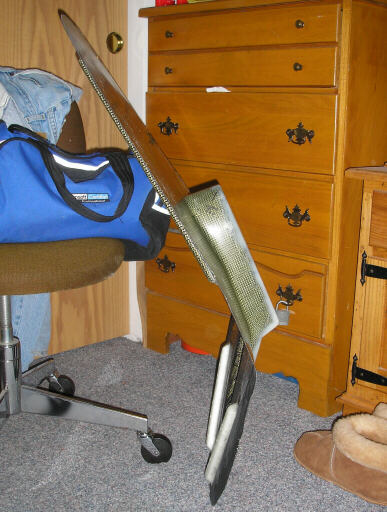
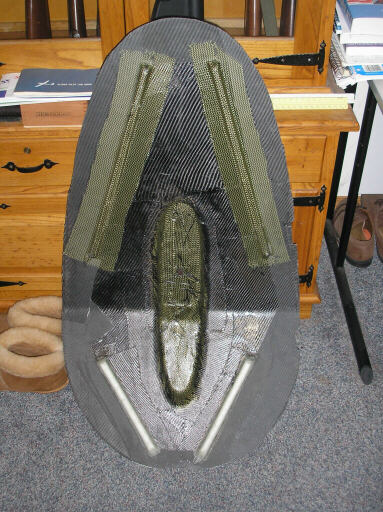
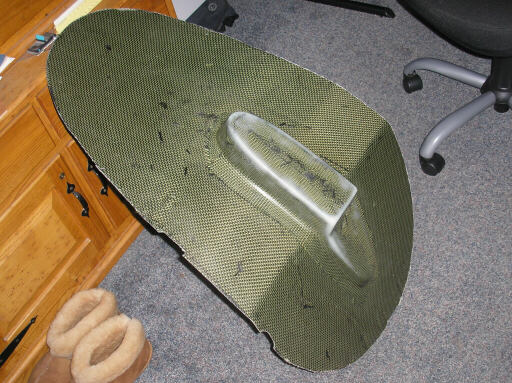
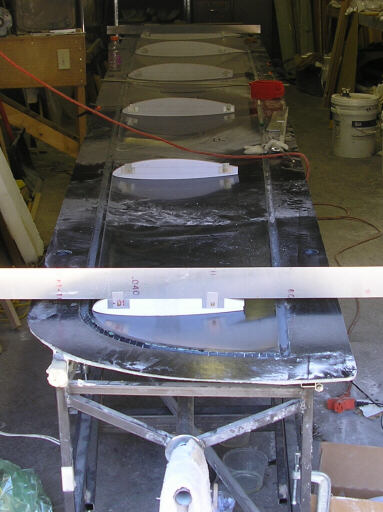
Meanwhile, Brad's been working on the cockpit interior parts. These four photos taken 20 March 08 show the cockpit floor that goes under the pilot's knees. The boss in the center is where the instrument pedestal mounts.
Back at the shop on Sunday, 23 March 08. I'd spent the day before at the shop as well, trimming the joggle board and laying up a ventilation duct for Steve's RV-8, but I didn't have the camera with me. I'd also drilled the holes for the screws that secure the joggle mold to the upper mold surface, and also potted acorn nuts onto the back side of the mold. It's important that vacuum bag molds be air tight, hence the importance of potting the nuts in place.
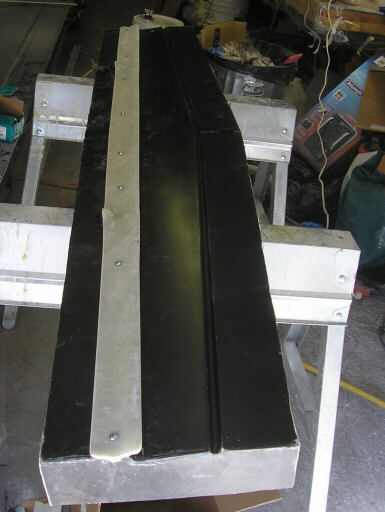
The shiny side of the mold, with the joggle mold screwed into place.
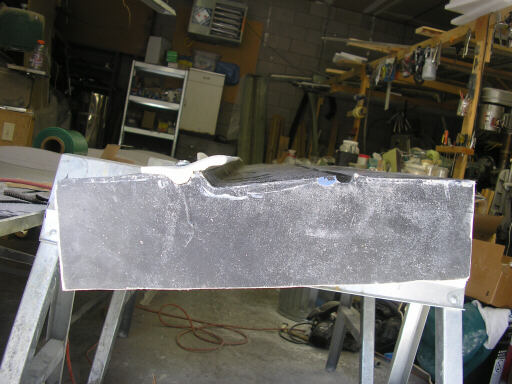
End-on view showing the joggle profile.
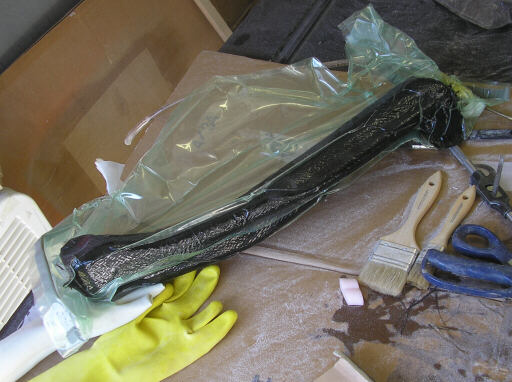
The vent duct, still bagged. I didn't bother with peel ply or breather, since the vacuum is for conformance and not debulking.
The duct unbagged. The crinkles are just resin, there aren't fibers in them. I think this part will sand up nice.
Starting the washout survey on the lower left wing mold. For complicated reasons, it's easiest to survey the lower molds, and then later transfer the adjustment to the upper molds.
Homebuilt aviation is not for folks who don't try things at home.
page updated 24 March 2008 all text and graphics copyright (c) 2008 HP Aircraft,
LLC