On Friday and Saturday, Brigitta and I laid up the two parts of the fin spar mold, and also laid up the PP tube guide support mold.
Here's the latest photos:
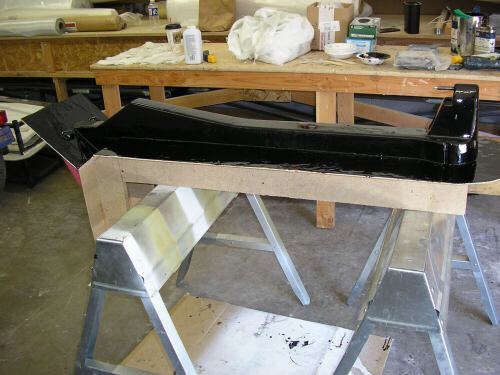
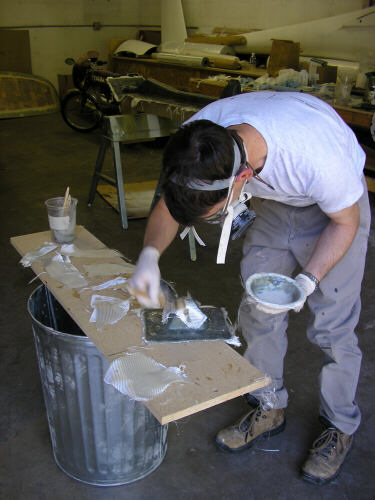
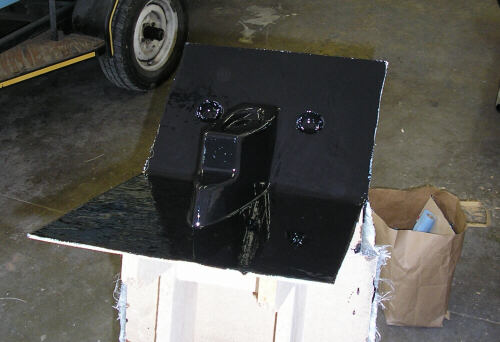
These first three shots show the fin spar plug and PP guide support plug coated with TC-1610 epoxy tooling coat. This stuff has incredible surface tension, which is how it says on waxed surfaces. But as soon as you get a breakthrough it pulls back and exposes the surface. So you have to brush it on really carefully and always in the same direction. It also helps to do breakthrough patrol while waiting for it to gel. Once it starts to gel, you can start the layup.
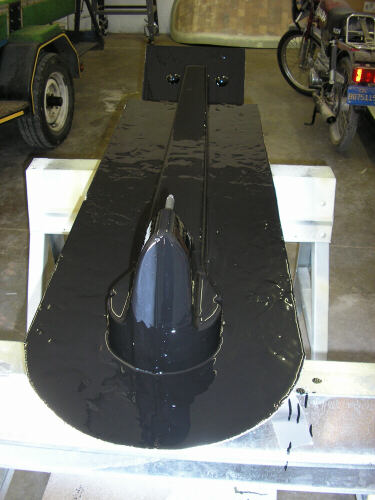

This shot shows the temporary partition between the vertical and tip rib portions of the fin spar. Once the vertical mold is finished, we break away this partition and mold the tip rib portion.
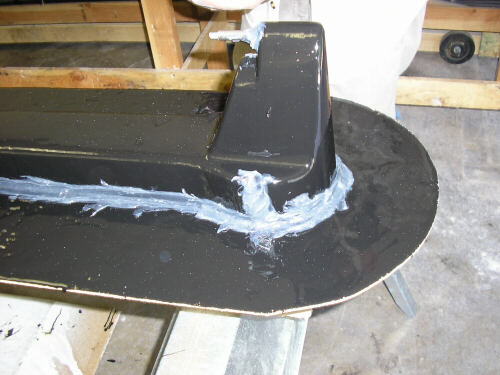
Here the tooling coat has started to gel, and I've started to smear the sharp corners of the plug with a mix of epoxy resin and Cabocil (fumed silica). The Cabocil turns the resin into a thixotropic paste that looks and handles exactly like axle grease. Note how I've packed it around the rudder pintle drill bushing and into the rudder cable tunnels.
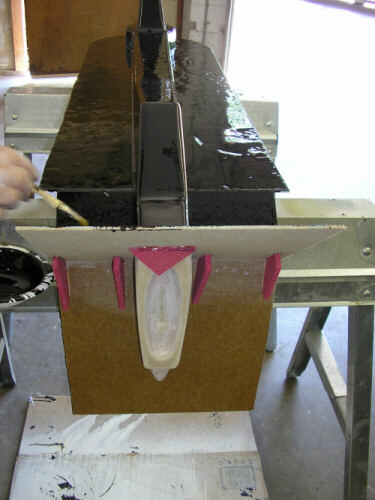
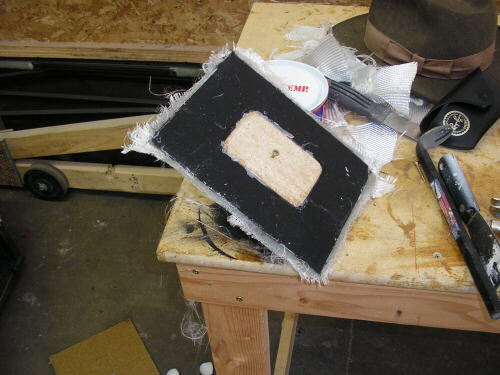
Here I'm getting started on the PP guide support mold. Note how I'm laying the rectangular patch on diagonally so the fibers are bias across the top of the pyramid - that makes it drape better. I also packed the saddle in the top of the pyramid with epoxy/Cabocil to prevent void-causing bubbles in that sharp-cornered area.
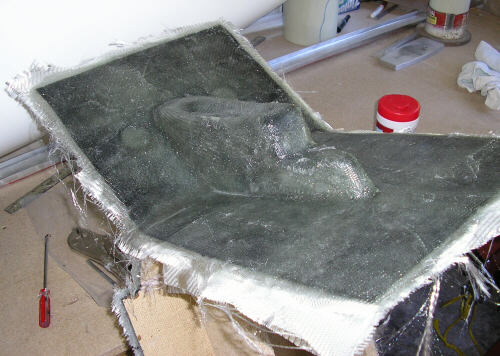
The next three shots show the finished but uncured lower fin spar mold.
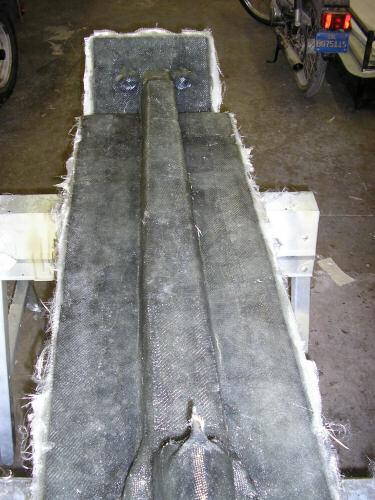
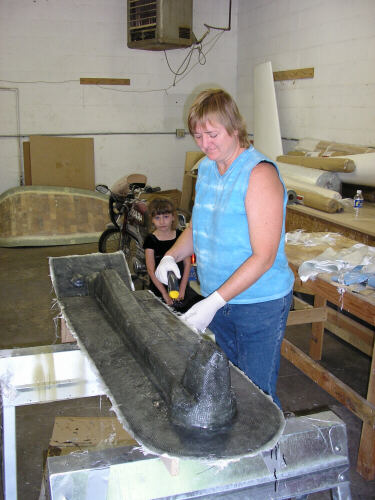
Here Brigitta trims the uncured hairy edges while Raen looks on.
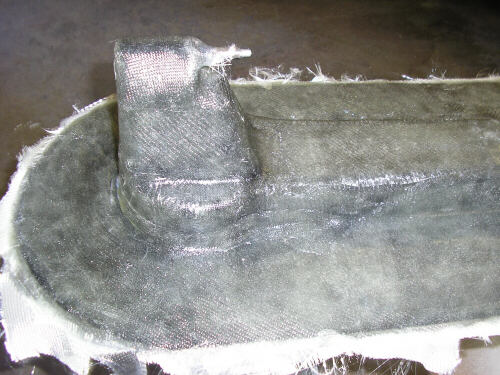
Here's where we've broken away the temporary partition between the lower and upper portion of the fin spar mold on Saturday. The waxed masonite separated cleanly, though we had to dig the white hemispheres out separately.

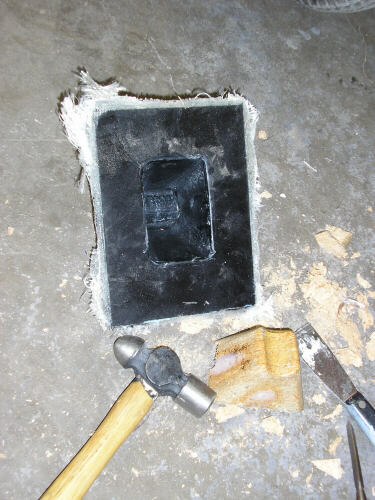
And here's where I've started to dig the pyramid out of the PP guide support mold. It took some doing, but after some persuasion it came out in one large part and several smaller ones.
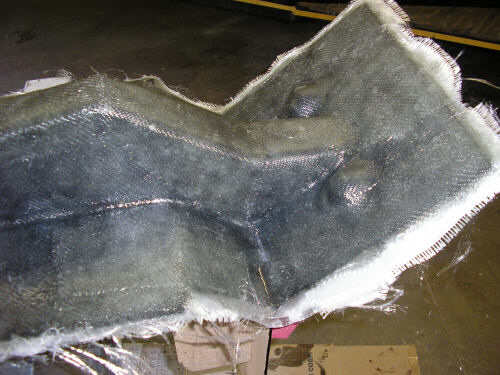
The next two shots show the upper portion of the fin spar plug, and the mold surface we created against the temporary partition, waxed up and painted with the epoxy tooling coat.
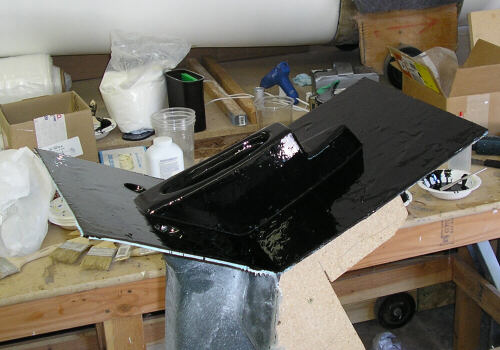
And here's the upper portion of the fin spar mold all laid up and ready to cure. When I come back to the shop next, I'll crack open the fin spar mold and see what I got.
page updated 25 June 2005 all text and graphics copyright (c) 2005 HP Aircraft, LLC