I'm still grinding away at wing internals and parts and stuff.
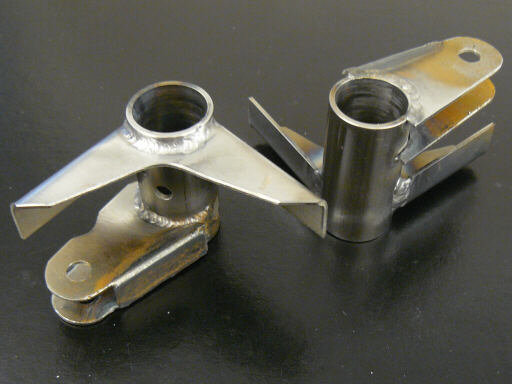
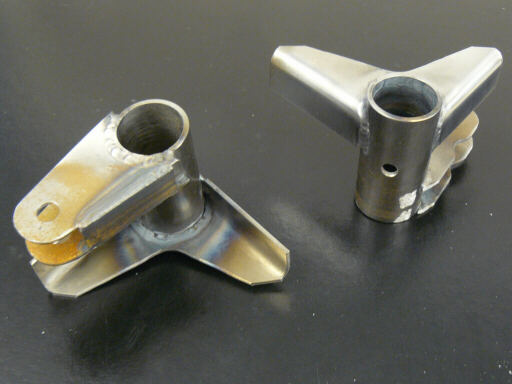
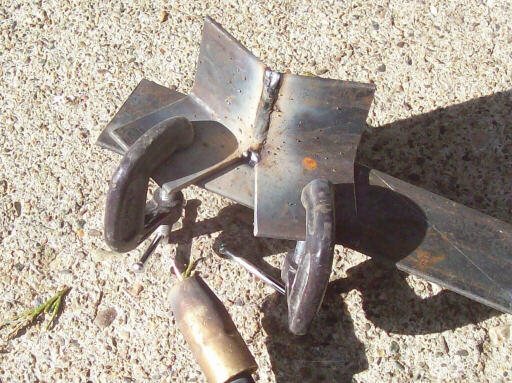
Two photos taken on 6 January 2010 of the airbrake drive crank with the stop ears welded on. I'm not fully satisfied with this design, I think there are opportunities to make it lighter without sacrificing functionality. It will do fine for the first wings, though, and we'll see about it from there.
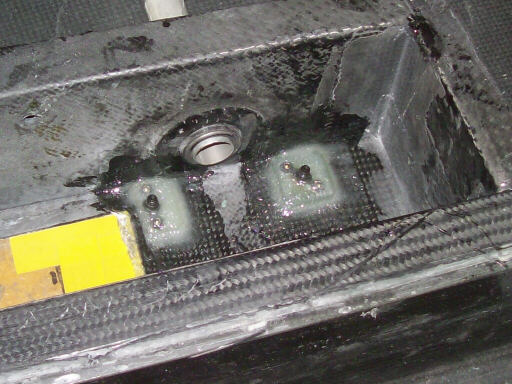
On 9 January 2010, here's where the anchors for the airbrake stop screws go in the left wing; the right is mirrored. You adjust the stop screws prior to painting, and cover their external access holes with filler after they are set.
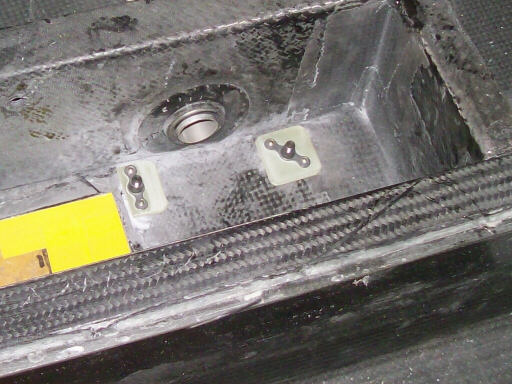
Here I've made ready to install the stop screw anchors. For the inboard screw, you can see I've removed a large circle of inner skin and dug out the core foam to the inner serface of the outer skin. The space formerly occupied by the core foam will be filled with epoxy flox mix.
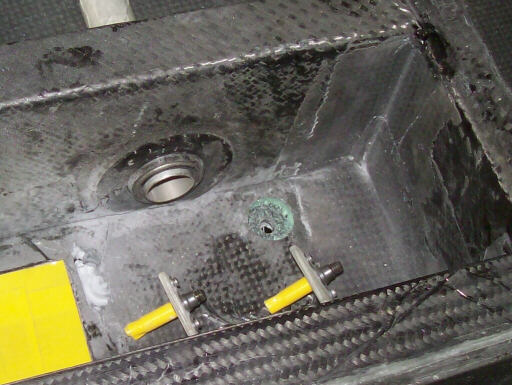
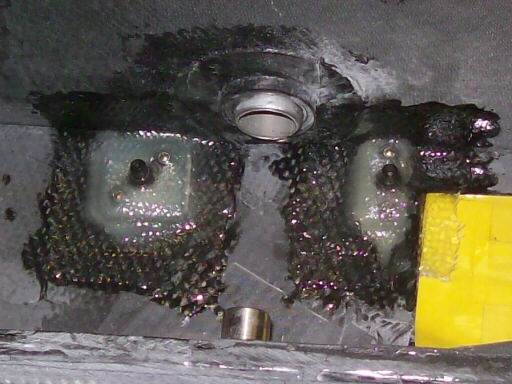
The left wing stop screw anchors bedded in and covered with two plies of fiberglass.
Ditto for the right wing.
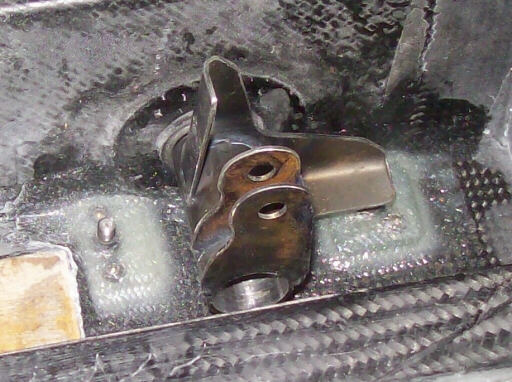
On 10 January 2010, the airbrake drive crank in place, showing how the stop wings bear on the stop screws.
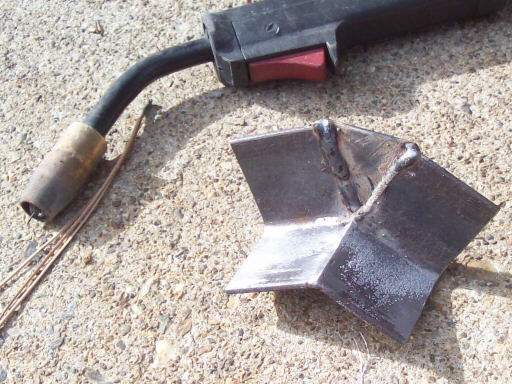
On 16 January, here I'm using tools to make tools to make tools to make parts for sailplanes. Specifically, I'm welding up a 49-degree master reference for making the several jigs for the flaperon drive bellcranks.
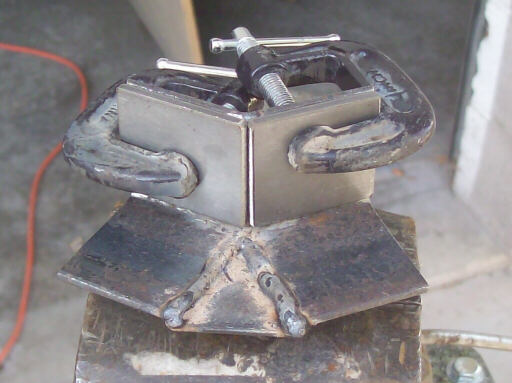
Welding together a welding jig for the bellcrank endplates.
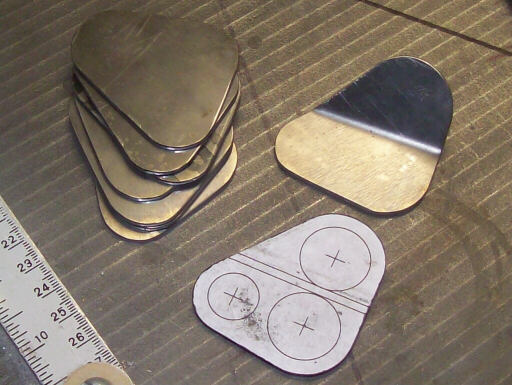
On 17 January 2010, Here's the sequence for making one of the endplates. At the bottom is the template for scribing the outline and locating the bends.
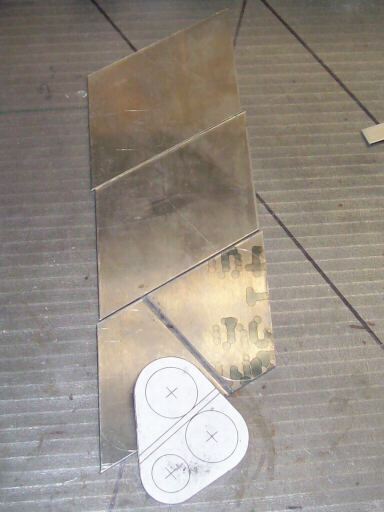
The first batch of endplate blanks.
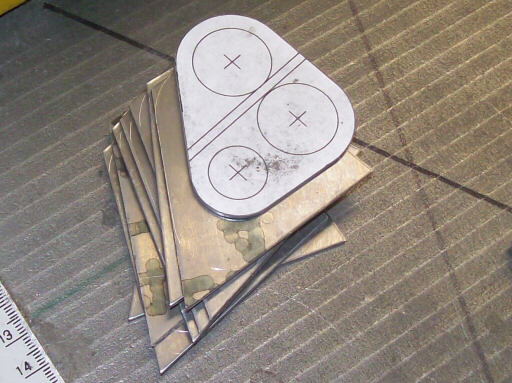
The blanks radiused, and one of them bent.
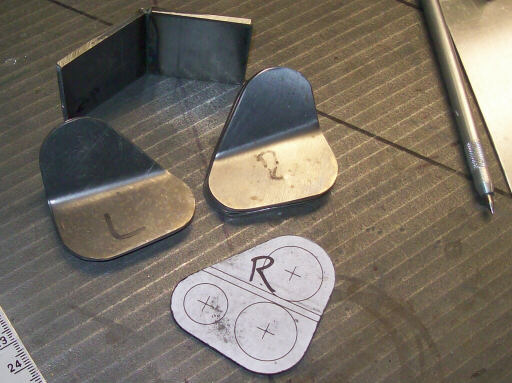
With careful work, I managed to bend the right number of lefties and righties. The template is marked "L" on the other side.
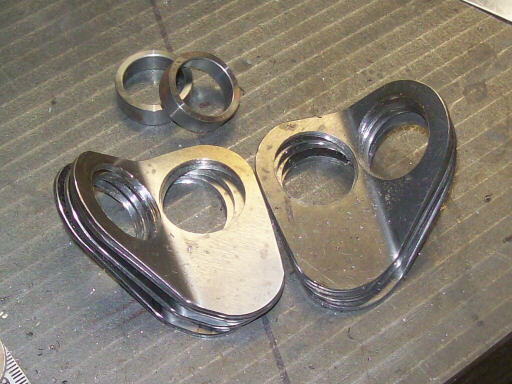
The endplates bored for the bearing sockets.
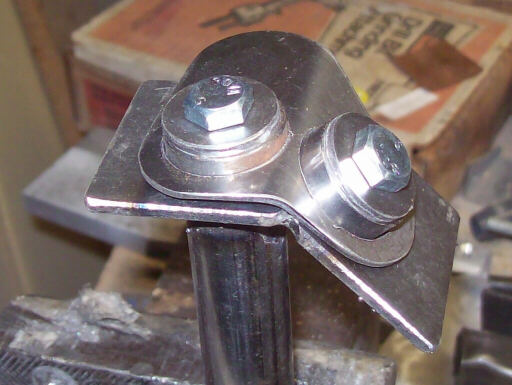
The first endplate jigged for welding.
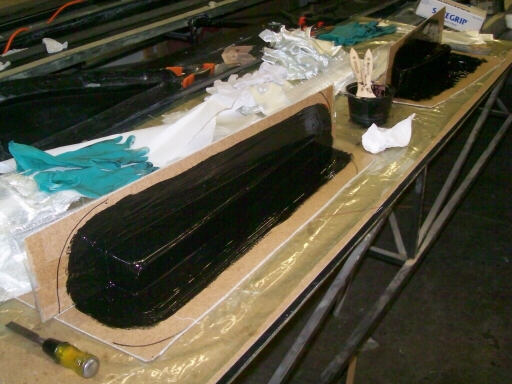
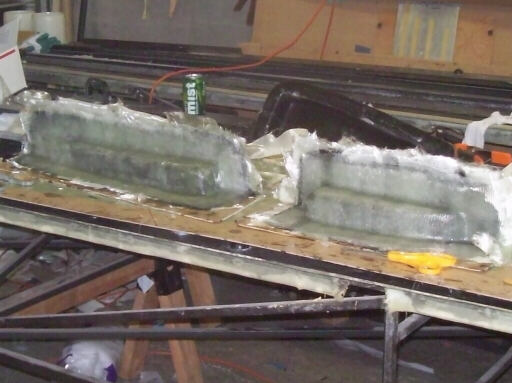
Starting the process of making the first halves of the molds for the forward and aft sections of the right wing root rib. Here we've applied the tooling coat and are waiting for it to B-stage before adding the rest of the laminations.
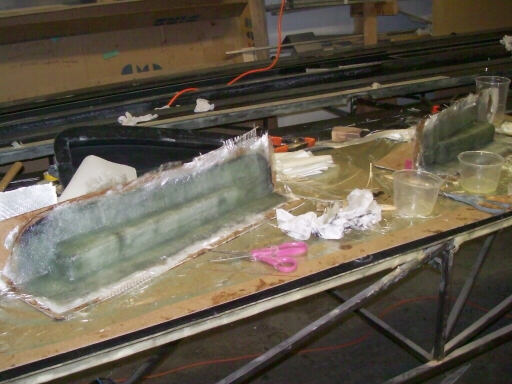
Here we've finished laminating the first halves of the molds.
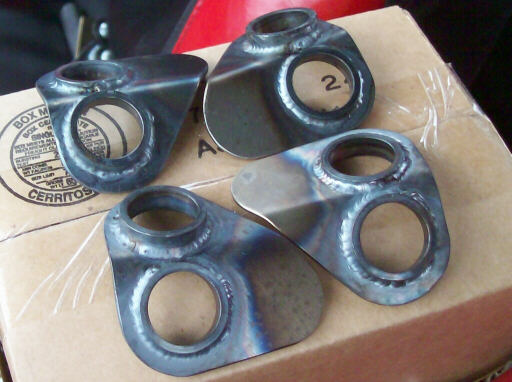
On 21 January 2010, the first four bellcrank endplates are back from the welder.
On 23 January I was snowed out of the shop, so I cruised around with the younger daughter looking for cars for the 24 Hours of LeMons. I found this 300D diesel. I'll keep an eye on it, it's probably not going anywhere soon.

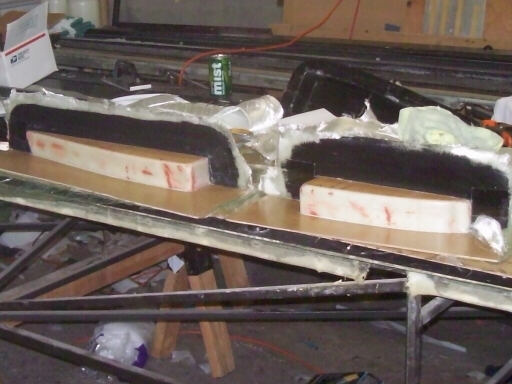
On 24 January, we had no electricity at the shop until about 4pm, so we got a really late start. Here Brigitta has cleared away the molding dam and buttresses that divided the root rib plugs into two sections each, and we're ready to start making the second halves of the molds.
Done!
BTW, I've also started a FaceBook page for the HP-24 project. I try to update it every day or two, and then every week or two I'll compile the FaceBook updates here on the hpaircraft.com website.
Homebuilt aviation is not for folks who don't try things at home.
page updated 26 January 2010 all text and graphics copyright (c) 2010 HP Aircraft,
LLC