This weekend I did two sessions at the shop with Brigitta, working on the spars for Brad's wings, cleaning up internals for my fuselage, and doing some more work on the autoconnect funnels.
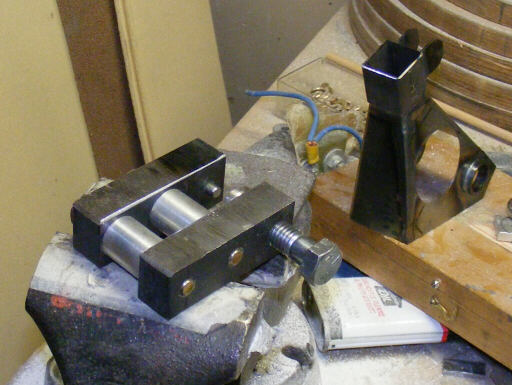
Last weekend I'd used the firesaw to slice out a couple of 1" wide strips off of a bar of 3"x3/4" mild steel that I bought many years ago to make custom HP-18 wing spar bucking bars. Over a couple of evenings after work last week I drilled and tapped several holes in the steel bars to join them into a mondo stiff C-clamp, what those in industrial circles call a "C-frame tool." I also used the lathe to turn a step onto the end of a 1/2" Grade 5 bolt, and to turn a clamping foot that I peened onto the step at the end of the bolt. After threading the bolt through the 1/2-13 hole in one of the steel bars, of course. At the lathe, I also made a pair of 7/8" long spacers, using whatever scrap came to hand. Incidentally, the scrap at hand was aluminum HP-18 control stick trim buttons, which Dick seemed to think he'd need a lot of in 1980.
The end result was a ball bearing installation tool for the autoconnect funnels (and whatever else I use those weldable bearing sockets for) that is so effective it is downright anticlimactic. Having sweated the first four bearings into place with no small amount of tapping, straightening, and fretting, I was expecting even more official tools to offer only a moderate improvement. Nope. Just index the bearing on the pin, set the socket into place, engage the pressing foot with the bearing socket, and turn the clamping screw three turns. The bearing slides straight and even into the socket. No problem, investing four hours to make a tool that does its job well in fifteen minutes is better than spending three hours to do the job poorly.
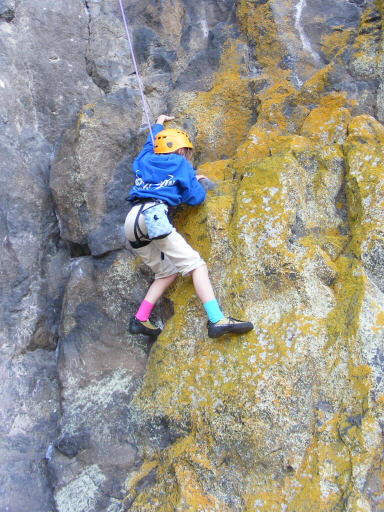
That was Saturday afternoon. Saturday morning found me back at Table Mountain for a rematch with my nemesis Wing of Bat, a 5.10a sport route that had bested me solidly five years ago, and brooded over my every visit to Table Mountain since.
That first time, I hang-doggie'd my way up the thing to the undercling crux, where I'd slotted one of my gnarly knuckles into a guano-scented crack only to have it fix into place. While clinging there trying to get my finger out I burned right out with the word "degloving" floating in the back of my strained consciousness. I just got the finger out and downclimed two moves before taking a four-foot fall onto the rope.
In this rematch I felt similarly pumped at the crux, and had to downclimb twice to a rest a few moves below to regroup. But after the second retreat I moved a bunch of gear to the left side of my harness, and on the third try I managed the right hand undercling and high left foot that freed the left hand to clip the next bolt. So protected, the following moves opened themselves and then I sidestepped left onto the final ledge and reached up right to clip the 'biners that some gracious climber had left on the anchor chains. The last time I was there I'd spent a solid three minutes on that ledge shivering and huffing before I could stand and clip.
So that was my Saturday morning. I may be a wimp of a sport climber, but at least now I can fairly say I can do (or at least have done) 5.10a of sporty wimpishness. Unless Dingus and his crew talk Brad Young into downgrading WoB in the coming revision of the Sonora Pass Climbing Guide...
The photos:
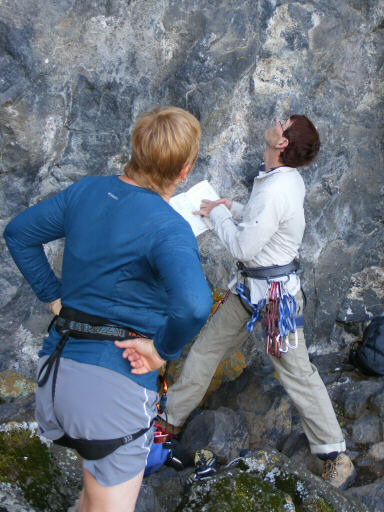
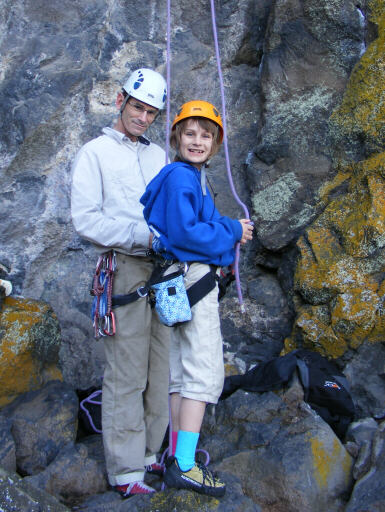
Consulting Brad Young's Sonora Pass Highway guide, this must be the place!
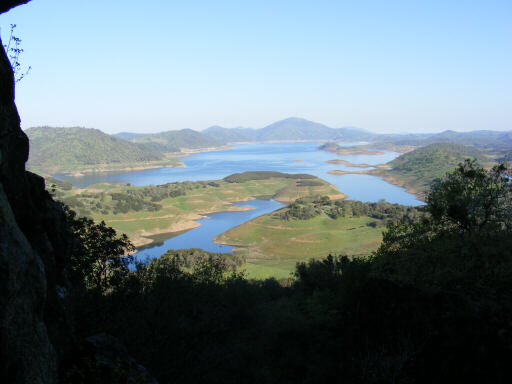
Behind us, New Melones reservoir, the US Corps of Engineer's last stand.
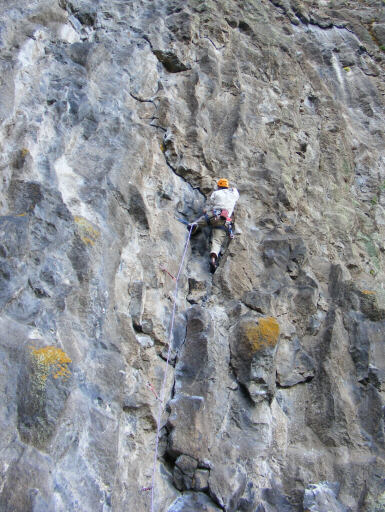
The first bolt (top edge center in the photo) is about twenty feet off the deck, but it's pretty much just a 4th class scramble and a reach to get to it. That's where the fun starts.
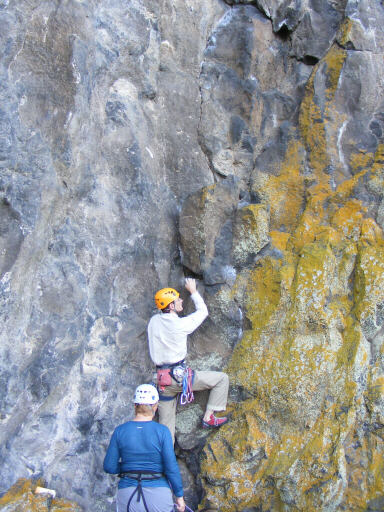
First clip, no problem.
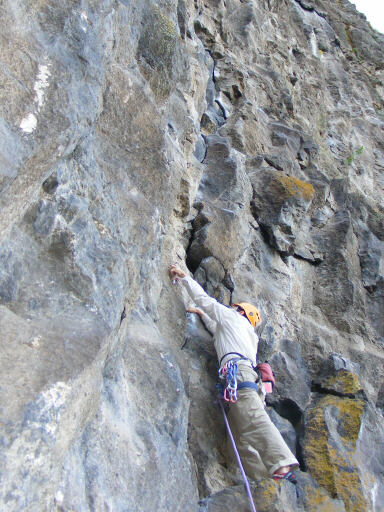
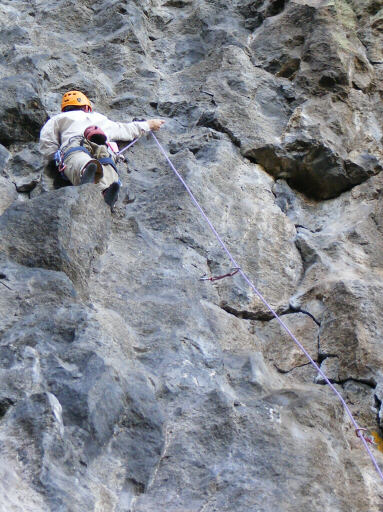
At the crux, getting sorted out.
And finally clipping the anchor.
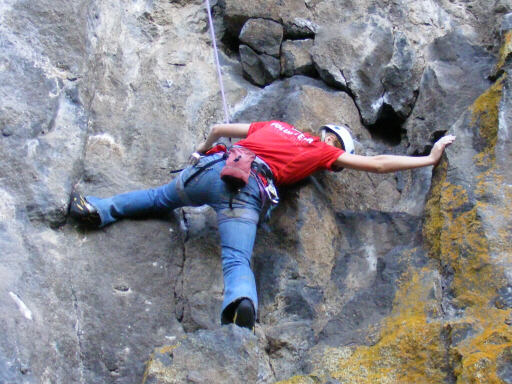
Alia gives it a go on toprope.
And then Raen ties in for a throw at it.
Up at the shop that afternoon, two photos of my bearing installation press. The edges of this tool are pretty rough, it's hard to get nice clean cuts with an abrasive disk chop saw.
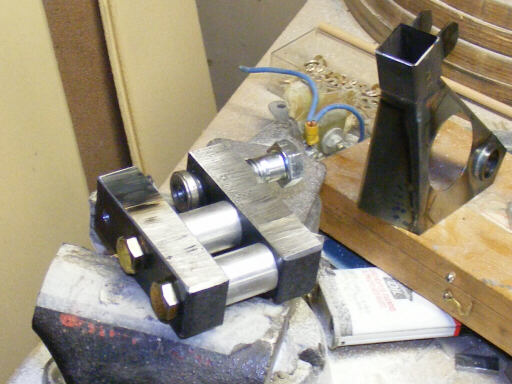
Ready to press the bearing into place.

Three turns later, bearing installed.
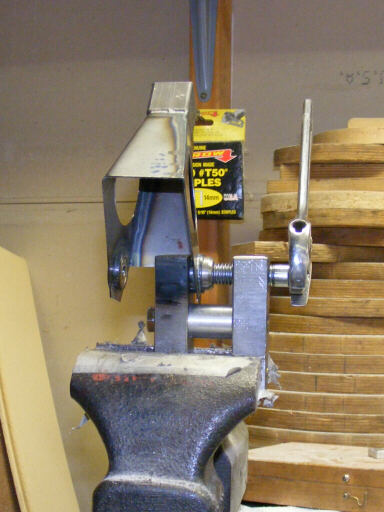
A few more cycles, and all sixteen autoconnect funnel pivot bearings are installed.
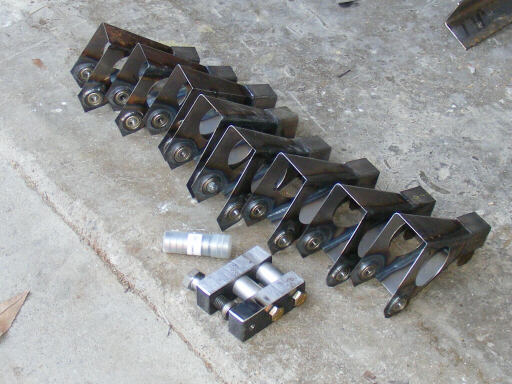
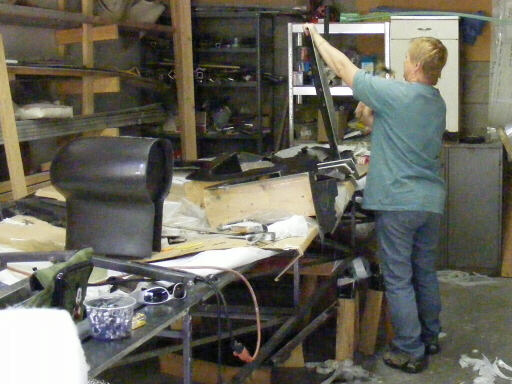
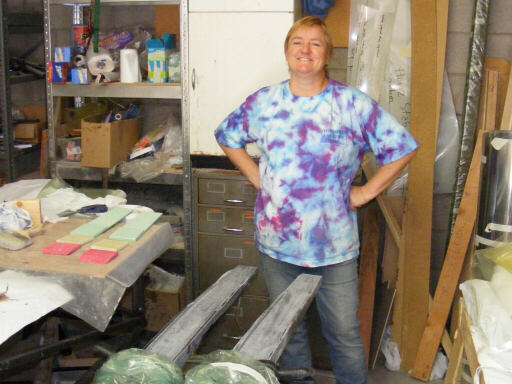
Brigitta applies a few taps with a fiber mallet to liberate my all-carbon number three bulkhead. To her left is my all-carbon instrument pod and panel, and below that is the bucket of weldable bearing sockets I designed and shopped out at $0.67 each.
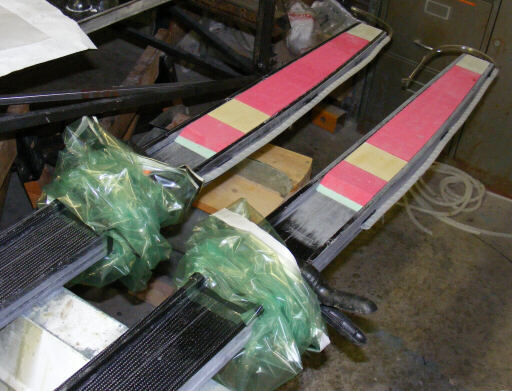
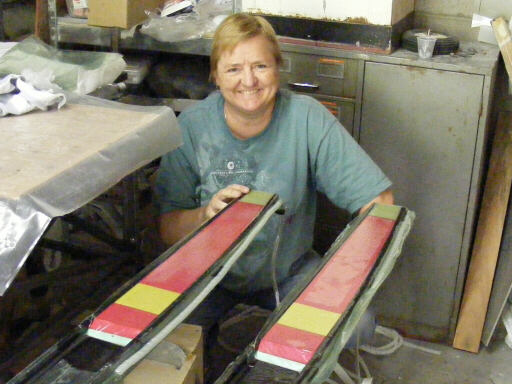
The two wing spars stubs, with the foam and Garolite inserts fitted and vacuum bagging ready.
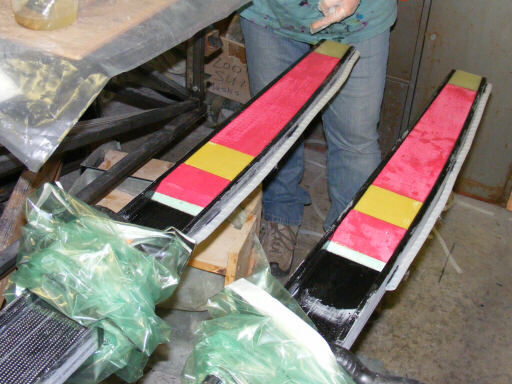
And again, epoxied in place.
And bagged down to vacuum-clamp all the parts together while the epoxy cures.
Sunday morning, we unbagged the stubs, flipped them, prep sanded them, and bonded in the inserts for the stepped side. Sunday evening we went back, unbagged them, and shut down the shop for the week.
Homebuilt aviation is not for folks who don't try things at home.
page updated 30 March 2009 all text and graphics copyright (c) 2009 HP Aircraft,
LLC