On the afternoon of 27 December, Brad Hill, Doug Gray, and I waxed the right-side fuselage mold and then sprayed it with gelcoat. The next day, we reconvened at the shop and set about the final preparations for laying up the right fuselage half. And at 13:10 we mixed the first batch of resin and got started.
Please, let me be the first to say that I had absolutely no concept of what a grueling, hectic, anxious and finally cathartic event it would be. No clue, none at all.
I will say that I originally thought that we would have to keep the layup in the 120 minutes I'd been told was the maximum working time for the epoxy. Well, when the second hour expired, we were only finishing the third layer of six.
That's when it got surreal. I kept waiting for the epoxy to start kicking and getting unworkable. And it kept not happening. So we all just kept working. And everytime I pried a bit of the laminate from the mold, it was still pliable. So we kept going.
I think that what might have been happening was that we were constantly mixing new batches of epoxy, and spreading it over the old stuff, and they would mix and inhibit the curing.
We finished the layups at about 7:30, and then proceeded to apply peel, perf, and breather plies and bag it. But because of leaks and tears in the bag, we didn't pull above 15" of mercury until after 8 pm.
At that point, I was about as bummed as I have ever been in the entire history of the project. Doing that right-side layup was absolutely the hardest day of work I had ever done since we re-roofed our house in 1992, and I was sure it was going to be a discard part.
But just for the sake of seeing it through to the end, just to see what would happen, we finished it right off, cranked the heater, and headed home.
And the next day, when we got to the shop, the fuselage half looked okay. It's certainly not the greatest show on Earth. It's got its ripples and funky edges, and needs a few spots of rework. But there are no big voids or starved areas, and the epoxy looks like it got a good cure.
Frankly, I'm somewhat pleased that we got such a good workout. We got a lot of good experience, and I think that our less-than-perfect part will be a good test article to see what properties we get when we scrape the nadir of allowable methods and practices.
Also, we never did get around to starting on the left-side fuselage half. By the time we finished the right half, we had used up all of the vacuum bag material that I'd bought, we were too beat to wax and gelcoat the left-side mold, and we knew that we'd need to re-cut the right-side veil cloth to make it drape better. But, hey; half is definitely better than none.
I'd like to reiterate that without the help of Brad Hill, who flew down from Seattle, and Doug Gray and also Brigitta, this important job of work would probably not have gotten done, and certainly wouldn't have gotten done as well. I feel truly blessed to have such good friends and family. Truly blessed.
Now, on to the photos:
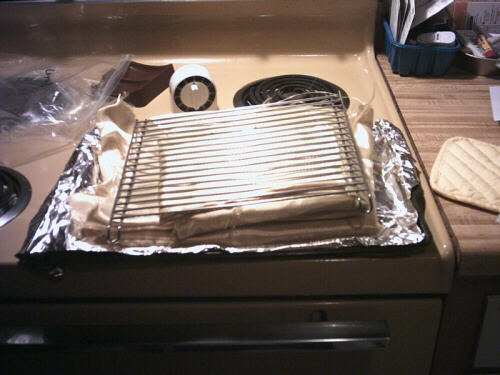
The evening before the big layup, we were all sitting around watching MythBusters on DVD, and the oven timer rang to tell us that the Kevlar was done. We baked it to get all the moisture out, and then bagged it to keep it from absorbing any more.
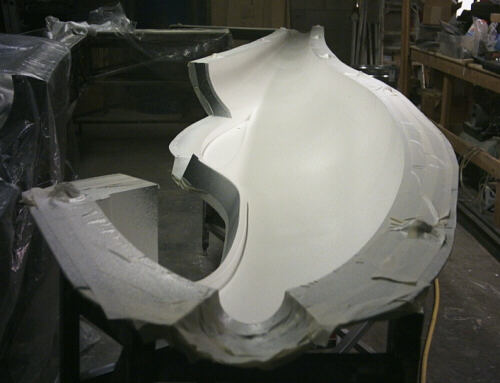
Doug inspects the fresh gelcoat.
What was black is now white. Note that we've masked the mold flanges.
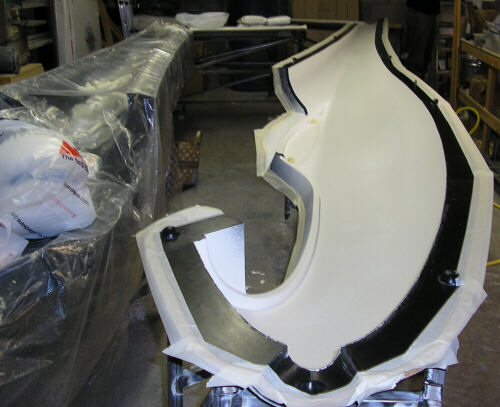
Here we've run the tacky tape around the flange perimeter, and then masked over the tape to keep epoxy off of it.
Brad mixes a batch of flox to goo in around the lift carrythrough tube sockets.
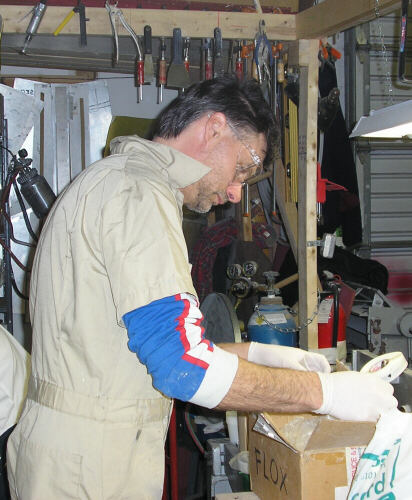
Doug looks on while Brad floxes up the sockets.

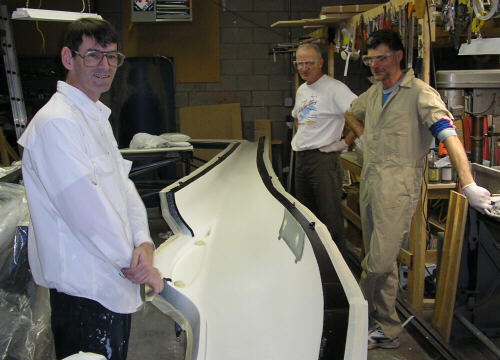
A moment of calm reflection before the storm.
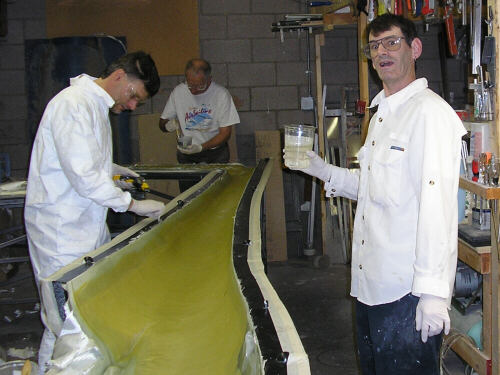
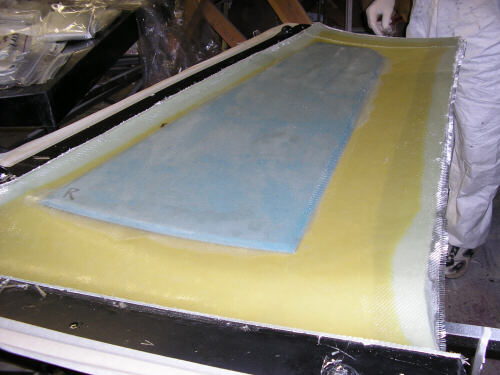
About an hour and a half in, starting the third layer. This is 5 ounce Kevlar at +/-90, ending 2" from every perimeter and overlapped with 4" perimeter tapes.

Brad trims the edges of one of the layer 3 perimeter tapes with the nifty electric scissors I bought. You see these things advertised on the composites Web sites for $120, but you can get the exact same thing from online fabric stores for $55. They don't cut Kevlar well, but the blades have carbide inserts so they go through fiberglass (even two plies) like butter. I cut all of the glass plies for both fuselage halves with only one battery recharge, and the blades still seem as sharp as when they were new.
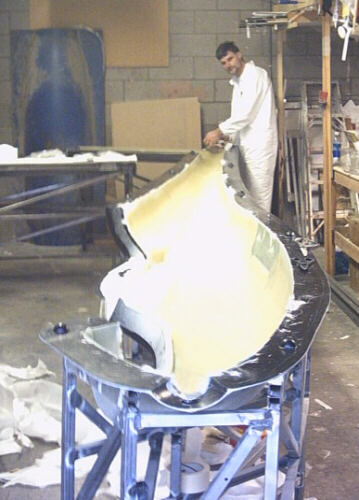
Starting on layer 5. It's starting to get crazy.
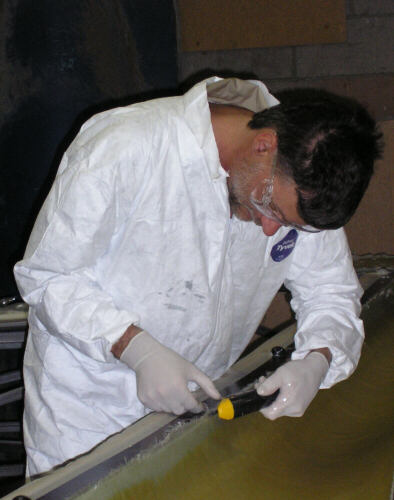
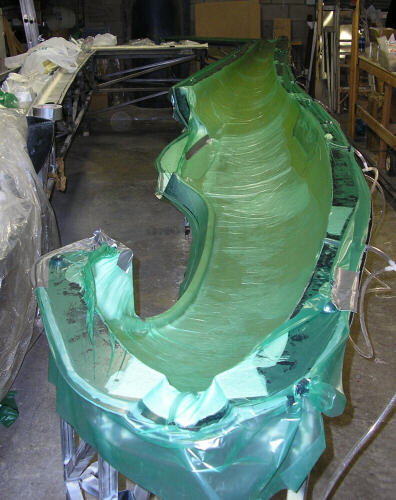
Saturating layer 6, which serves as the inner skin over the vertical fin sandwich foam.
Bagged and finally getting good vacuum. Note the duct tape patches.
The next day, a good-enough looking part. Brad finishes pulling off the peel ply at the tail.
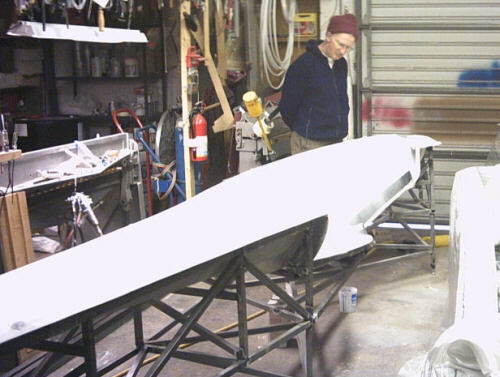
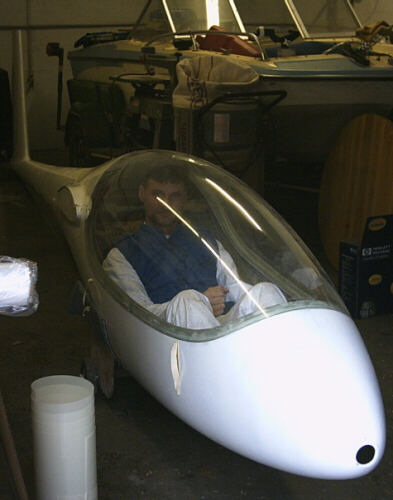
Brad gets a sit-down under glass in the fuselage plug.
page updated 31 December 2004 all text and graphics copyright (c) 2004 HP Aircraft, LLC