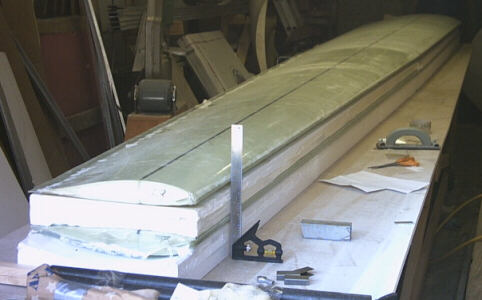
Last weekend I started off by wrestling both wing plugs onto the table, so I could compare the planforms and see how close they are. I can measure stuff like this until I'm blue in the face, but I don't believe it for sure until I see them back-to back. But everything looks OK; the planforms match to within about 3/32" of an inch all along the leading edge.
The next thing I got to work on was parts for the airbrake and aileron auto-connect mechanism. I've chosen to go with a torsional connection like I've seen on DG sailplanes; the wings will have cups on them that engage transverse torque tubes in the fuselage. The torque engagement will be via cross-pins in the transverse tubes that engage slots in the cups. The slots in the cups will start as deltas that constrain the cross-pins into the slots as the wings are drawn together with the fuselage. All pretty basic stuff, nothing new here.
I suppose I could have gone with the sort of lever/funnel connection you see on the later LS and ASW gliders. But every such system is sure to have its strengths and weaknesses. I think I can make this particular system work well within the manufacturing technologies available to me, and that's mostly what matters to me.
Anyhow, what I did at the shop was to rough-cut a bunch of parts for the connection cups so that I can do some work on my lathe during the week. My little 9"x20" machine isn't well equipped for cut-offing and such, so I do that on the big chop saw at the shop. I also used my drill press and hole saws to prepare the drive horns that connect the cups to rod end bearings - another rough job I prefer to do at the shop.
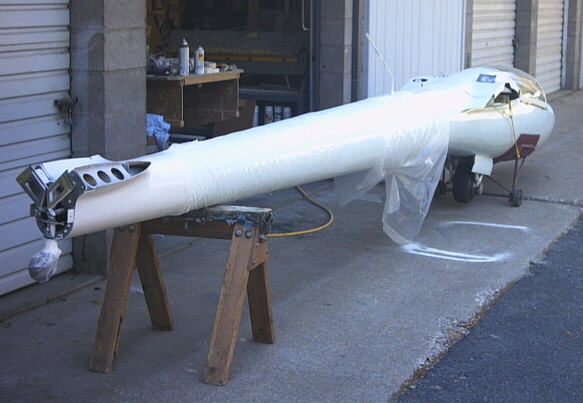
Once I had all that stuff done, I pulled my poor old HP-18 out of its box and started back to work on it. After swapping out its improperly-cambered stabilizers, I've been finishing and painting the stabilizers and ruddervators - just not very well. What I'm hoping to do is convert the ship from one of the nicer looking -18s into one of the nicer-flying -18s. So I'm not going to bother trying to match the original nice robin's egg blue paint. I'm just slathering it with rattle-can white so I can get it into the air. My Formula IV roadbike experience dictates that any bodywork done right and well is a sure invitation for the pavement to come and smite it mightily.
Actually, all that stuff was done on Sunday. I spent Saturday with the family at a local rock climbing spot called the Arboretum, doing some top-roped climbing on a nice juggy 40-foot limestone wall that had been cleaned out of the ground by hydraulic mining in the gold rush of the 1850s. It seems that most of the hard-core locals just boulder up it with nothing but crash pads for protection, but that's too risky for me. And I found chalked paw prints way up that thing, like to about the 35-foot level. Yikes.
Here are the most recent photos of the projects:
Here I've got the two wing plugs back-to-back to compare the planforms and verify that they match.
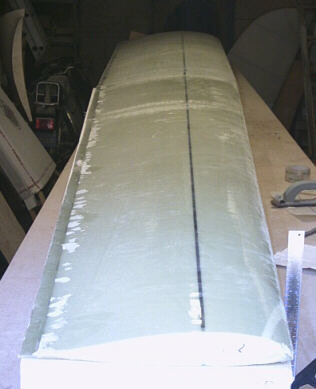
Another wing-runner's-eye view
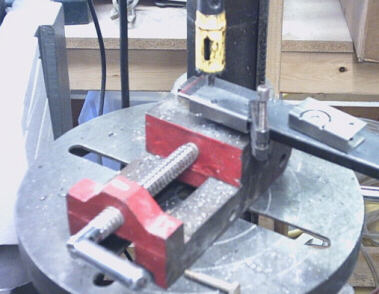
Making the crescent-shaped cutout in the auto-connect drive hor where it meets the bearing tube. One is done, and the other is about to be started.
The three stages of the channel.
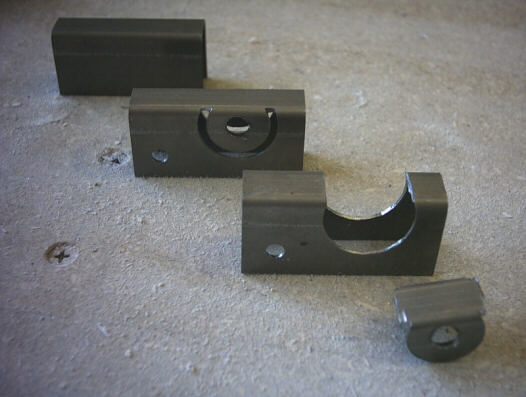
Sort of a preview of how the auto-connect drive cup goes together. There still a lot of machining to be done to prepare the parts for the ball bearings, lighten things up, and snug the parts together tighter, but this is the general arrangement of the parts.

Here's my Corporate Discrace getting uglified but flyable. Please, nobody look too closely at this thing. The tail is gonna look like the tail fins of high-school kid's '57 chevy.
page updated 3 May 2004 all text and graphics copyright (c) 2004 HP Aircraft, LLC