We're just getting past the winter nadir here. There's been so much snow, and so much threat of more snow, that it's been hard to get in much shop time. I haven't yet managed to close the first-article stabilizer because there hasn't been a shop day where I had reasonable confidence that I could get up there the next day and shut the heater down.
What I have been working on are little metal bits such as the horizontal stabilizer attach and control system bearing mounts. I'm now on my second revision of the basic bearing holder, which has gone from a three-piece riveted assembly down to a one-piece turned part.
Another thing, we're re-scheduling the tentative dates for the first of the three composite development seminars. It's now tentatively scheduled for April 12 and 13, so that Steve can get up to the Air Sailing spring cleanup day. And, note that its still tentative. I still need a couple more signups or count-me-ins to make it a go.
Anyhow, here's the photos I've been saving up over the last few weeks:
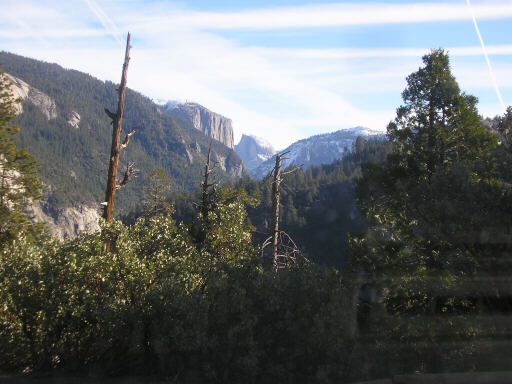
Looking across El Cap and Half Dome on 1 January 2008. It's become a tradition with us to try to get into Yosemite Valley on New Years. This year we observed tradition with trad climbing and some toproping.
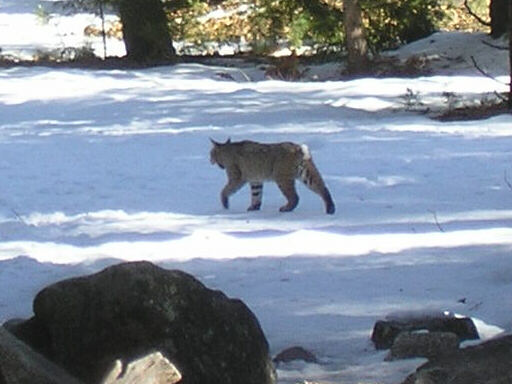
We saw this bobcat near Swan Slab where we were taking turns on the route Oak Tree Flake.
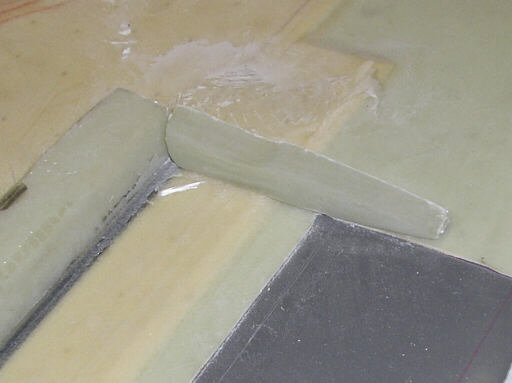
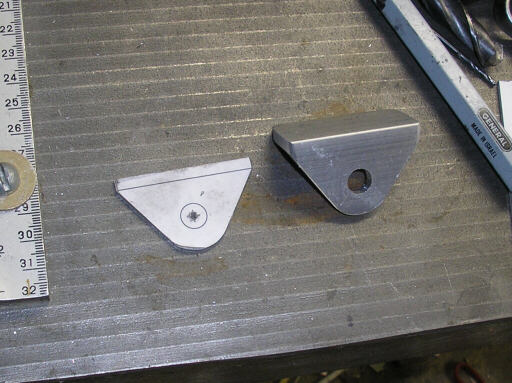
Forward to 19 January 08, two pictures of one of a pair of closeout ribs that I made for the stabilizer. This will get the outboard elevator bushing bonded into it.

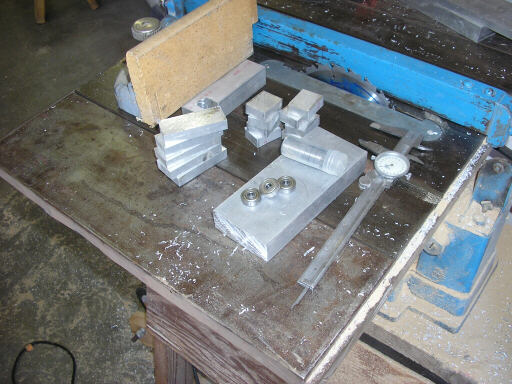
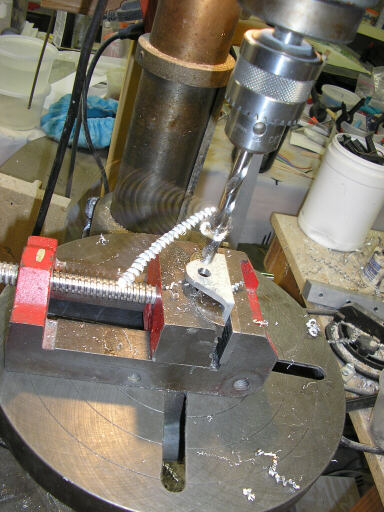
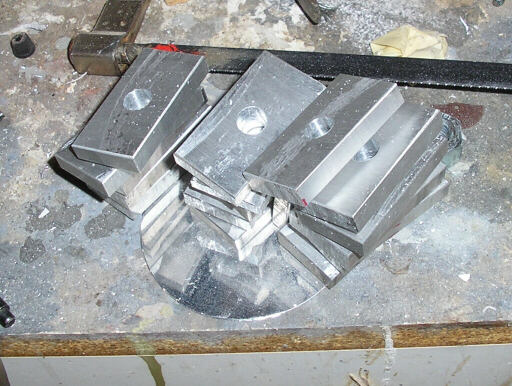
Making parts for the early type bearing carrier. Yes, that's a regular old table saw with a regular old $8 carbide-tipped crosscut blade. If it's stupid but it works, it ain't stupid.
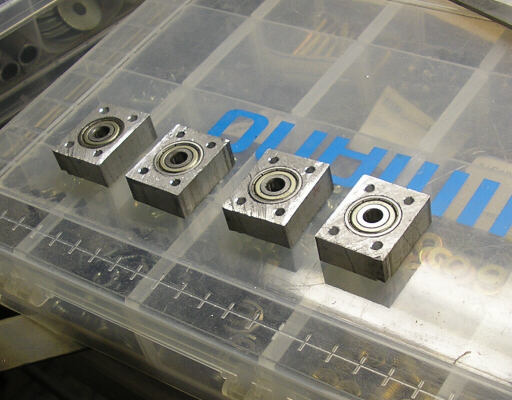
Four of the carriers with bearings installed. These are two-bearing units that will take a fair amount of moment loading.
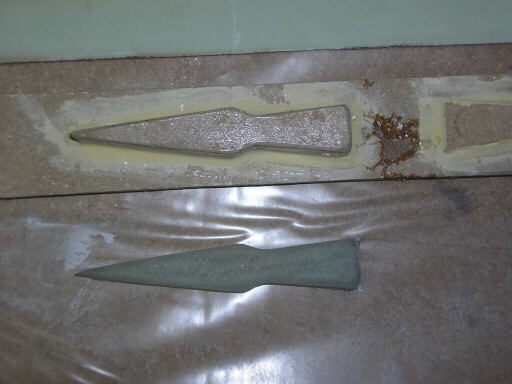
One of the "lost arrow" ribs, with the quickie tooling I made it with.
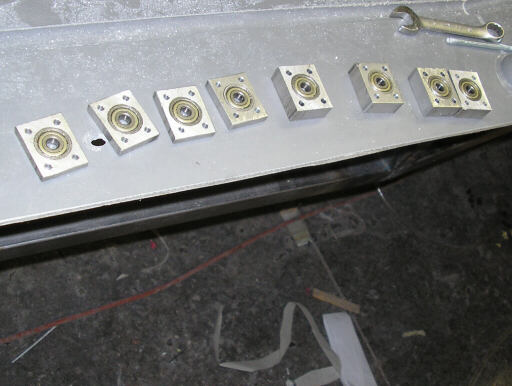
The full set of the early stule bearing carriers.
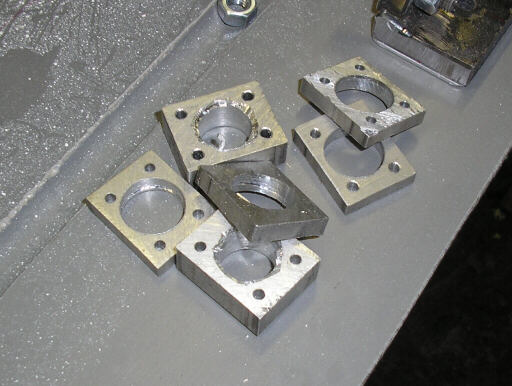
And here's the ones that got away. Any time you go to make new parts, you blow a few up. On these, they mostly had the bearing bore go oversize or out-of-round.
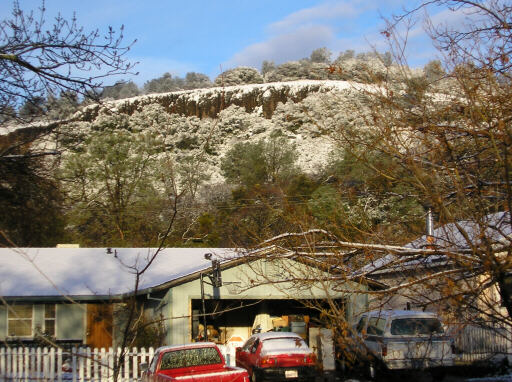
Forward to 24 January 08. More snow, down to the 2000-foot elevation where my house is. This is the bluff across the highway from us.
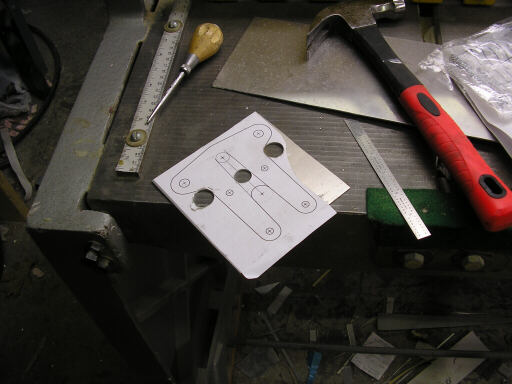
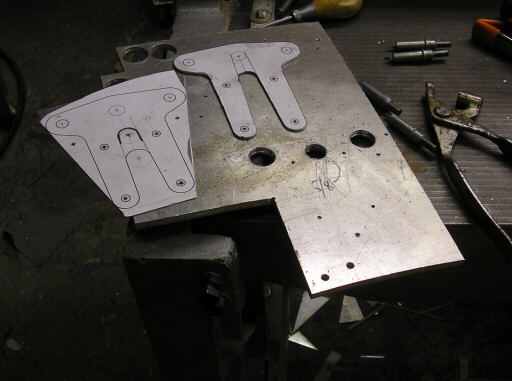
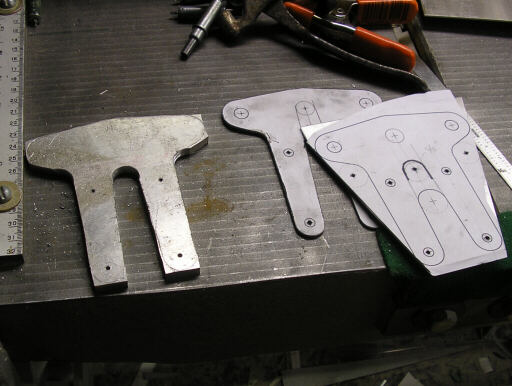
Forward to January 26, in the shop for a day making more metal bits. Here's templates and a first-article part for the T-plate that mates the horizontal stabilizer to the top of the vertical fin.
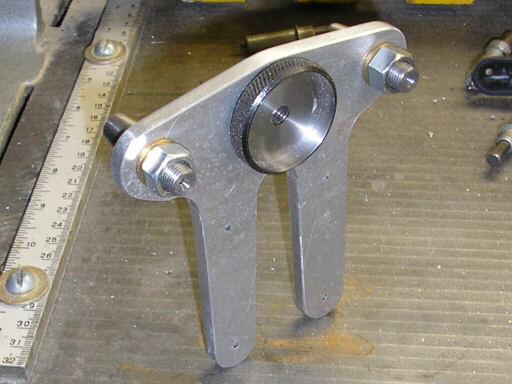
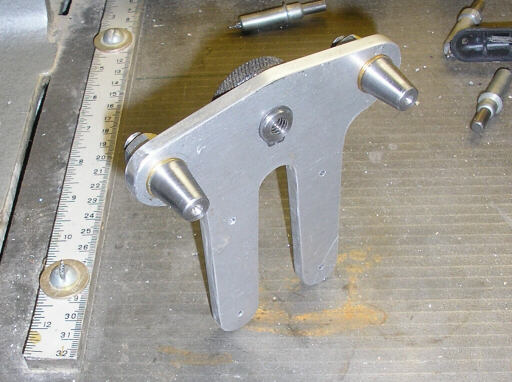
Here I am trial-fitting the T-plate to the taper pin sockets on the stabilizer. It's upside down, but seems to fit OK.
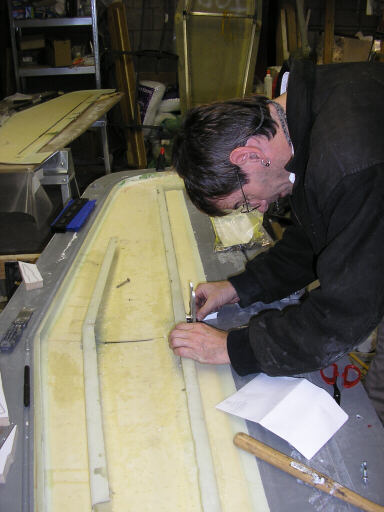
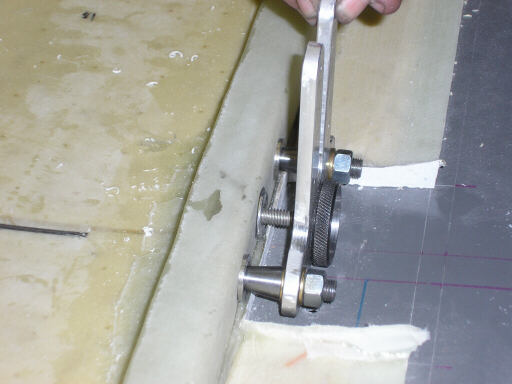
Two shots of the horizontal stabilizer forward attach angle. This is the thing that bolts to the bottom of the stabilizer where we installed those two T-nuts at the forward shear web.
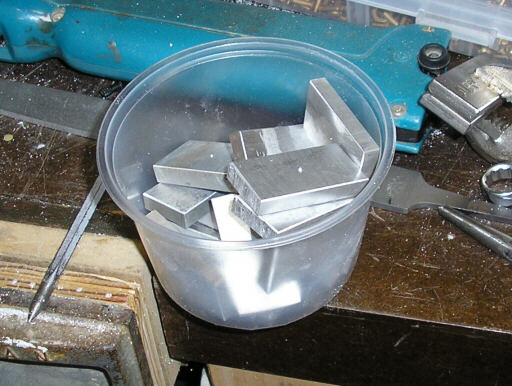
Fast forward to 6 February 2008. Here's a tub of 0.3" x 1" x 1.9" blanks for the later style bearing carrier. I cut these off of a long bar of 1" x 2.5" aluminum using a carbide blade in my chop saw. You can see that they're center punched on scribed centers. The scribing is OK in this case becase the scribed material will get removed.
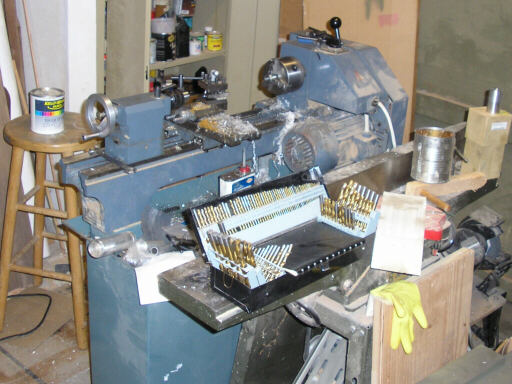
Here's my little 9x20 lathe. A cheap machine, but so far very, very useful within its limits.
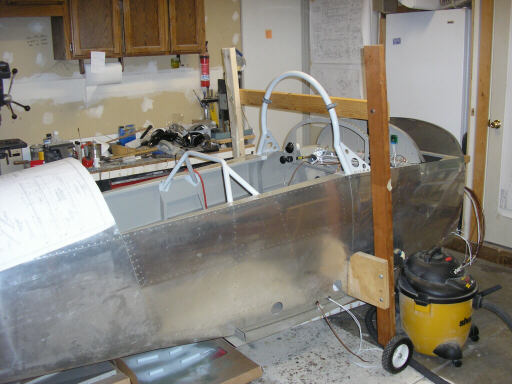
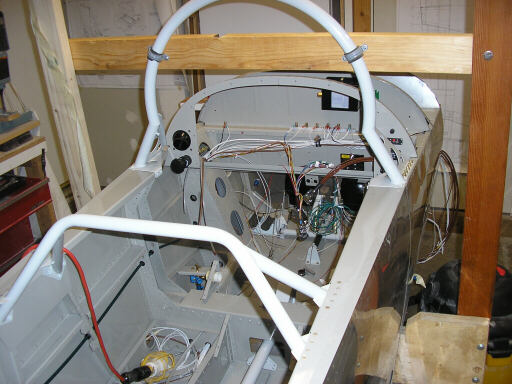
Two shots of the RV-8 I've been working on one or two nights a week. I've been making, finishing, and installing little parts, and making little modifications, while Steve has been concentrating on wiring and systems installations.
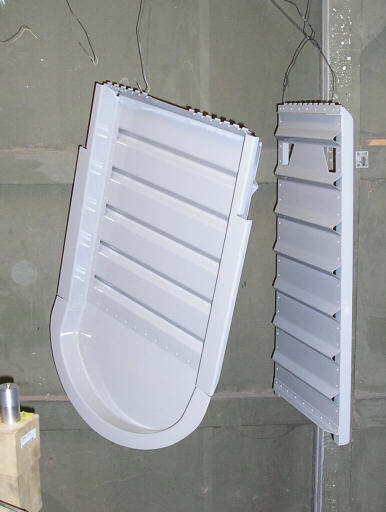
I built both of these seat backs.
Bearing carrier blanks, drilled at center to 3/8".
Chucked on the lathe.
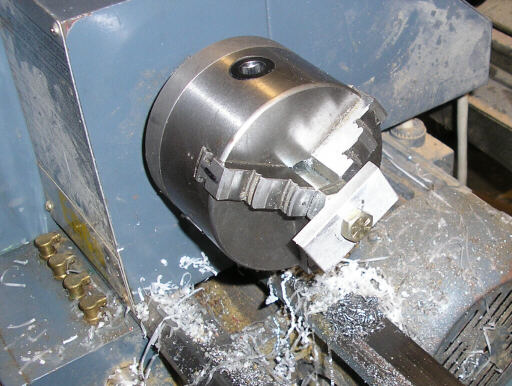
Turned down to a hat section.
Here's the full set turned to hats.
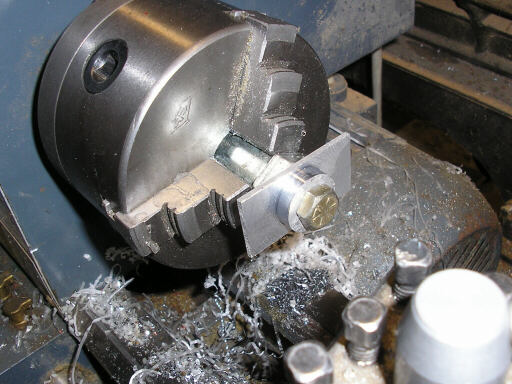
Getting bored. First they get bored through 5/8", then they get bored 0.236" deep to an ID of 0.747"
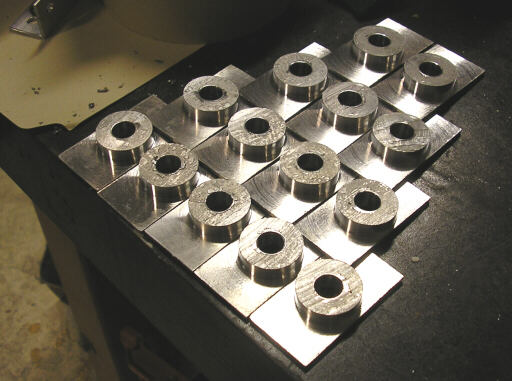
Here's the full finished set. The X'd one came out oversize in the process of finding the settings to get the right ID. The one next to it has the bearing pressed in, and the one next to that one has the bearing resting on top.

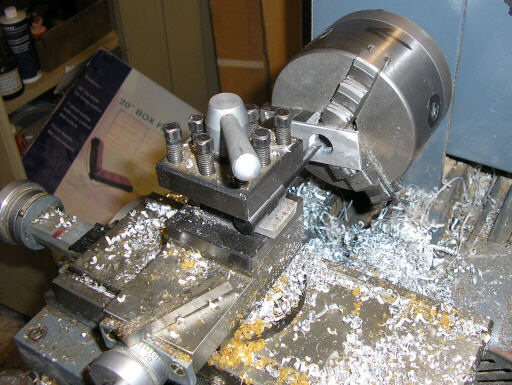
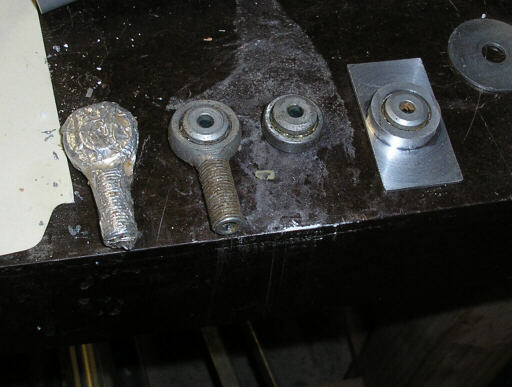
Here's a variant with the self-aligning ball bearing from one of these NORMA rod ends installed in it.
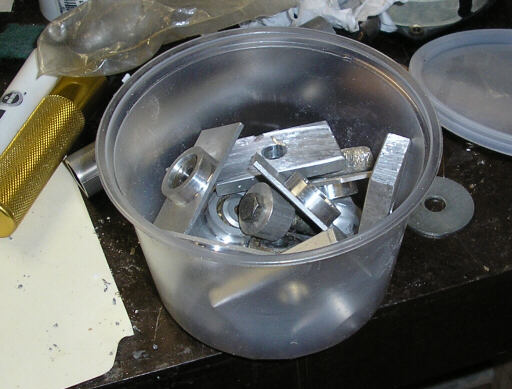
Here's the tub of parts to go back to the Arnold shop. A considerable amount of the material that arrived in it was turned into chips and swept into the recycle bin. Aircraft are less about the stuff you fly around with than they are the stuff you manage to leave behind.
Homebuilt aviation is not for folks who don't try things at home.
page updated 7 February 2008 all text and graphics copyright (c) 2007 HP Aircraft,
LLC