This weekend I finished the four jigs for the outboard flaperon drive bellcrank, and that's about all I did. Saturday was a short day; it started snowing at about 1pm and I scooted down the hill before it started sticking. Sunday I was there from about 9am to 8pm, grinding out the jigs and two sets of parts for the weldments. Now I just need to jig up two other parts for the flaperon mass balances, and that's about it for wing weldments.
In other news, it looks like we'll convene Akaflieg Douglas Flat 12 in early March, stand by for details. Feel free to let me know if you would like to drop by and see how a project like this goes together.
At last count the HP-24 Project FaceBook page has 55 fans. I guess I should have expected this, but it looks like over half of the fans are in Europe. I had no idea that an American homebuilt sailplane project would hold such interest on a continent with so much sailplane manufacturing of its own. Thank you, everybody, for your interest and encouragement!
The photos:
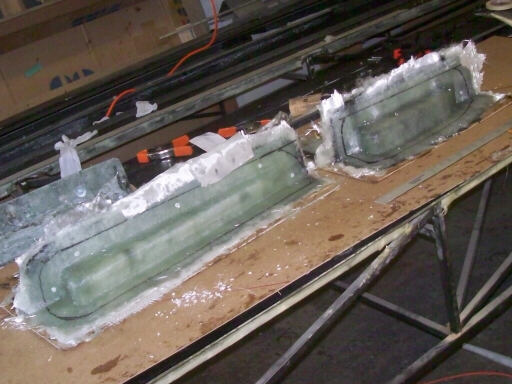
On 30 January, the molds for the right wing root ribs are all cured, and I have marked them for trimming.
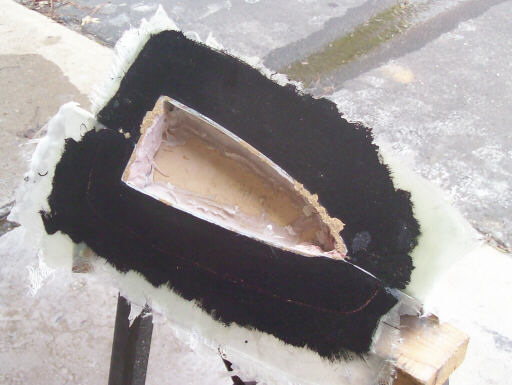
Here I've peeled the backing platform away from the forward rib plug, revealing the plug innards.
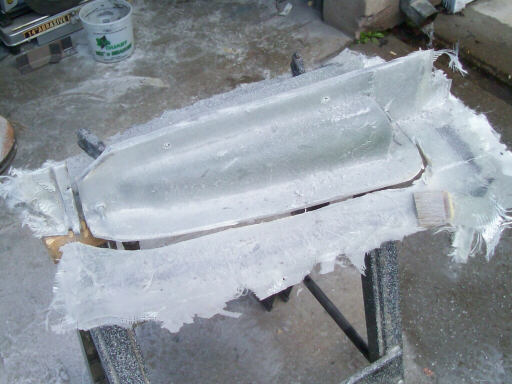
I've drilled the holes for the mating bolts and installed two of the bolts to keep things together during the trimming, which I'm about half done with.
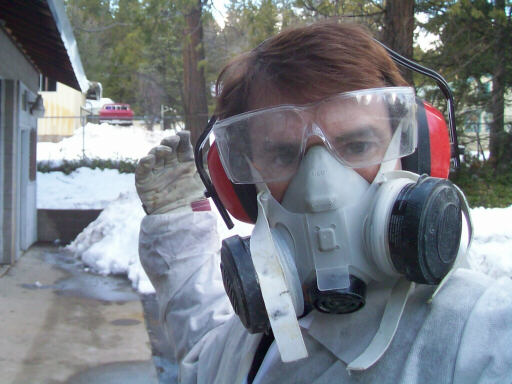
The trimming is a nasty, dusty operation requiring a 4" electric grinder and lots of protective gear.
The trimmed mold.
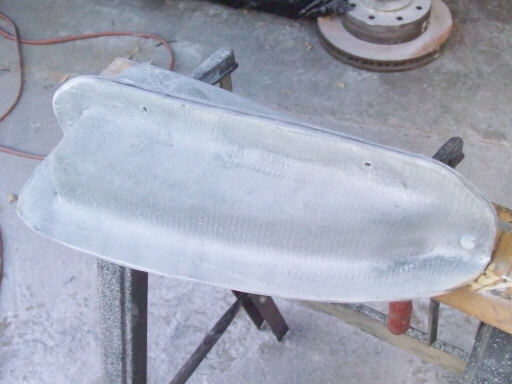
The pair of trimmed molds, ready for some minor cleanup.
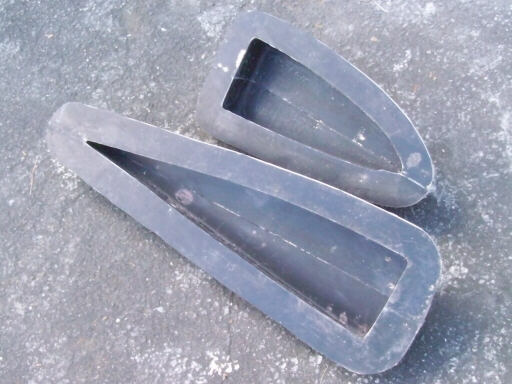
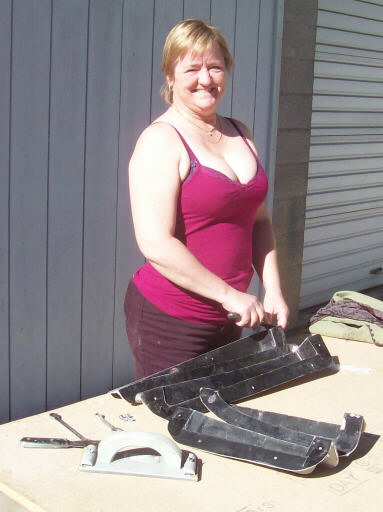
On 31 January, Brigitta cleans and waxes all four of the new root rib mold sections.
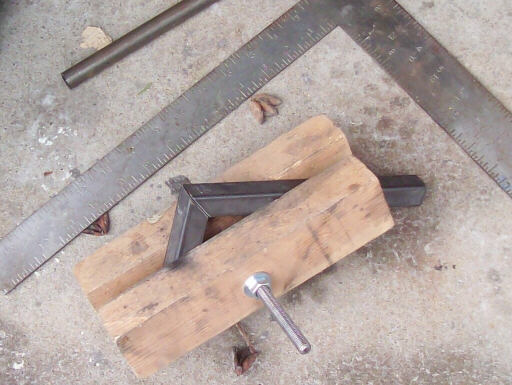
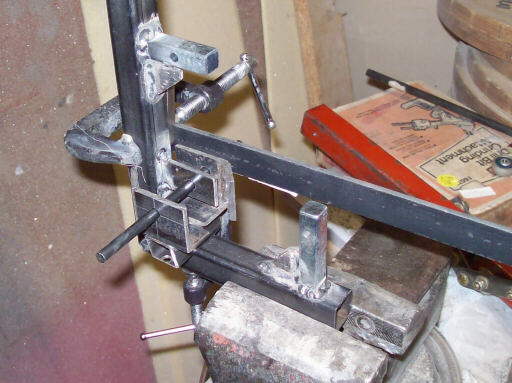
On 7 February, a new jig in the making! I start with a 45-degree bevel cut, and then position the two legs at a perfect right angle for welding.
Here I locate one of the two pegs that holds the rod end fork in position for welding. I don't have any steel bar with 7/16" (0.437" or 11.1mm) thickness, so I went to the hardware store and got two pieces of 7/16" drive key stock.
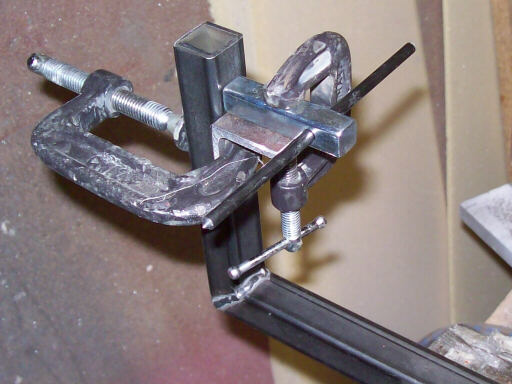
Here's the jig for positioning the rod end forks onto the bellcrank. This jig bolts onto one of three other jigs depending on which part of the bellcrank is being welded. The tab in the middle is a temporary alignment reference tack welded on, this gets broken off after the bolt holes for the other jig segments get drilled.
Here I am using the alignment tab to position the jig segment that positions the bellcrank endplates for a right wing bellcrank.
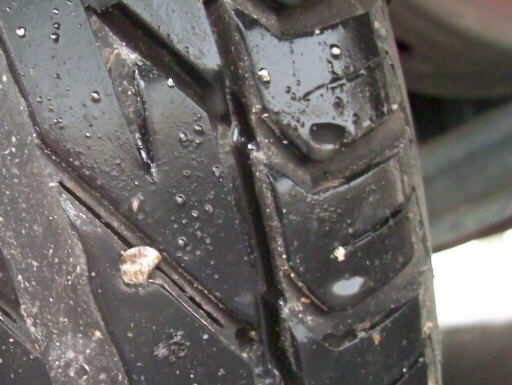
About that time I went to go to lunch and found my left rear tire was soft.
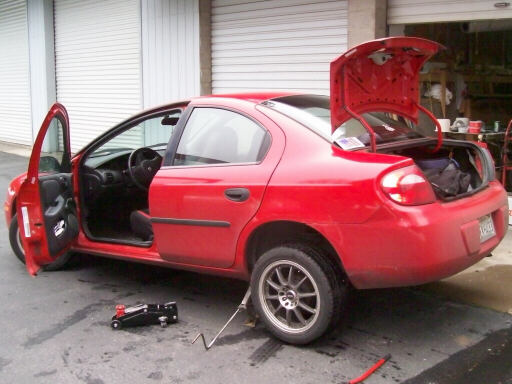
I raised the corner to inspect th tire, and sure enough there was a nail in it. It was only leaking a little, so I left the nail in it and pumped it back up.
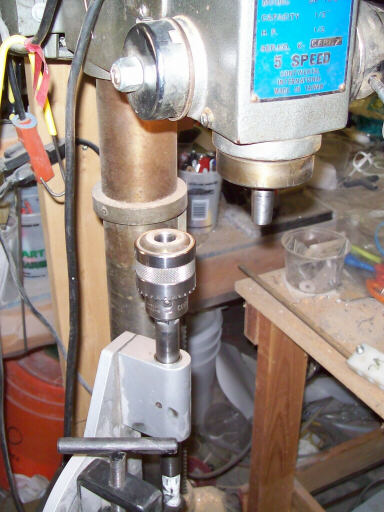
Back at work on the jigs, I went to use my cheap tubing notcher and it popped the Jacobs chuck off of my drill press, twice. I cleaned the shaft taper up with some sandpaper and hammered it on extra tight, and it stayed on after that.
Here I've bored two of the five holes required to make four of these parts.
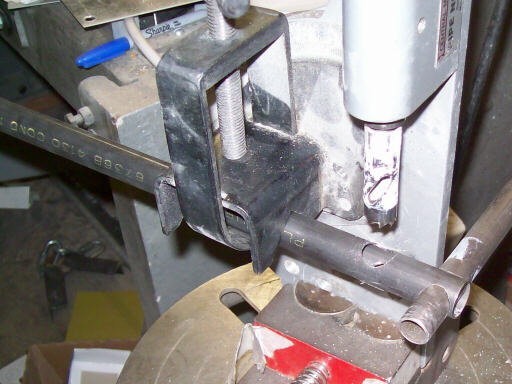
Parting off the parts. I wanted a narrow kerf, so I used a hacksaw and parted them by hand. I probably should have just used tin snips.
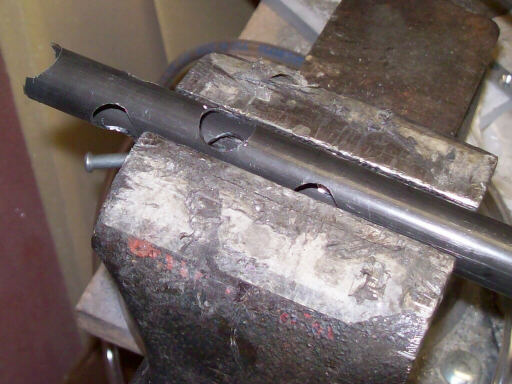
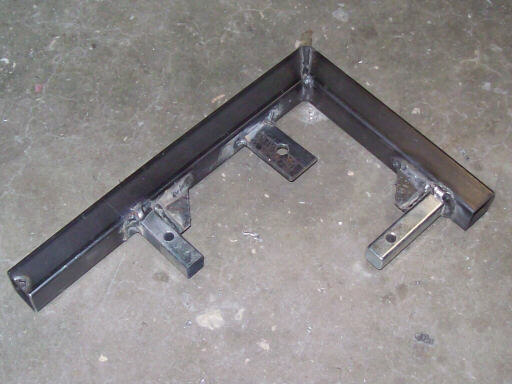
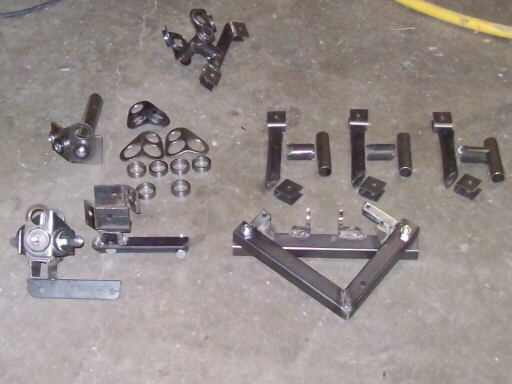
And this is what I'm dropping off at the welder on Tuesday, along with a sequence sheet on how all this junk goes together.
Homebuilt aviation is not for folks who don't try things at home.
page updated 8 February 2010 all text and graphics copyright (c) 2010 HP Aircraft,
LLC