Yes, Dave, we're hard at work, my preoccupation with Detroit's self-imposed meltdown nonwithstanding. No, Dave, I don't think you need to start processing an order for a Frank Sinatra Edition Antares, even if it is the only one that comes with a cigar lighter and a baby blue interior. But not a real blue interior, that's cruel.
Straight to the photos:
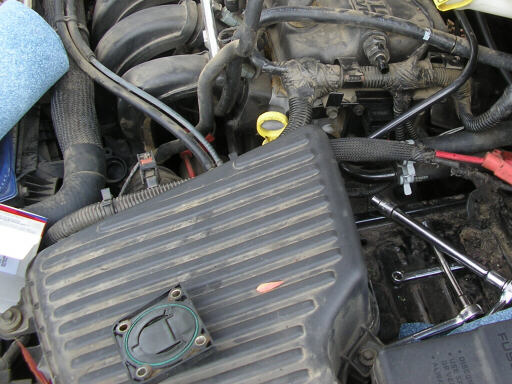
On 27 November, changing the Neon's Camshaft Position Sensor. I find myself a victim of N.E.W. syndrome: Never Ever Worked. Sometimes you get a code that points squarely at a sensor. You go buy a new sensor and you install it. But it doesn't fix the problem; the code comes right back after reset. So the problem must be somewhere else, right? Maybe in the wiring to the sensor or to the ECU, or maybe in the ECU or in another sensor that corroborates the first. So you follow several other troubleshooting paths to no avail and much gnashing of teeth. But if you'd tested the sensor you'd find that, yes, the original was bad, but then so was the cheap replacement from AutoStoned. It's like you're playing Clue and uncle Fred says he thinks Col. Mustard did it with the Candlestick in the Billiard room and nobody can disprove it. But as it happens Fred holds all three of those cards and he's just seeing who he can knock out of the game by tricking them into making a false accusation.
Anyhow, the Neon had logged a P0340 and set the Check Engine light and sounded the chime of despair. I did the key dance, read the code in the odometer window, and then cleared the code. It came back two weeks later. I cleared it again, and it returned in a week, then a day, then in an hour. Not good. P0340 points to the CPS, only $30, so I install a new one. It throws up a P0344 inside a couple minutes - it's closely related to P0340 so I think it has the same cause. I clean and tighten all the ground wires, wiggle all the wires, unplug and inspect all the connectors, disconnect and reconnect all four huge connectors on the ECU. No joy, instant P0344. In despair, I put the old CPS back in. Clean running, no codes. Good, but what's up with that? I put the AutoStoned CPS back in, and it throws P0344 within a few seconds. Reinstall the factory CPS, all good again, and its been good for a couple of weeks now. Conclusion: The original P0340 was caused by a loose connection, probably of the ground wire that is shared by the CPS and CKP. The newer P0344 was caused by the replacement CPS being a piece of junk that tested fine when it was made but went intermittent shortly thereafter. Ain't cars fun?
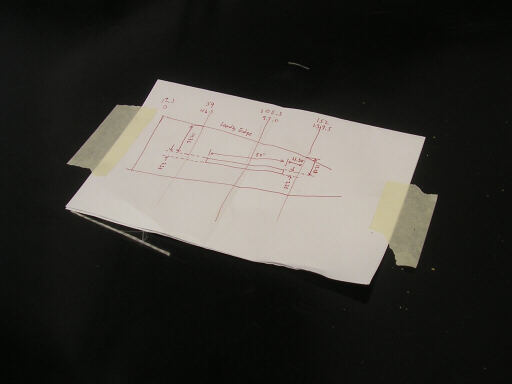
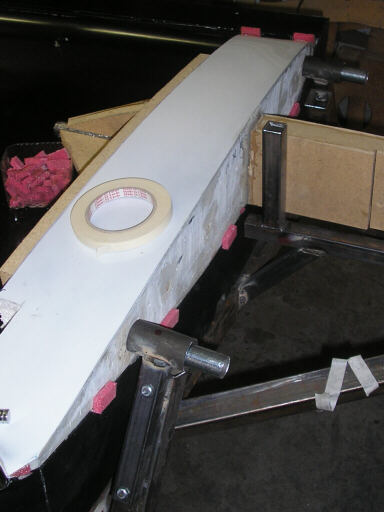
On 30 November, back up at the shop to mark out the airbrake cap location. This hand-scrawled sketch maps out the location and shows how to find it using the rough templates and key coordinates.
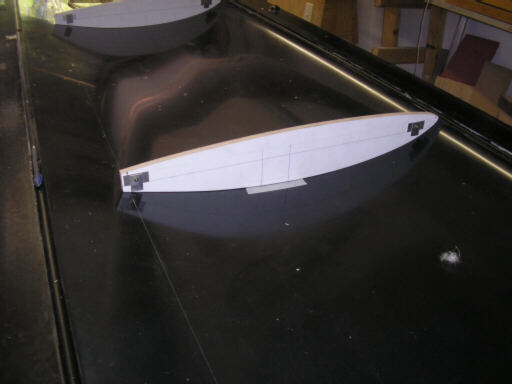
This template and the one outboard of it show where to stretch monofilament to delineate the forward and aft edges of the airbrake cap recess.
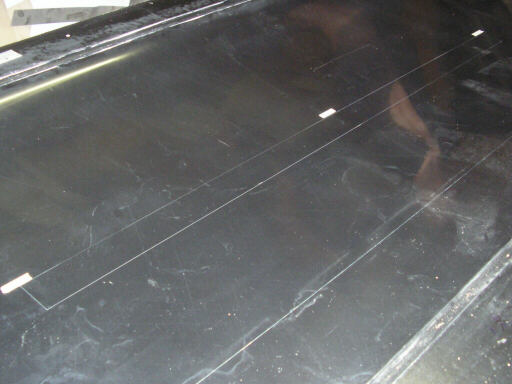
The squared-off recess area.
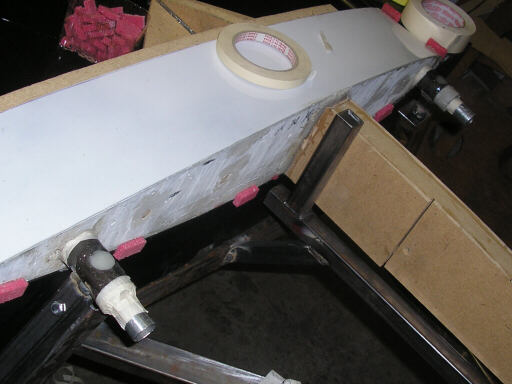
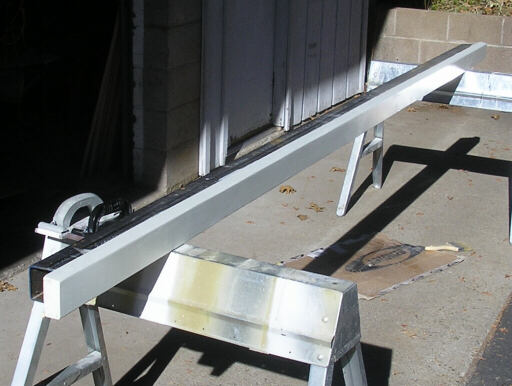
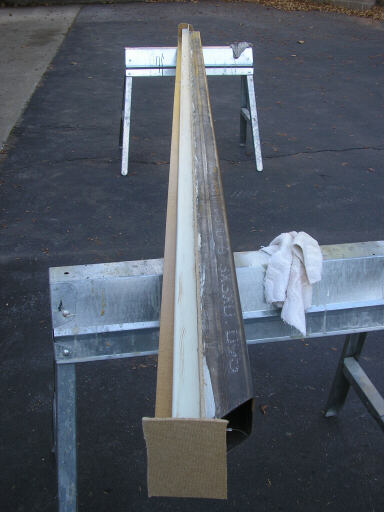
Same day, starting to assemble a plug for a new mold for the generic angle we use to make drag spar shear webs for the wing and horizontal tail. The major part of this plug is a 2x4-12 with one edge sawn at the appropriately obtuse angle. We paint it, sand it, hot-glue on some edge dams, wax it, and shoot a mold. The 2x4 is bonded to a 3" square steel tube to help make sure it stays straight.
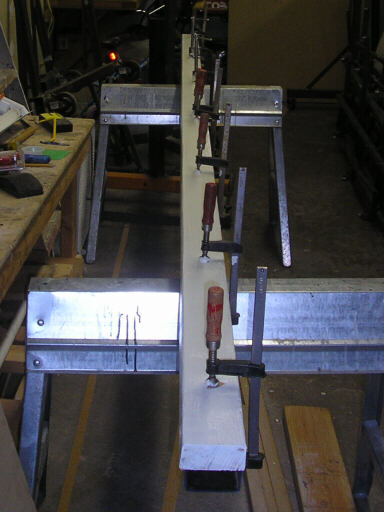
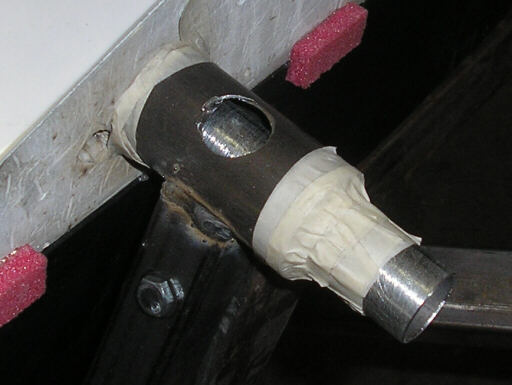
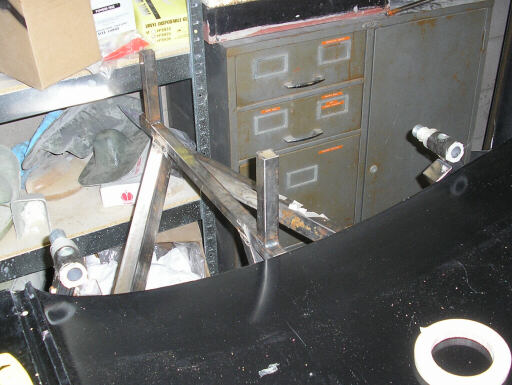
Back at the shop 6 December, I finalize the jig that locates the lift pins in the wing root ribs. You can't weld stuff like this and expect to achieve any sort of precision, the heat required for welding virtually insures that the part will warp as it cools. So I welded up rough-framing for the jig, and only now came back to precision-pot the locators into the jig using filled epoxy. Here's an overall shot showing the plug wing stub hot-glued back in place, and also the locator arms and bores, and the locator bushings.
The aft one, disassembled.
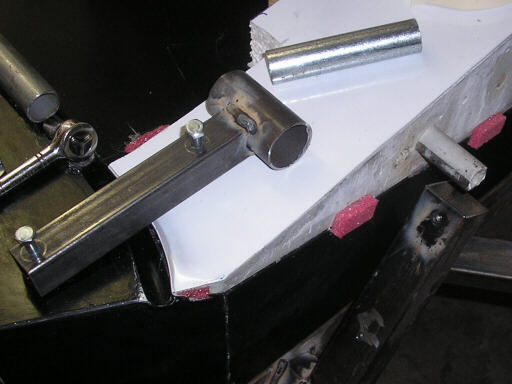
With the bushing fitted over the pin on the plug wing stub.
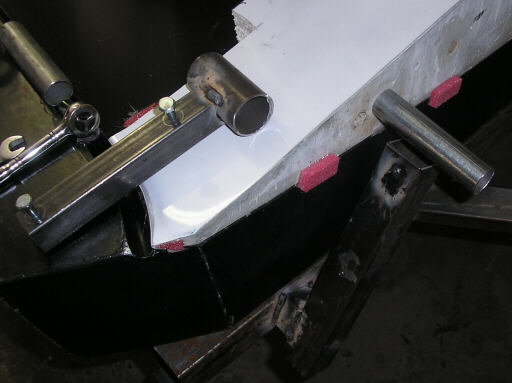
With the rough bore of the locator arm cross-drilled for the epoxy potting compound.
Both locators potted and curing.
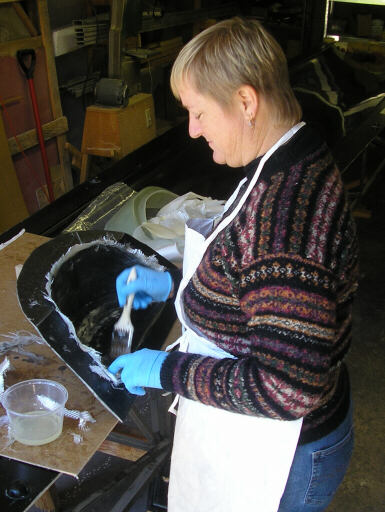
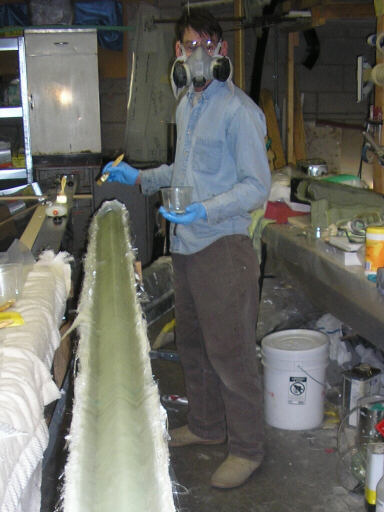
Same day, Brigitta laying up another jettison hood
Meanwhile, the paint dries on the drag spar angle plug.
The next day, both pin locators are solidly cured. Here I've removed both locators, broken the wing stub plug out of the mold, and then replaced the locators onto the root fixture.
Working on the appliance that forms the airbrake cap recess.
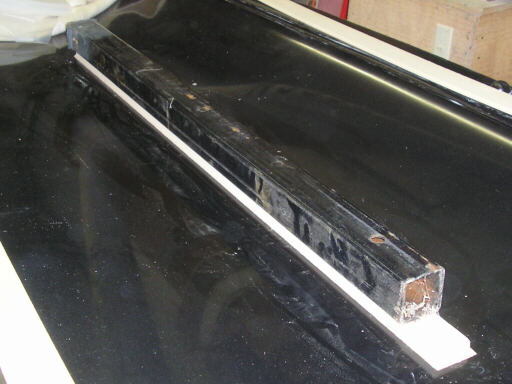
The drag spar plug with five coats of wax and ready for molding.
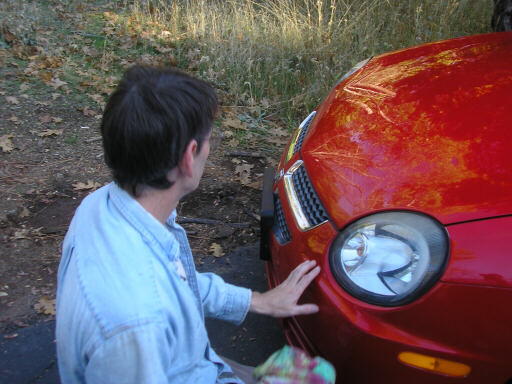
For the first time in about 20 years, I waxed a car.
After that, we went home for a few hours to nap. That night we returned to the shop, laid up the drag spar angle mold, and greeted Doug and Brad as they arrived to convene Akaflieg Douglas Flat number seven.
Homebuilt aviation is not for folks who don't try things at home.
page updated 9 December 2008 all text and graphics copyright (c) 2008 HP Aircraft,
LLC