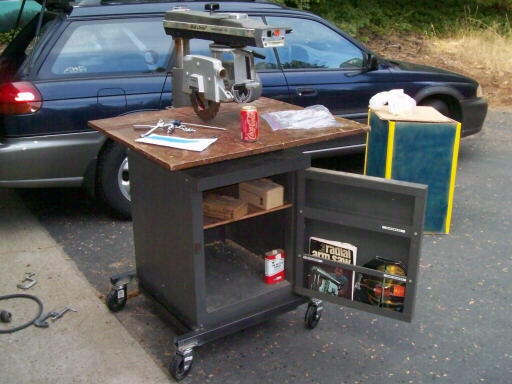
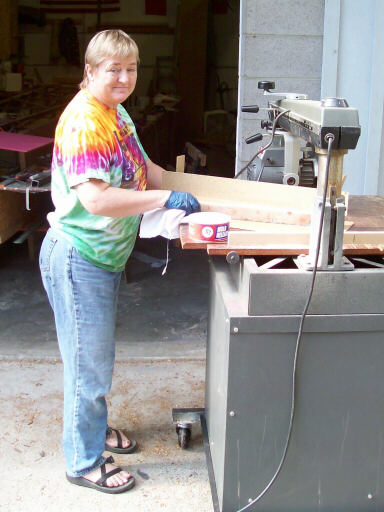
On 17 October, I found a nice Black & Decker/DeWalt radial arm saw at a church rummage sale and snagged it for $75. It came with a sanding drum, a scroll saw attachment, two Freud carbide tooth blades, and all the manuals. All it didn't have was wheels, and everyting in my cramped shop has to have wheels. So the first order of business was to weld up a carriage with four castering wheels.
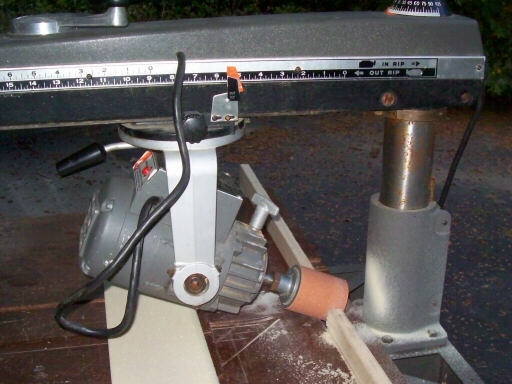
Here's why I really wanted that saw: You can reconfigure it as a sandwich foam core edge beveler, and it bevels foam like nobody's business.
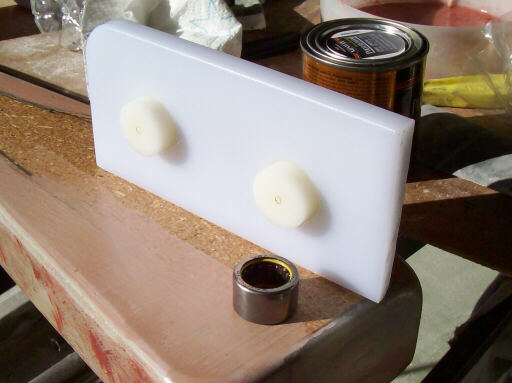
On 18 October, making the nylon mold for a support for this roller bearing.
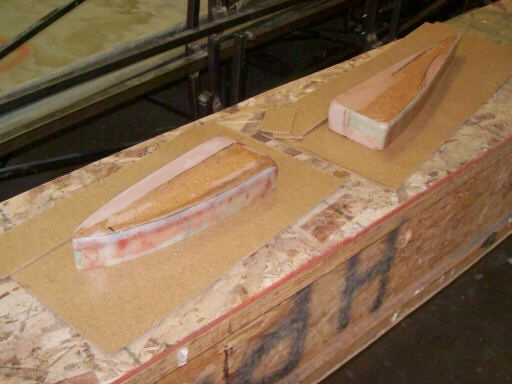
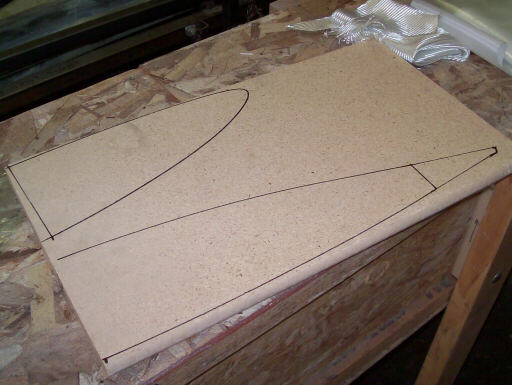
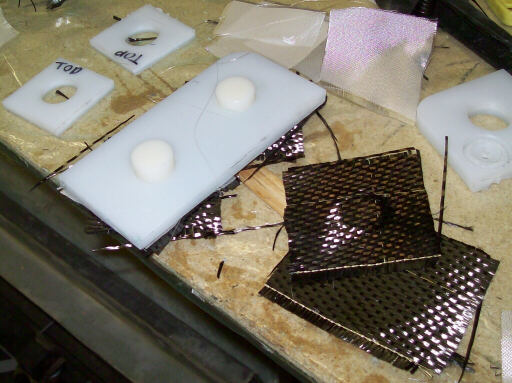
The squish plugs for the left wing root ribs, mounted on their masonite decks.
The webs for the right wing root rib squish plugs traced onto fiberboard.
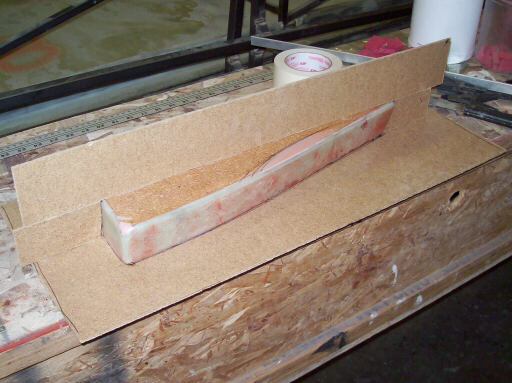
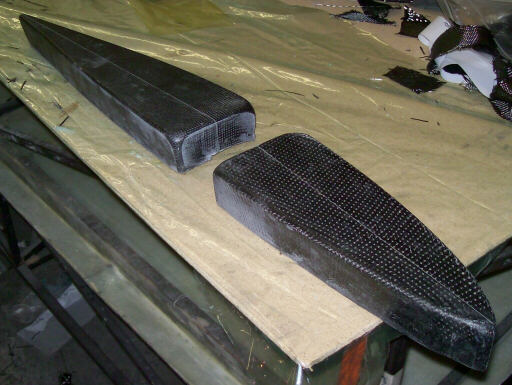
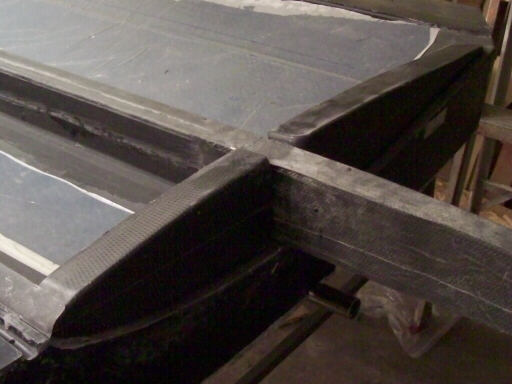
The left wing aft root rib plug, with the dam that separates the mold into right and left halves. This part has reverse draft, so the mold has to be a two-parter or else the part is permanently captured.
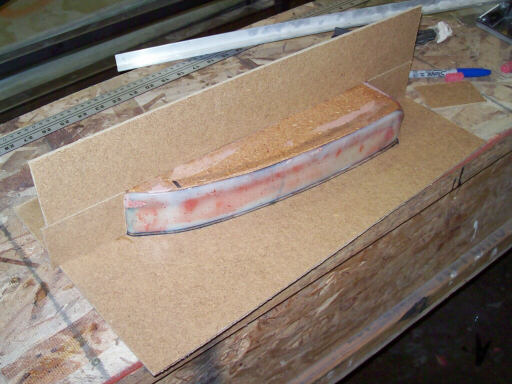
Same, left forward.
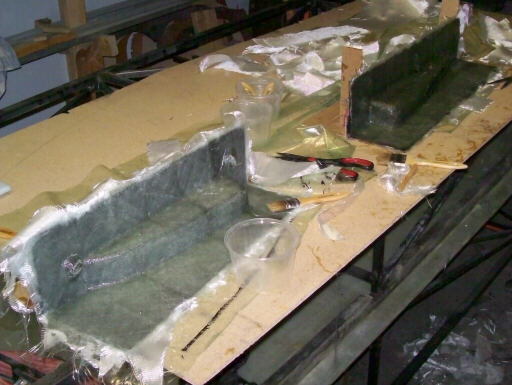
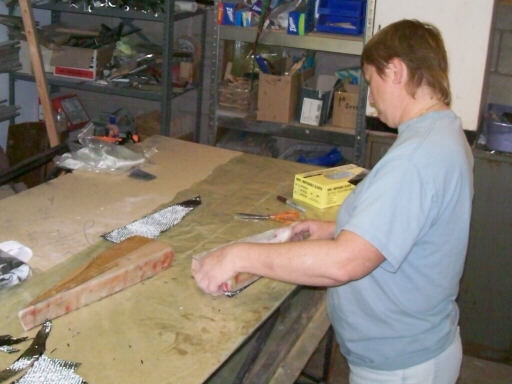
Brigitta waxes the plugs in praparation for molding.
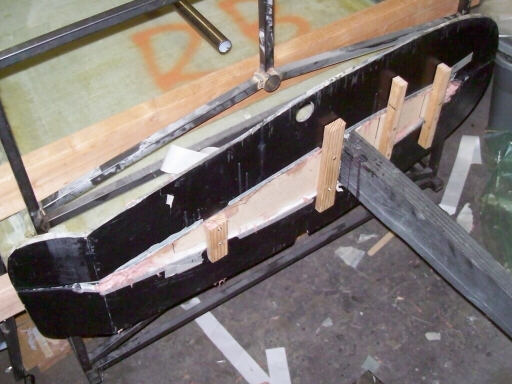
Here's something I hoped I wouldn't have to do: I've stacked the right wing molds so they're both inner surface up. The upper mold (the one for the lower skin, actually) is resting on 2x4 blocks on the flanges of the lower mold.
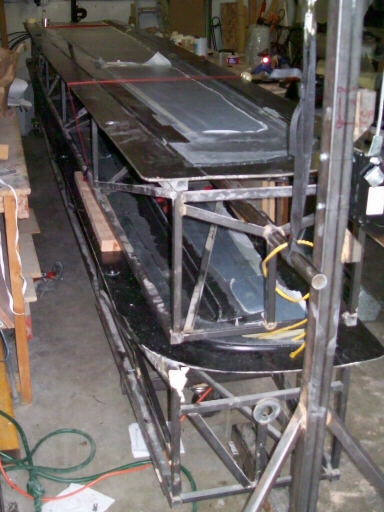
And here's why: I'm laying up both the upper and lower flanges of the right side root rib squish plugs at the same time.

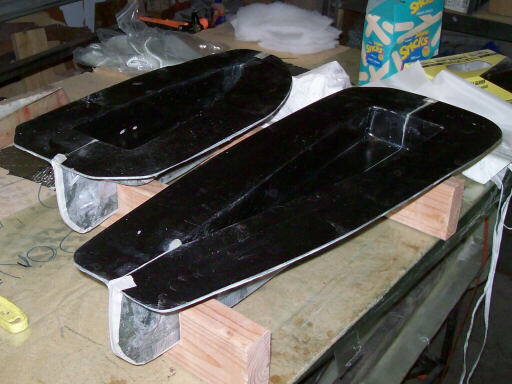
Here we've applied the BJB TC1611 tooling coat to the left wing root rib plugs to make the upper mold halves.
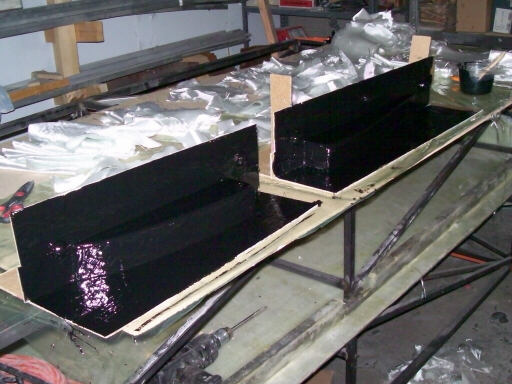
And laid up the molds over the tooling coat.
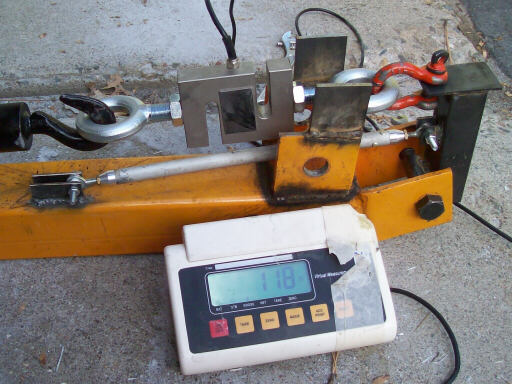
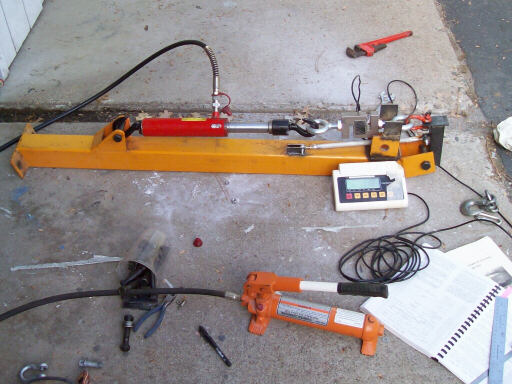
On 24 October, doing Break-O-Tron on a sample push-pull tube. Brad reported that the rod end shanks of the PP tube in his landing gear mechanism had gotten bent, so I spent a day double-checking the design in compression and tension. This sample buckled at 1680 lbs force, well above what Euler's formula predicts for a uniform column for this length and specs, and well above the loads applied in the landing gear circuit. Of course, Euler only applies to homogenous columns, and the rod ends and fittings on this part make it non-uniform.
An overall view of the column-smasher I made out of Break-O-Tron bits.
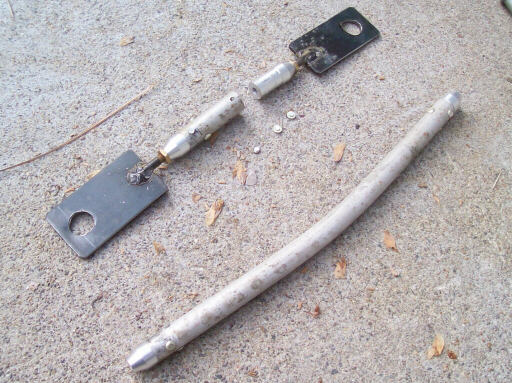
The two broken test samples. The tensile sample went 1940 lbs force, at which point the rivets sheared out of one end. All in all, a very productive day of testing.
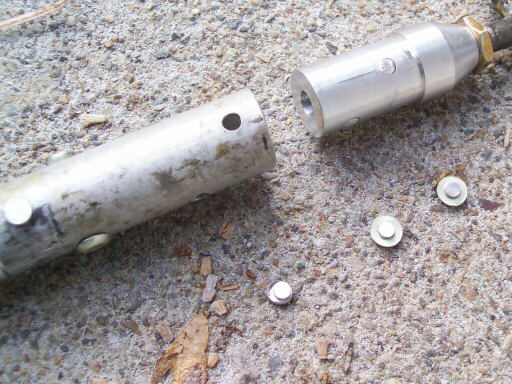
The sheared rivets from the tensile test specimen.
Videos of both the tensile and compression test are on YouTube:
On 31 October, grinding the edges of the left aft root rib mold halves.

Brigitta cuts plies for the first set of left side root ribs.
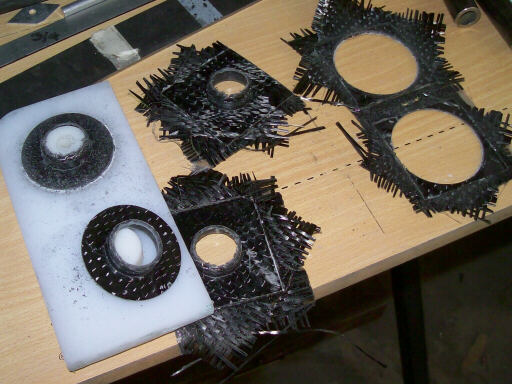
Making the squishes for the right side root ribs.
Preparing the left side root rib molds for molding.
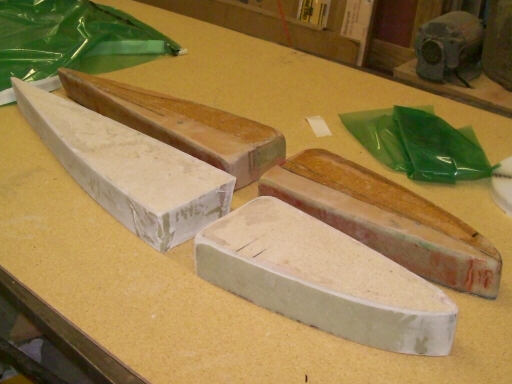
On 1 November, the two sets of root rib squishes. The darker ones are left over from making the left side root rib molds, the lighter ones are being prepared for making the right side molds. Note the staggered spar locations.
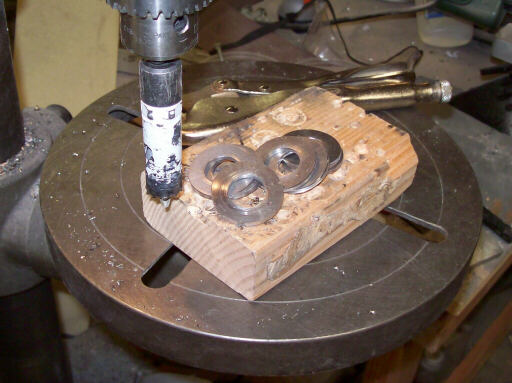
On 7 November, preparing to make the roller bearing holder.
Using a holesaw to make the thrust faces for the lift pins from a bar of 4130 steel.

The thrust faces prior to sanding and polishing.
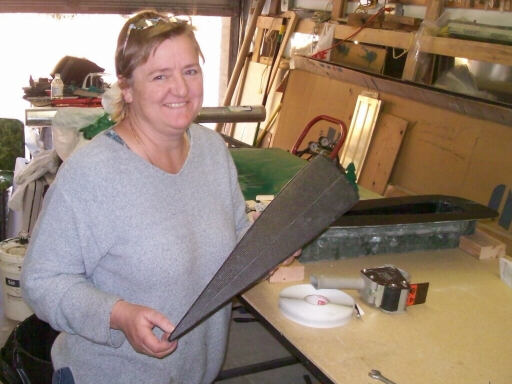
Brigitta shows off the first article left aft root rib she made.
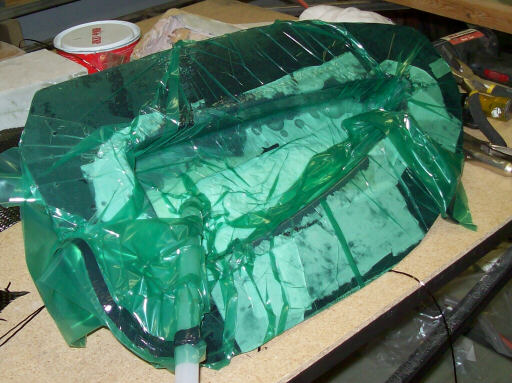
The left forward root rib that Brigitta laminated and bagged.
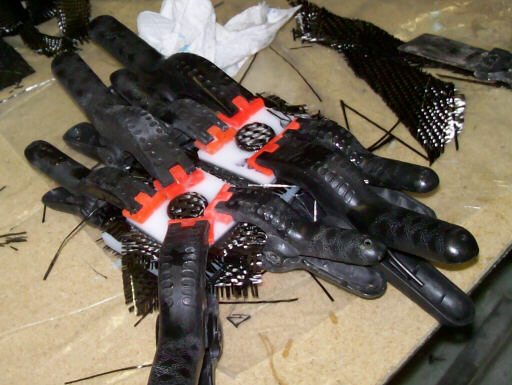
Here I've laid up four bearing holders and clamped the forms together.
On 8 November, trimming the bearing holders. Note how I've used a holesaw to trim both the ID and the OD.
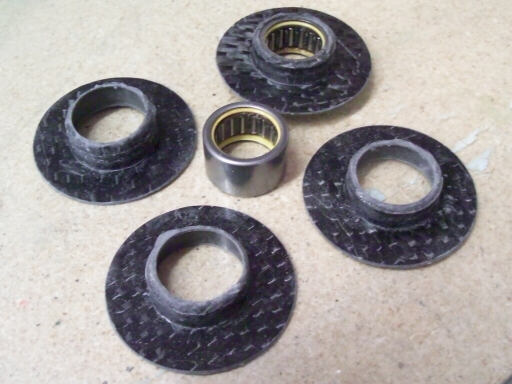
The four bearing holder parts. In the center is one of the bearings. The inner ply of the holder is glass so the steel bearing sleeve does not directly touch any carbon fibers.
The two left-side root ribs.
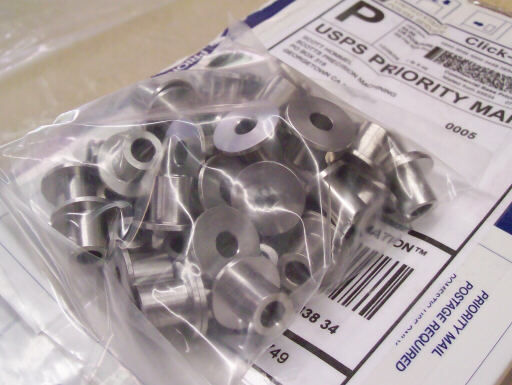
More machined goodies; these are centering plugs for the airbrake arm pivot tubes.
The two root ribs placed in position in the left wing upper skin.
Homebuilt aviation is not for folks who don't try things at home.
page updated 9 November 2009 all text and graphics copyright (c) 2009 HP Aircraft,
LLC